

What Does SMP Stand for in Minecraft? | Explained
What Does Smp Stand For Minecraft? If you’re a fan of the popular sandbox game Minecraft, you may have come across the acronym SMP. But what does SMP …
Read Article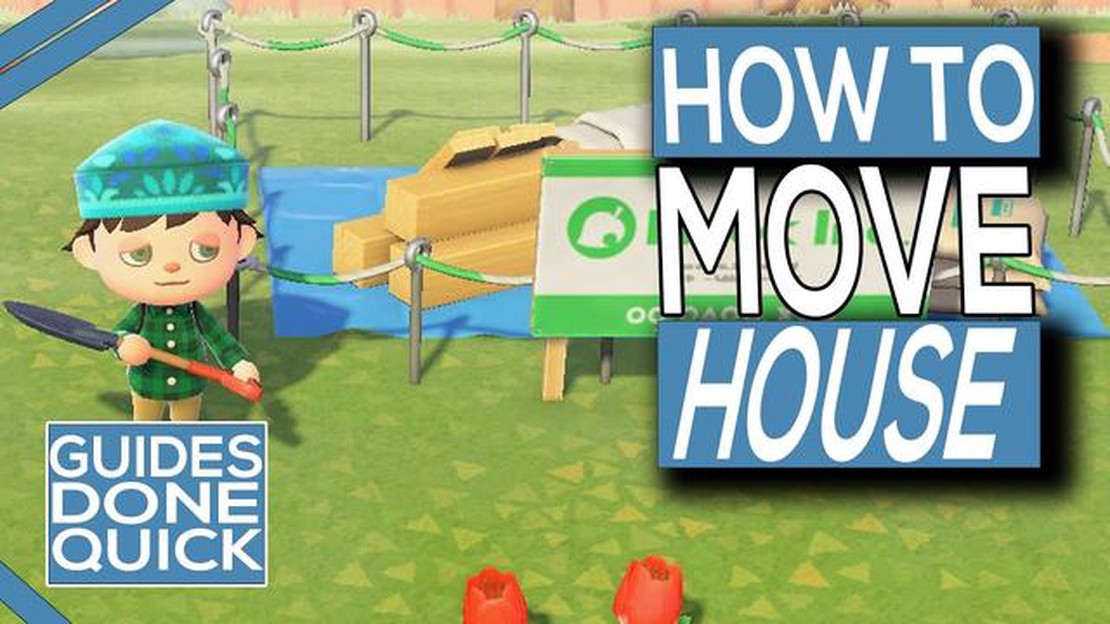
Animal Crossing: New Horizons has captured the hearts of millions of players worldwide, offering a relaxing and immersive experience on a tranquil island. As players progress in the game, they may find themselves wanting to change the layout of their island, including the placement of their house. Luckily, moving your house in Animal Crossing is possible, allowing you the freedom to create your dream island.
Before we dive into the step-by-step guide on how to move your house, it’s important to note that this feature becomes available after upgrading Resident Services to a building. Once you have access to a building, follow these steps:
Now that you know the step-by-step process of moving your house in Animal Crossing, unleash your creativity and design your island to perfection. With your house in its new location, you can create a unique and personalized space that reflects your style and preferences. Happy house-moving!
Animal Crossing is a popular video game where players can create and customize their own virtual village. One of the fun features of the game is the ability to move your house to a different location within your village. Here’s a step-by-step guide on how to move your house in Animal Crossing:
Moving your house in Animal Crossing is a great way to change up the layout of your village and add a personal touch to your virtual home. So go ahead and give it a try!
Before you begin the process of moving your house in Animal Crossing, you need to make sure you have everything prepared. Here are some steps to help you get ready for the move:
By following these steps and preparing for the move, you’ll be ready to relocate your house in Animal Crossing and start enjoying your new location.
Before you can move your house in Animal Crossing, you need to choose a new location for it. The new location should be a suitable spot for your house to fit and blend in with the rest of your island. Here are some factors to consider when choosing a new location:
Once you have considered these factors, take a stroll around your island and explore different areas. Keep an eye out for potential locations that meet your criteria. It’s also a good idea to take note of the map and mark your preferred spot for easier reference.
Remember, moving your house in Animal Crossing is a big decision, so take your time to choose a new location that you will be happy with. Once you have made your decision, you can proceed with the house-moving process.
Before you can move your house in Animal Crossing, you need to clear the area where you want to place it. This involves removing any trees, rocks, flowers, and other obstacles that may be in the way.
Step 1: Gather Tools
Before you start clearing the area, make sure you have the necessary tools. You will need an axe to chop down trees, a shovel to dig up rocks and flowers, and a net to catch any bugs that may be in your way.
Step 2: Remove Trees
Read Also: You Can Finally Play as a Female Character in Persona 5 Royal Thanks to an Impressive Mod Project
Start by chopping down any trees that are in the area where you want to move your house. Use your axe to hit the trees a few times until they fall over. You can then use your shovel to dig up the stumps and remove them from the area.
Step 3: Dig Up Rocks and Flowers
Next, use your shovel to dig up any rocks or flowers that are in the way. Simply stand in front of the rock or flower and press the dig button to remove it. You can then pick up the rocks and flowers and move them to a different location.
Step 4: Catch Bugs
Read Also: Step-by-Step Guide: How to Put on 2 Hairs on Roblox Mobile
If there are any bugs buzzing around the area, use your net to catch them. Walk slowly towards the bug and press the catch button to swing your net. If you successfully catch the bug, you can release it later in a different location.
Step 5: Remove Other Obstacles
Finally, check the area for any other obstacles that may be in the way, such as fences, furniture, or other items. Use your shovel or other tools to remove these obstacles and clear the area completely.
Once you have cleared the area, you are ready to move your house in Animal Crossing. Make sure you have a new location in mind and the necessary materials to complete the move.
Once you have chosen the new location for your house and paid off the moving fees, it’s time to complete the move. Follow these steps to finish the relocation of your house:
Remember that the interior and exterior of your house will remain the same during the move, so make sure to plan accordingly.
If you change your mind about the new location, you can always repeat the process and move your house to a different spot on the island. However, keep in mind that moving your house multiple times can get expensive, so choose wisely.
Now that you know how to move your house in Animal Crossing, you can rearrange your island to your liking and create your perfect virtual home. Happy moving!
Yes, you can move your house in Animal Crossing! Moving your house allows you to change the location of your home on your island.
To move your house in Animal Crossing, you need to have upgraded from a tent to a house. Once you have a house, you can talk to Tom Nook and select the option to “About my home…” From there, choose the “Let’s talk infrastructure…” option and then “I want to relocate my home.” Tom Nook will give you the option to move your house to a different spot on your island.
Yes, there are a few requirements and restrictions for moving your house in Animal Crossing. Firstly, you can only move your house once per day. Additionally, you must have paid off all of your home loan for the relocation option to be available. Finally, there may be certain areas on your island where you cannot move your house, such as over water or on top of cliffs.
Yes, there is a cost associated with moving your house in Animal Crossing. The cost varies depending on the size of your house and the location you choose to move it to. For example, moving your house within your current neighborhood will cost less than moving it to a completely new area. Tom Nook will inform you of the cost before you finalize the move.
No, you cannot change the appearance of your house when you move it in Animal Crossing. The move only affects the location of your house on your island. However, you can customize the exterior of your house using customization kits, which allows you to choose different roof colors and decorations.
What Does Smp Stand For Minecraft? If you’re a fan of the popular sandbox game Minecraft, you may have come across the acronym SMP. But what does SMP …
Read Article
How To Get Pets In Among Us For Free Ios? Among Us is a popular multiplayer game that has gained immense popularity in recent months. One of the most …
Read Article
When Does Superman Come Out In Fortnite? Fortnite has been known to collaborate with various popular franchises in the past, bringing new and exciting …
Read Article
What Is Riptide In Minecraft? Minecraft is a popular sandbox game with endless possibilities for exploration and adventure. One of the many exciting …
Read Article
How Much Does Call Of Duty Vanguard Cost? In this guide, we will break down the pricing options for the highly anticipated game, Call of Duty …
Read Article
How To Make A Pokemon Rom Hack? Have you ever wanted to create your own Pokemon game? With a Pokemon ROM hack, you can do just that! Rom hacking is …
Read Article


