
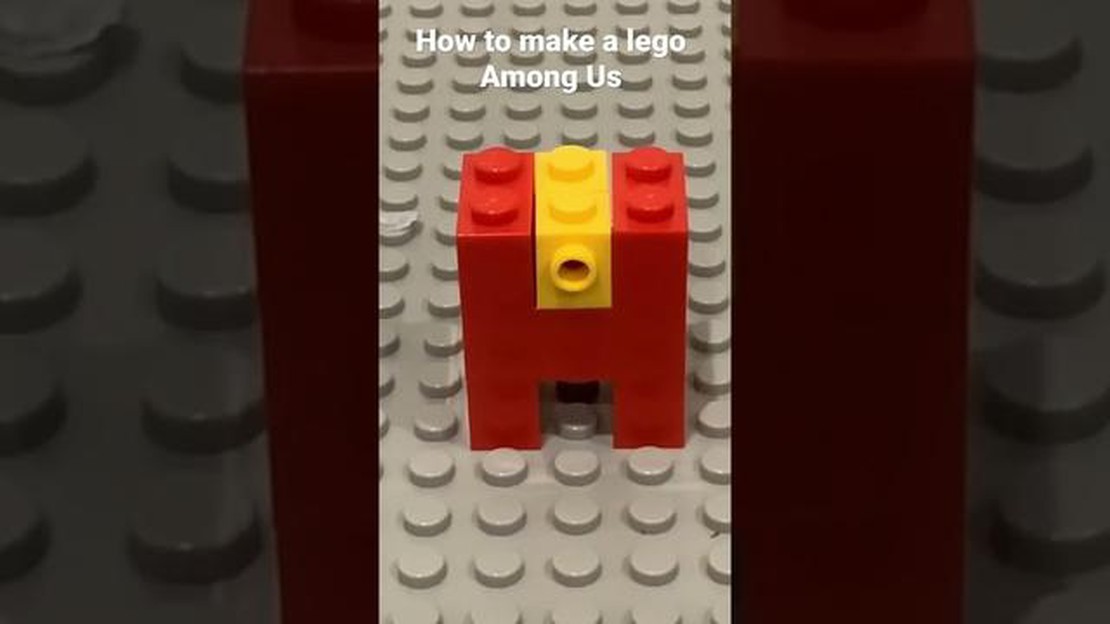

Step-by-Step Guide: How To Make A Lego Among Us
How To Make A Lego Among Us? Among Us has taken the gaming world by storm with its unique blend of mystery and teamwork. Now, imagine being able to …
Read Article
Animal Crossing is a beloved video game franchise that allows players to create their own virtual world. One essential task in the game is moving your tent, which serves as your home base. Whether you’re looking to change the location of your tent or simply want to switch up its position, this step-by-step guide will walk you through the process.
Step 1: Access the Construction App
To begin moving your tent, you’ll need to access the Construction App on your NookPhone. This can be done by pressing the ZL button to open the app menu and selecting the Construction App, which is represented by a hard hat icon.
Step 2: Select the “Move Your Tent” Option
Once you’ve opened the Construction App, you’ll be presented with several options for modifying your island. Look for the “Move Your Tent” option and select it. This will allow you to pick up your tent and relocate it to a new spot.
Step 3: Choose a New Location for Your Tent
Once you’ve selected the “Move Your Tent” option, the game will prompt you to choose a new location for your tent. Use your joystick or arrow buttons to navigate your character to the desired spot, and press the A button to confirm the location. Take the time to choose an area that suits your preferences and fits seamlessly with your island’s overall design.
Step 4: Pay for the Tent Relocation
After selecting the new location for your tent, the game will inform you of the cost for the relocation. Depending on the size of your tent and the new location chosen, the fee may vary. Confirm the relocation by paying the indicated amount and wait for the game to complete the process.
Step 5: Enjoy Your New Tent Location
Once the tent relocation process is complete, you can enjoy your new tent location! Customize and decorate your tent to create a cozy and personalized space. Your virtual animal neighbors will be happy to visit and interact with you in your new spot.
Read Also: Discover the Mouthwatering Taste of Northern Smoked Chicken in Genshin Impact
With this step-by-step guide, you’re ready to confidently move your tent in Animal Crossing. Whether you’re looking for a change of scenery or simply want to optimize your island’s layout, follow these instructions to easily relocate your tent. Happy designing!
Animal Crossing is a popular simulation game where players can create their own virtual world and live a virtual life. One of the key features of the game is the ability to move and customize your character’s tent. Here are the step-by-step instructions on how to move your tent in Animal Crossing:
Remember, moving your tent is just one of the many customization options available in Animal Crossing. Experiment with different locations and layouts to create your perfect virtual island!
Moving your tent in Animal Crossing is a straightforward process that allows you to change its location and find the perfect spot on your island. Follow these steps to move your tent:
Read Also: AMD Ryzen 9 3900X Review: A must-read before upgrading your PC
By following these steps, you can easily move your tent in Animal Crossing and enjoy a new location on your island. Have fun exploring and customizing your virtual home!
Once you have successfully moved your tent in Animal Crossing, it is time to start making the most of your new location. Here are some tips to help you settle in:
Remember, your new location in Animal Crossing is a blank canvas for you to make your own. Experiment with different designs, interact with villagers, and enjoy all the possibilities your new location has to offer. Have fun!
You can move your tent by talking to Tom Nook in Resident Services. He will give you the option to move your tent to a new location on the island.
Yes, you can move your tent multiple times in Animal Crossing. However, there may be a fee associated with moving your tent, so make sure you have enough Bells before deciding to move.
There is no specific limit to how many times you can move your tent in Animal Crossing. However, Tom Nook may start to charge you a higher fee each time you move, so it’s a good idea to plan your tent’s location carefully.
The cost of moving your tent in Animal Crossing depends on the location you choose. Tom Nook will provide you with the cost before you confirm the move. The price can range from a few thousand Bells to tens of thousands of Bells.
In Animal Crossing, you have the freedom to choose any available location on the island to move your tent. However, there may be certain restrictions or limitations depending on the terrain and layout of the island.
No, when you move your tent in Animal Crossing, you do not lose any progress or items stored inside. Everything will be transferred to the new location, and you can continue playing without any interruptions.
How To Make A Lego Among Us? Among Us has taken the gaming world by storm with its unique blend of mystery and teamwork. Now, imagine being able to …
Read Article
How Does Elemental Mastery Work Genshin Impact? In Genshin Impact, Elemental Mastery is an important stat that affects the effectiveness of elemental …
Read Article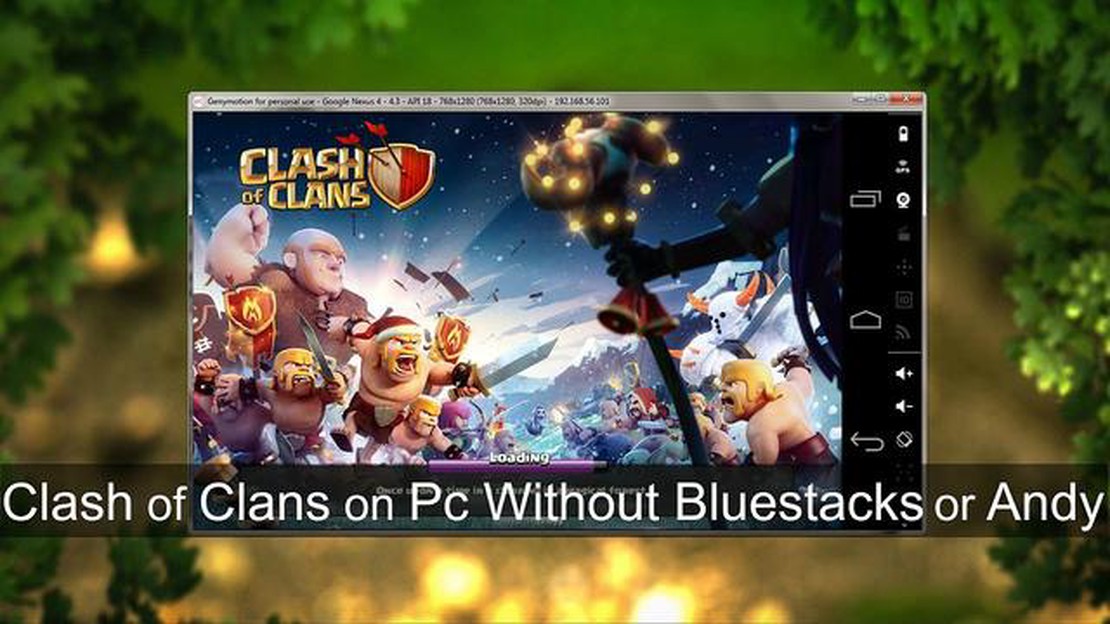
How To Play Clash Of Clans On Pc Without Bluestacks Or Andy? Clash of Clans is a massively popular mobile game that has captured the attention of …
Read Article
Genshin Impact How To Level Up Fast? Genshin Impact is a popular action role-playing game developed by miHoYo. With its vast open world and stunning …
Read Article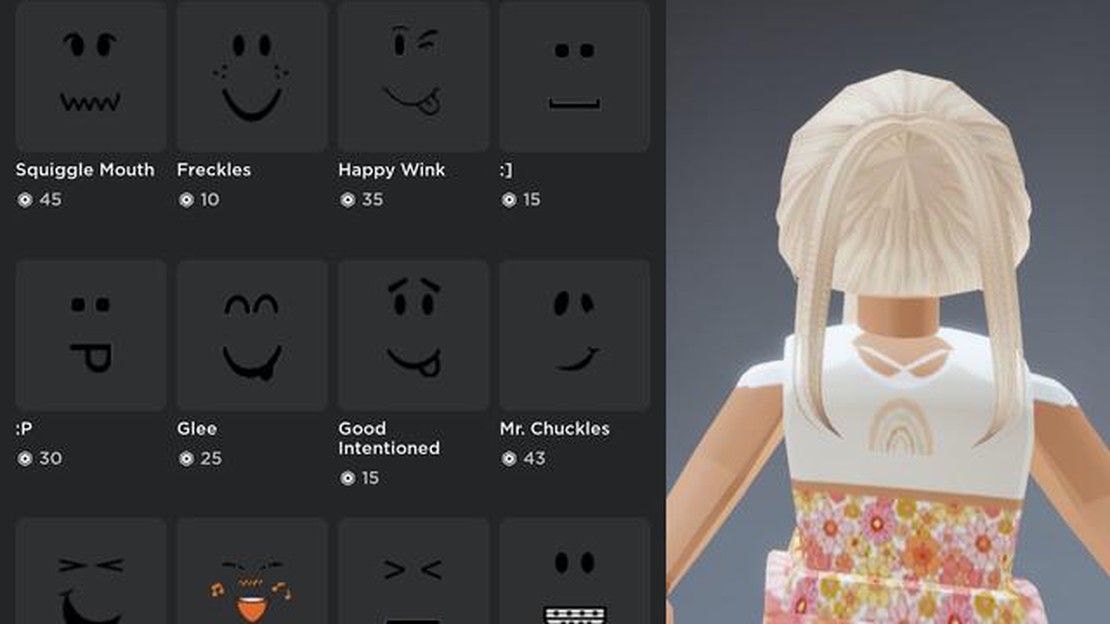
How To Have No Head In Roblox? Roblox is a popular online gaming platform that allows users to create and play games created by other players. While …
Read Article
When Was Mobile Legends Adventure Released? Mobile Legends Adventure is a popular mobile game that has taken the gaming world by storm. Released in …
Read Article


