
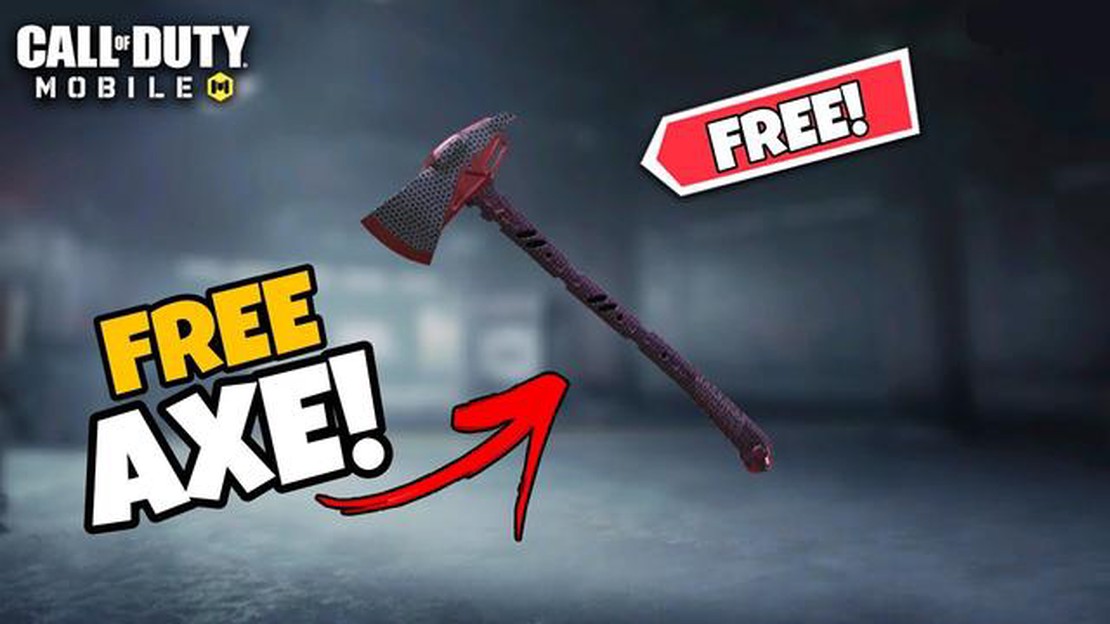

Steps to obtain an axe in Call of Duty Mobile: Unlock the ultimate melee weapon
How To Get An Axe In Call Of Duty Mobile? Call of Duty Mobile offers a wide range of weapons for players to choose from, and one of the most …
Read Article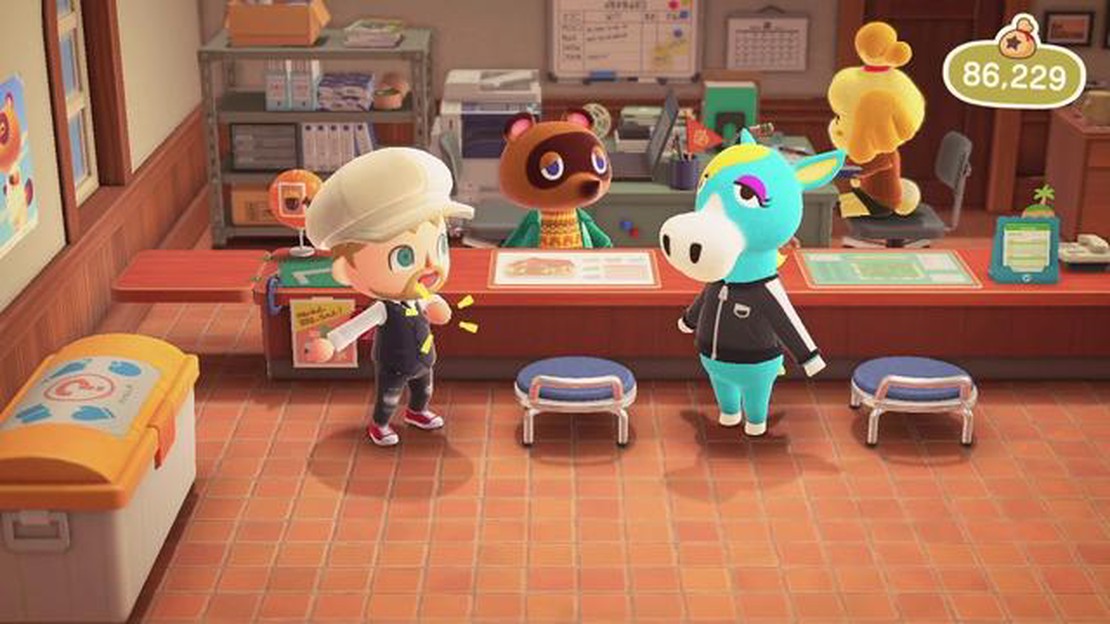
Animal Crossing: New Horizons is a popular video game that allows players to create and customize their own virtual island paradise. One of the first things players do in the game is set up their tent, which serves as their initial residence. However, as you progress in the game and expand your island, you may find that you want to relocate your tent to a different location. In this step-by-step guide, we will walk you through the process of moving your tent in Animal Crossing.
Step 1: Choose a new location
The first step in relocating your tent is to choose a new location for it. You can move your tent anywhere on your island, as long as there is enough space for it to fit. Take some time to explore your island and find a spot that you like.
Step 2: Talk to Tom Nook
Once you have chosen a new location for your tent, you will need to talk to Tom Nook, the raccoon character who is in charge of the island. He will ask you what you would like to do, and you should select the option to relocate your tent.
Step 3: Pay the fee
Relocating your tent is not free, and Tom Nook will inform you of the relocation fee. The fee is 30,000 Bells, the in-game currency. If you have enough Bells, you can proceed with the relocation. If you don’t have enough, you will need to find ways to earn more money in the game before you can move your tent.
Step 4: Choose the new location
After paying the fee, you will be able to select the new location for your tent. Use the on-screen cursor to move your tent marker to the desired spot on your island. Once you are happy with the new location, confirm your choice.
Step 5: Wait for the move
After confirming the new location for your tent, you will need to wait for the move to be completed. The game will let you know how long the move will take, which is usually one day. During this time, you can continue playing the game, but be aware that your tent will not be accessible until the relocation is complete.
Step 6: Enjoy your new tent location!
Once the move is complete, you can enjoy your new tent location in Animal Crossing: New Horizons. Take some time to decorate the area around your tent and make it your own personal space.
Read Also: What You Need to Know About Power Supplies: Tips and Insights
Relocating your tent in Animal Crossing is a great way to change up the layout of your island and make it feel more personalized. Follow these steps and you’ll be able to move your tent to a new location in no time!
Relocating your tent in Animal Crossing is a simple process that allows you to change the location of your home on your island. Follow these easy steps to move your tent:
Once you’ve completed these three steps, your tent will be successfully moved to its new location on your island. Enjoy your new surroundings and continue building your perfect Animal Crossing home!
In Animal Crossing, if you want to move your tent to a different location on your island, you can easily do so by accessing the relocation option. Follow these steps to access this option:
Read Also: How to Determine If Your Computer Power Supply Is Dead
Keep in mind that you will need to have the necessary resources to move your tent, and there may be a fee associated with the relocation. It’s important to plan ahead and make sure you have everything you need before attempting to move your tent.
Once you have spoken with Tom Nook about moving your tent, it’s time to start thinking about where you want to relocate to. Animal Crossing allows you to choose from a wide range of different locations on your island.
Here are some factors to consider when choosing a new location for your tent:
Take some time to explore your island and look for a location that meets your preferences. You can also talk to other residents to get their opinions on potential locations. Once you have made your decision, you can proceed to the next step of moving your tent in Animal Crossing.
After selecting the new location for your tent in Animal Crossing, you will need to confirm your decision before the relocation process can take place.
It is important to carefully consider the new location for your tent, as moving it again in the future will incur an additional cost. Take your time to ensure you are satisfied with the chosen spot before confirming the relocation.
To relocate your tent in Animal Crossing, you need to have the Resident Services building unlocked. Once you have the building, you can speak to Tom Nook and select the option to relocate. He will provide you with a map that shows the available locations for your tent. Simply select the location of your choice and confirm the relocation.
You can only relocate your tent once in Animal Crossing. After you have moved your tent to a new location, you will not be able to move it again. It’s important to choose your new location carefully, as it will be permanent.
When you relocate your tent in Animal Crossing, all of the items inside will be automatically relocated as well. You don’t have to worry about losing any of your furniture or belongings, as they will all be transferred to the new location along with your tent.
Yes, there is a cost associated with relocating your tent in Animal Crossing. Tom Nook will inform you of the relocation fee before you confirm the move. The price will vary depending on the size of your tent and the location you choose.
When choosing a new location for your tent in Animal Crossing, there are a few factors to consider. Firstly, think about the proximity to other buildings and amenities. You may want to be close to the Resident Services building or other villager’s houses. Additionally, consider the terrain and aesthetics of the location. You may want to be near a river or beach, or have a specific view. Take your time and explore the available options before making a decision.
How To Get An Axe In Call Of Duty Mobile? Call of Duty Mobile offers a wide range of weapons for players to choose from, and one of the most …
Read Article
How To Get Clash Of Clans On New Phone? Clash of Clans is a popular mobile game that has captured the attention of millions of players around the …
Read Article
How to defeat Seekers in Valheim Valheim, a popular survival game, has players face off against various enemies and creatures in order to progress and …
Read Article
How to get the Signet Ring in Dredge and what it does In the popular tabletop role-playing game, “Dredge,” the Signet Ring is a highly sought after …
Read Article
When Was Pokemon Made? Pokemon is a popular franchise that has captured the hearts of millions of fans around the world. It was first created in 1996 …
Read Article
How To Make A Smelter In Minecraft? In the popular game Minecraft, one of the key elements to advancing your gameplay is the ability to smelt items. …
Read Article


