

Discover the Location of Stormterror's Lair in Genshin Impact
Where Is Stormterrors Lair Genshin Impact? Genshin Impact is an open world action role-playing game developed and published by miHoYo. One of the main …
Read Article
Minecraft, the popular sandbox game, offers players a unique and immersive experience when played on virtual reality platforms. One such platform is the Oculus Quest 2, a standalone VR headset known for its portability and high-quality visuals. In this step-by-step guide, we will take you through the process of playing Minecraft on your Oculus Quest 2, from setting up the headset to exploring the virtual world of Minecraft in stunning VR.
Step 1: Setup your Oculus Quest 2
Before you can start playing Minecraft on your Oculus Quest 2, you need to set up the headset. This involves connecting the headset to your PC, creating or signing in to your Oculus account, and setting up the Guardian system to define your play area. Once your headset is properly set up, you can move on to the next step.
Step 2: Install Minecraft for Oculus Quest 2
Next, you need to install Minecraft for your Oculus Quest 2. To do this, you will need to access the Oculus Store through the Oculus app on your PC and search for Minecraft. Once you find the Minecraft app, click on it and select the option to install it on your Quest 2 headset. The installation process may take some time, so be patient.
Step 3: Launch Minecraft on your Oculus Quest 2
After the installation is complete, you can launch Minecraft on your Oculus Quest 2. Put on your headset and navigate to the Library tab on the Oculus Home screen. Look for the Minecraft app and select it to launch the game. Once the game is launched, you will be ready to step into the blocky world of Minecraft in virtual reality.
Step 4: Enjoy Minecraft in VR
Now that you have successfully launched Minecraft on your Oculus Quest 2, it’s time to enjoy the game in VR. Put on your headset, grab your Touch controllers, and immerse yourself in the world of Minecraft like never before. Explore vast landscapes, build impressive structures, and interact with your virtual surroundings using intuitive gestures and movements.
Note: Playing Minecraft on the Oculus Quest 2 requires a comfortable play area, as the game involves physically moving around and interacting with the virtual world. Make sure you have enough space to move around without any obstructions or safety hazards.
With these step-by-step instructions, you should now be able to play Minecraft on your Oculus Quest 2 and experience the game in a whole new way. Get ready to embark on exciting virtual adventures and unleash your creativity in the immersive world of Minecraft VR.
Welcome to the world of virtual reality gaming with Oculus Quest 2! The Oculus Quest 2 is a standalone VR headset that offers an immersive gaming experience without the need for a PC or external sensors. This guide will walk you through the steps to get started with your Oculus Quest 2.
Begin by unboxing your Oculus Quest 2 and ensuring all the necessary components are included. The package should contain the headset, controllers, charging cable, and power adapter. Follow the setup instructions provided in the box to charge your headset and pair the controllers.
Download the Oculus app on your smartphone from the App Store or Google Play Store. Open the app and follow the instructions to pair it with your Oculus Quest 2 headset. This will allow you to control settings, browse the Oculus Store, and manage your VR library.
Put on the headset and adjust the straps to ensure a comfortable and secure fit. Use the sliding mechanism on the sides to tighten or loosen the headset as needed. The Oculus Quest 2 also comes with a knob at the back to adjust the tightness. Make sure the display is centered and clear for the best visual experience.
Once your Oculus Quest 2 is set up, you can browse the Oculus Store for a wide range of VR games, apps, and experiences. Use the controllers to navigate through the store and select content that interests you. Many popular games such as Minecraft are available for purchase and download.
To install a game or app, select it from the Oculus Store and choose “Install” or “Buy” if it is a paid title. Once the installation is complete, you can launch the game from the Oculus Library section. Follow the on-screen instructions to start playing.
Before diving into VR gameplay, it is important to set up the Guardian system. This allows you to define a safe play area within your surroundings to prevent collisions. Follow the instructions provided by the Oculus app or headset to trace your play area and set up the Guardian system.
Now that your Oculus Quest 2 is fully set up, you can start enjoying VR gaming. Each game may have different controls, so make sure to familiarize yourself with the specific game’s instructions or tutorial. The Oculus Touch controllers offer intuitive hand tracking and buttons for interactive gameplay.
Proper maintenance of your Oculus Quest 2 will ensure its longevity and optimal performance. Clean the lenses with a microfiber cloth and keep the headset in a clean, dry, and dust-free environment when not in use. Avoid dropping or exposing the headset to extreme temperatures.
By following these steps, you can quickly get started with your Oculus Quest 2 and begin exploring the exciting world of virtual reality gaming. Enjoy your gaming experience!
Unboxing and setting up your Oculus Quest 2 VR headset is an exciting process that will allow you to immerse yourself in the world of virtual reality gaming. Follow these step-by-step instructions to get started:
Read Also: When Does Brawl Stars Come Out Global? - Release Date Revealed!4. Charging:
5. Connect the charging cable to the Oculus Quest 2 headset. 6. Plug the other end of the charging cable into a power source, such as a wall outlet or a USB port on your computer. 7. Allow the headset to charge until it reaches a full battery.
Read Also: Understanding the Meaning of KDP in Mobile Legends: A Comprehensive Guide8. Pairing the controllers: 9. Press the menu button on both controllers simultaneously to turn them on. 10. Follow the on-screen instructions to pair the controllers with the headset. 11. Make sure the controllers are fully charged before pairing. 12. Putting on the headset: 13. Adjust the straps of the headset to fit comfortably on your head. 14. Put on the headset by sliding it over your eyes and adjusting the strap tension as needed. 15. Initial setup: 16. Turn on the Oculus Quest 2 headset by pressing and holding the power button located on the right side of the headset. 17. Follow the on-screen instructions to complete the initial setup, including connecting to Wi-Fi and signing in to your Oculus account. 18. Download and install any necessary software updates. 19. Calibrate the VR headset by following the on-screen prompts. 20. Exploring VR: 21. Once the setup is complete, you are ready to start exploring the virtual reality world of Oculus Quest 2. 22. Use the controllers to navigate menus and select games or experiences. 23. Follow any additional instructions provided by the game or experience you choose.
That’s it! You have successfully unboxed and set up your Oculus Quest 2 VR headset. Enjoy your virtual reality gaming experience!
To play Minecraft on your Oculus Quest 2, you will need to follow a few steps to install and launch the game. Here is a step-by-step guide:
With these steps, you should be able to install and launch Minecraft on your Oculus Quest 2. Enjoy exploring the virtual world of Minecraft in virtual reality!
Playing Minecraft on the Oculus Quest 2 is a great way to experience the game in virtual reality. To get started, you’ll need to download and install Minecraft on your Oculus Quest 2 headset. Follow the steps below to get Minecraft up and running on your device.
Now that you have Minecraft downloaded and installed on your Oculus Quest 2, you can enjoy the immersive experience of playing the game in virtual reality. Explore new worlds, build amazing structures, and mine for resources all from the comfort of your headset. Have fun!
If you have an Oculus Quest 2 and want to play Minecraft in virtual reality, you’re in luck! Here’s a step-by-step guide to help you get started:
Now that you are in Minecraft VR, you can use the Oculus Quest 2 controllers to interact with the virtual environment. You can mine, build, and explore just like in the regular version of Minecraft, but in immersive virtual reality.
Remember to take breaks and be mindful of your physical surroundings while playing in VR. Enjoy your Minecraft adventure in virtual reality on the Oculus Quest 2!
Yes, you can play Minecraft on the Oculus Quest 2. Here is a step-by-step guide on how to do it.
To play Minecraft on the Oculus Quest 2, you will need a PC or a laptop, the Oculus Link cable, and a Minecraft account.
To connect the Oculus Quest 2 to your PC, you need to download and install the Oculus Link software on your PC. Then, you can connect the Oculus Quest 2 to your PC using the Oculus Link cable.
No, you need a PC or a laptop to play Minecraft on the Oculus Quest 2. The Oculus Quest 2 is a standalone VR headset, but to play Minecraft, you need to connect it to a PC using the Oculus Link cable.
Yes, you can use a different VR headset to play Minecraft. However, the steps to set it up may vary depending on the VR headset you have.
Playing Minecraft on the Oculus Quest 2 is not difficult if you follow the step-by-step guide mentioned in the article. It may take some time to set up the Oculus Link software and connect the headset to your PC, but once you have done that, playing Minecraft should be relatively easy.
Where Is Stormterrors Lair Genshin Impact? Genshin Impact is an open world action role-playing game developed and published by miHoYo. One of the main …
Read Article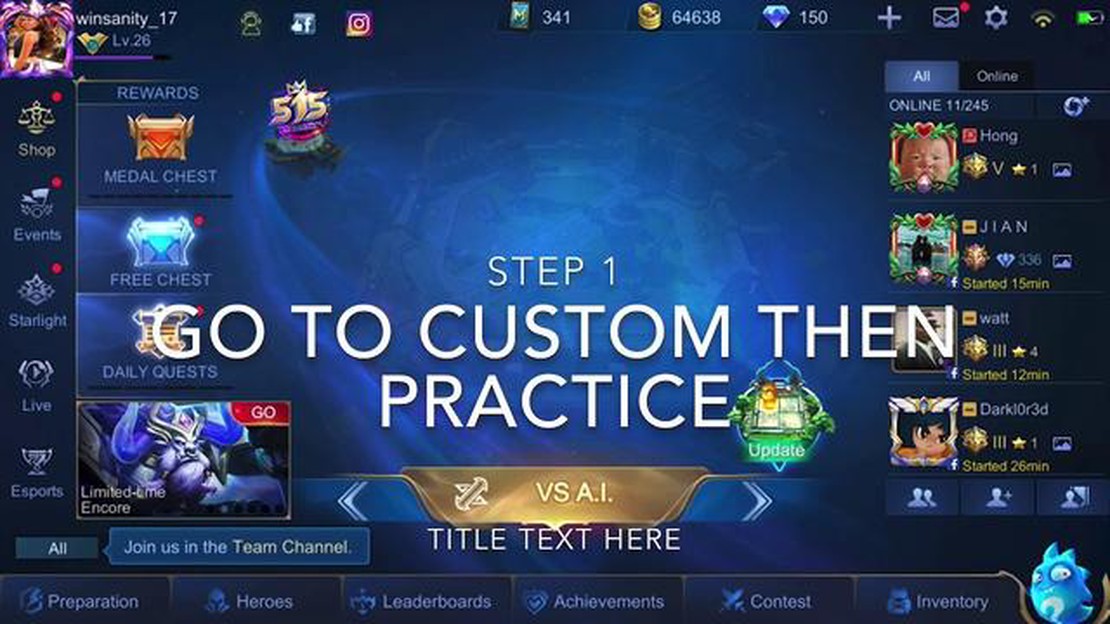
How To Watch All Video Chest In Mobile Legends? Video chests are a valuable resource in Mobile Legends, providing players with various rewards and …
Read Article
How To Catch Tarantulas And Scorpions Animal Crossing? If you’re an avid player of Animal Crossing: New Horizons, you might have come across some …
Read Article
The most offensive gaming mice, ranked Gaming mice have become an essential tool for gamers, providing them with precision and control during intense …
Read Article
Who Is The Best Support In Mobile Legends 2022? Mobile Legends is one of the most popular mobile games around the world, and if you are a fan of this …
Read Article
Why Kim Kitsuragi is Disco Elysium’s breakout star Disco Elysium is an acclaimed RPG that has captivated gamers with its unique gameplay and …
Read Article


