

Discover the Top Decks for Clash Royale in 2021
What Is The Best Deck For Clash Royale? As Clash Royale continues to be one of the most popular mobile games, players are constantly on the lookout …
Read Article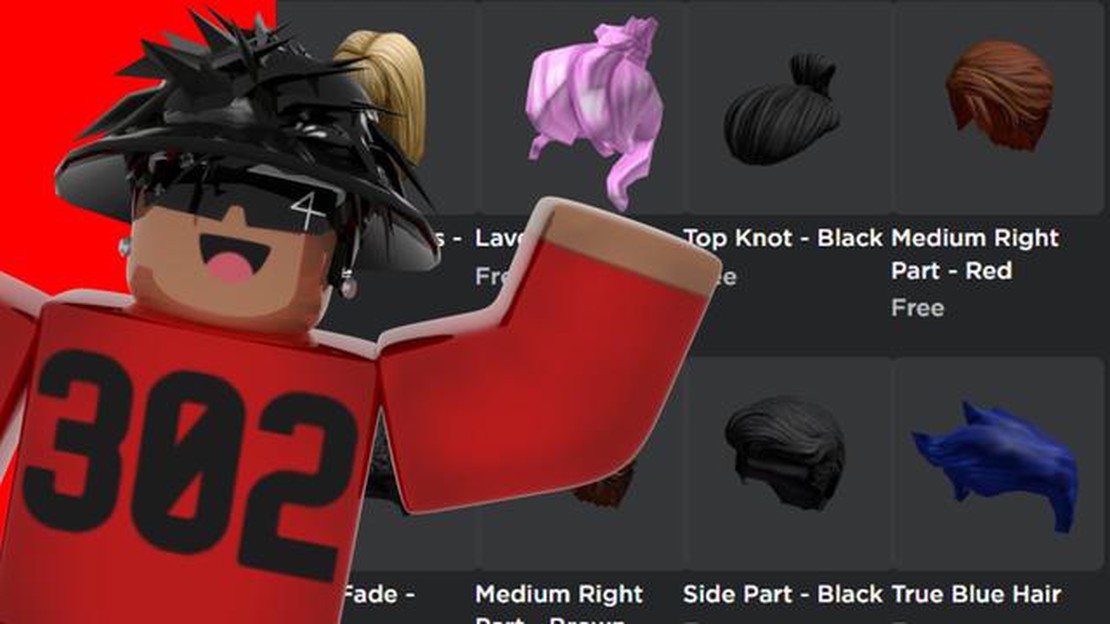
Roblox is an online platform that allows users to create and play games. One of the most popular features of Roblox is the ability to customize your avatar with different hats, shirts, and other accessories. In this step-by-step guide, we will show you how to add multiple hairs to your Roblox avatar.
First, you will need to open the Roblox Studio and create a new place. Once you have created the place, you can access the Toolbox, which contains all the items you can add to your game. In the Toolbox, click on the “Hats” category and search for the hair that you want to add to your avatar.
Next, once you have found the hair you want, click on it to select it. Then, click on the “Insert” button to add the hair to your game. The hair will appear in the workspace area of the Roblox Studio. You can position and resize the hair as desired by clicking and dragging on the hair in the workspace.
If you want to add multiple hairs to your avatar, simply repeat the process of selecting and inserting a new hair from the Toolbox. You can position and resize each hair individually to create the desired look for your avatar. You can also layer the hairs on top of each other to create complex hairstyles.
Once you have added all the hairs you want to your avatar, you can save your game and publish it to the Roblox website. Now, when you play the game, you will be able to see your avatar with the multiple hairs that you added. This is a great way to personalize and customize your Roblox avatar to stand out in the virtual world.
Read Also: Master the Insane Mode in Brawl Stars: Tips and Strategies
Overall, adding multiple hairs to your Roblox avatar is a fun and creative way to customize your virtual character. With the step-by-step guide provided above, you should have no trouble adding multiple hairs and creating your own unique hairstyle. So go ahead and experiment with different hairstyles to make your avatar truly unique!
If you’re a Roblox player and want to customize your avatar with multiple hair styles, you’re in luck! Roblox allows users to add multiple hair accessories to their avatar, creating unique and personalized looks. In this step-by-step guide, we’ll walk you through the process of adding multiple hairs on Roblox.
Adding multiple hairs on Roblox allows you to experiment with different styles and create a unique avatar that stands out. By following the simple steps outlined in this guide, you’ll be able to customize your avatar’s appearance and express your individuality in the Roblox world.
If you want to add multiple hairs to your Roblox avatar, follow these simple steps:
Following these steps will allow you to add multiple hairs to your Roblox avatar and customize your look in the game. Experiment with different hair styles and combinations to create a unique and personalized avatar!
Yes, it is possible to add multiple hairs on Roblox. This can be done by following a step-by-step guide which allows users to customize their character’s appearance with multiple hair options.
Read Also: Learn How to Play VR Roblox and Immerse Yourself in a Virtual World
To add multiple hairs to your Roblox character, you will need to follow a step-by-step guide. This guide will show you how to use the Roblox Studio and the Roblox catalog to find and import different hair options for your character.
Yes, you can customize your character’s hair on Roblox. By following a step-by-step guide, you will learn how to add multiple hairs to your character and how to choose from a variety of hair options in the Roblox catalog.
Adding multiple hairs to your Roblox character allows for more customization and personalization. It gives you the option to choose from a variety of different hairstyles and create a unique look for your character.
What Is The Best Deck For Clash Royale? As Clash Royale continues to be one of the most popular mobile games, players are constantly on the lookout …
Read Article
All Genshin Impact codes from the version 3.6 livestream Genshin Impact is an immensely popular action role-playing game developed and published by …
Read Article
Street Fighter 6 review With the release of Street Fighter 6, the legendary fighting game series has reached new heights of excellence. Developed by …
Read Article
Where Is The Souvenir Shop Genshin Impact? If you’re playing Genshin Impact and you’re on the hunt for the souvenir shop, look no further! This …
Read Article
What Is Electric Weak To In Pokemon? The Electric type Pokémon have their own unique strengths and weaknesses in battles. Understanding these …
Read Article
How To Add A Friend On Clash Royale? If you are a Clash Royale enthusiast, you know that the game is all about strategy, skill, and teamwork. While …
Read Article


