

Citizen Sleeper Review: A Detailed Look at the Revolutionary New Mattress
Citizen Sleeper review When it comes to getting a good night’s sleep, finding the right mattress is key. With so many options available, it can be …
Read Article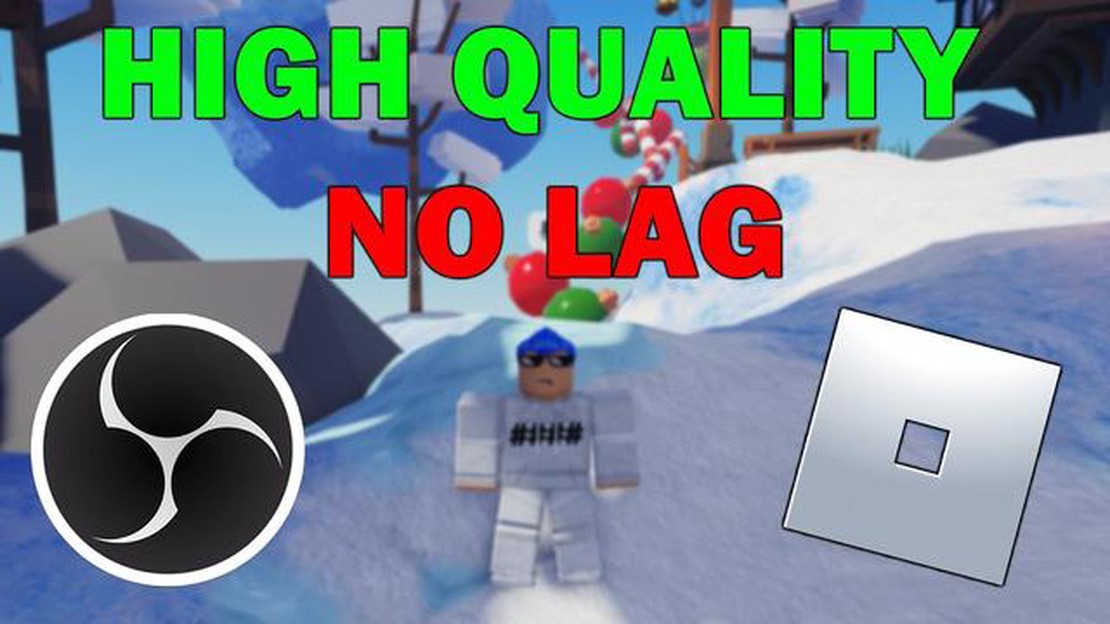
Roblox is a popular gaming platform that allows users to create their own virtual worlds and games. With millions of players, there are countless epic gaming moments happening every day. If you want to capture and share these moments with your friends or the Roblox community, learning how to record on Roblox is essential.
Recording on Roblox is relatively simple, and there are multiple ways to do it. One option is to use the built-in recording feature called “Roblox Studio.” This feature allows you to record your gameplay and edit the footage within the Roblox Studio software. You can then export the recorded video and share it on platforms like YouTube or Twitch.
Another popular method is to use third-party screen recording software. This option gives you more flexibility and control over the recording process. You can choose from a wide range of screen recording software available for both Windows and Mac, such as OBS Studio, Bandicam, or Camtasia. These software options offer advanced features like customizable settings, overlays, and live streaming capabilities.
Once you have recorded your gameplay on Roblox, it’s time to share your epic gaming moments. Uploading your videos to platforms like YouTube or Twitch allows you to reach a wider audience and receive feedback from other gamers. You can also join Roblox communities and forums to share your recordings and connect with other players who are interested in similar games or moments.
Roblox offers an exciting and immersive gaming experience that you may want to capture and share with others. Fortunately, recording on Roblox is quite simple. In this guide, we will walk you through the process of recording your gameplay on Roblox so that you can capture and share your epic gaming moments.
To start recording on Roblox, you will need a screen recording software. There are many options available, both free and paid. Some popular choices include OBS Studio, Bandicam, and Fraps. Choose a software that suits your needs and download it onto your computer.
Once you have downloaded the screen recording software, you will need to configure it before you can start recording on Roblox. Open the software and adjust the settings to your preferences. You may want to select the desired video format, quality, and framerate. Additionally, choose a location on your computer where you want the recordings to be saved.
Now that you have set up the recording software, it’s time to start recording on Roblox. Open the Roblox game you want to record and make sure it is in full screen mode. Then, launch the screen recording software and select the region of the screen you want to capture. You can choose to record the entire screen or just a specific window.
Once everything is set up, you are ready to capture your epic gaming moments on Roblox. Play the game as you normally would and the screen recording software will capture everything that happens on your screen. Whether it’s an intense battle, a tricky puzzle, or a funny interaction, your recording software will preserve these moments for you to watch and share later.
When you are done recording on Roblox, simply stop the recording by pressing the designated keyboard shortcut or clicking the stop button in the screen recording software. The software will then save the recording to the location you specified earlier. Make sure to give it a descriptive name, so you can easily find it later.
After you have finished recording on Roblox, you may want to edit your recordings before sharing them with others. You can use video editing software to trim, add effects, and enhance your gameplay footage. Once you are satisfied with the editing, you can share your recordings on platforms like YouTube, Twitch, or social media to showcase your skills and entertain others.
Recording on Roblox is a great way to capture and share your epic gaming moments. With the right screen recording software and a bit of configuration, you can easily record your gameplay and create amazing videos. So start recording on Roblox today and share your gaming adventures with the world!
Are you an avid Roblox player and want to share your epic gaming moments with others? Recording your gameplay in Roblox is a great way to show off your skills and create entertaining content for your audience. In this tutorial, we will guide you through the process of recording on Roblox, so you can capture and share your most memorable gaming moments.
The first step in recording on Roblox is to choose a screen recording software. There are many options available, both free and paid. Some popular choices include OBS Studio, Bandicam, and Fraps. Make sure to select a software that suits your needs and is compatible with your computer’s operating system.
After you have selected a screen recording software, download and install it on your computer. Follow the instructions provided by the software to complete the installation process. Once the software is installed, launch it and configure the settings according to your preferences. You may want to adjust the recording quality, frame rate, and audio settings.
After setting up the screen recording software, launch Roblox and log in to your account. Choose the game you want to record and make sure it is running smoothly. Position the game window in a way that captures the gameplay area you want to record.
Now, go back to the screen recording software and start the recording. Choose the recording area to capture the Roblox game window specifically. You can select a specific window or manually adjust the recording area. Once everything is set, press the record button to start recording your gameplay.
Read Also: Step-by-Step Guide: Creating Another Account on Clash Royale
With the recording in progress, play the Roblox game as you normally would. Showcase your skills, complete missions, or create unique experiences. Make sure to focus on the gameplay actions you want to capture and avoid any distractions.
During the recording, you can use hotkeys provided by the screen recording software to pause, resume, or stop the recording. Familiarize yourself with these hotkeys to have more control over the recording process.
Once you have finished recording your gameplay, press the stop button in the screen recording software to end the recording. The software will prompt you to save the video file. Choose a location on your computer where you want to save the video and give it a descriptive name.
After saving the video file, you can edit it using video editing software if desired. You can trim the video, add transitions, overlay music or text, and make other adjustments to enhance the final result.
Read Also: How Much Is Minecraft Java Edition: Pricing Details and Comparison
When your video is ready, it’s time to share it with the world. You can upload it to video sharing platforms like YouTube or Twitch, or share it on social media platforms to reach a wider audience. Don’t forget to add relevant titles, descriptions, and tags to increase the visibility of your video.
That’s it! You now know how to record on Roblox and share your epic gaming moments with others. Remember to always respect the rules and guidelines of Roblox and the platform where you share your content. Happy recording!
When it comes to recording your gameplay on Roblox, there are various settings and options you can adjust to suit your needs. Here are some of the most important ones:
By exploring and adjusting these settings and options, you can ensure that your recorded gameplay on Roblox meets your requirements and captures your epic gaming moments in the best possible way.
Capturing and sharing your epic gaming moments in Roblox is a great way to showcase your skills and entertain others. Whether you want to create gameplay videos for YouTube or simply share highlights with your friends, recording your gameplay is essential. Here are some tips on how to share your epic gaming moments in Roblox:
Remember, sharing your epic gaming moments is not only a way to entertain others but also an opportunity to connect with fellow gamers and improve your own gameplay. So, grab your recording software, capture those epic moments, and start sharing your gaming journey with the world!
Recording your gameplay on Roblox is an exciting way to share your epic gaming moments with friends and the Roblox community. Once you have recorded your gameplay, you can easily share it with others. Here are a few methods you can use to share your recorded Roblox gameplay:
These methods allow you to easily share your recorded Roblox gameplay with friends and the wider Roblox community. Whether you choose to share on YouTube, Roblox social media platforms, or third-party video sharing platforms, remember to promote your videos to gain more views and engagement.
Roblox is an online platform where users can create and play games. It allows users to build their own virtual worlds and interact with others in a multiplayer environment.
To start recording on Roblox, you can use screen recording software or the built-in recording feature on your device. Simply open the game you want to record, start the recording software, and begin playing. The software will capture your gameplay, and you can save the recording to share it later.
There are several popular screen recording software options for recording Roblox gameplay. Some popular choices include OBS Studio, Bandicam, Camtasia, and Fraps. These software programs offer various features and settings to enhance your recording experience.
Once you have recorded your Roblox gameplay, there are several ways to share it. You can upload the video to a video hosting platform like YouTube or Vimeo and share the link with others. You can also share the video on social media platforms like Twitter, Facebook, or Instagram. Alternatively, you can save the video file and share it directly with friends or on gaming forums.
Citizen Sleeper review When it comes to getting a good night’s sleep, finding the right mattress is key. With so many options available, it can be …
Read Article
Modern Warfare 2 has the same ’no prepaid phone’ requirement as Overwatch 2 When it comes to gaming, two of the most popular first-person shooter …
Read Article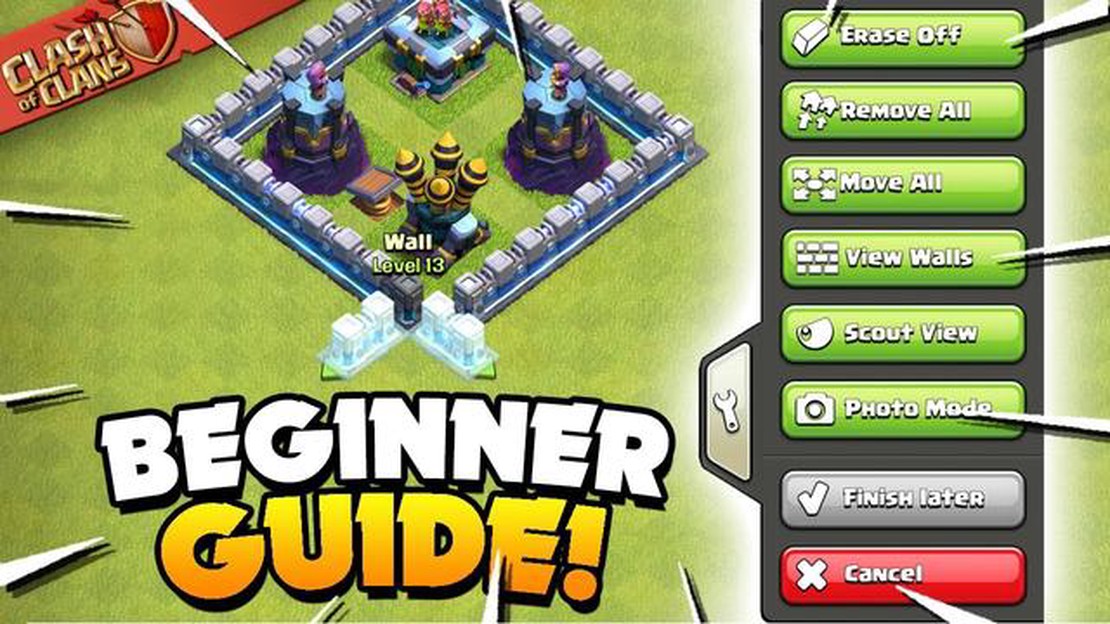
How To Make A Good Clash Of Clans Base? Clash of Clans is a popular mobile game that requires strategic thinking and careful planning. One of the most …
Read Article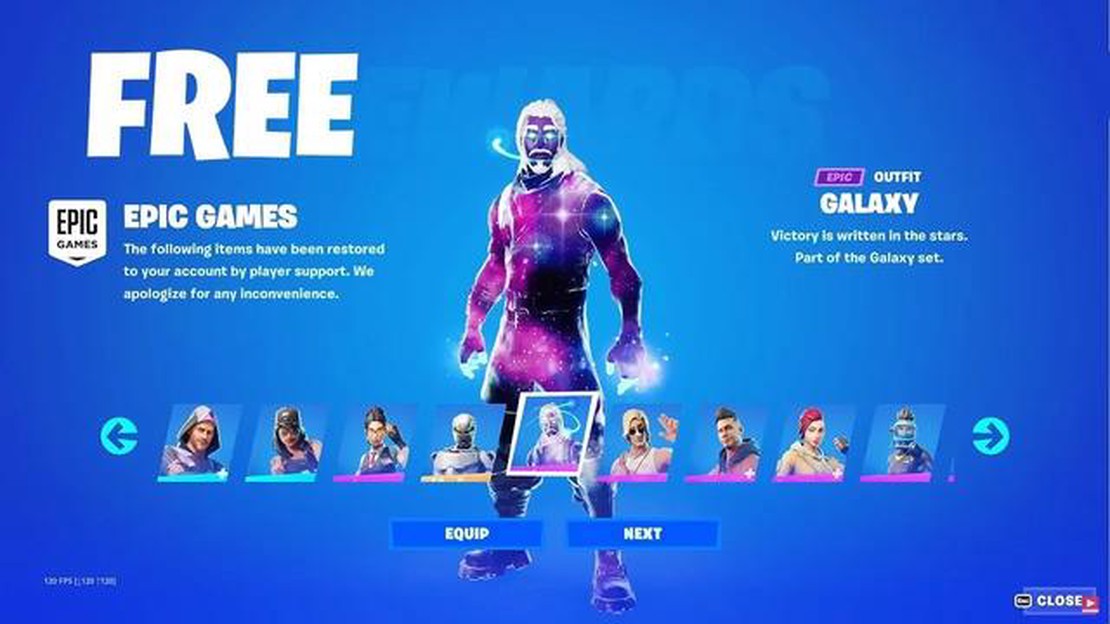
How To Get Free Skins In Fortnite? If you’re a Fortnite player, you know that having cool skins for your character is a must. But, let’s face it, …
Read Article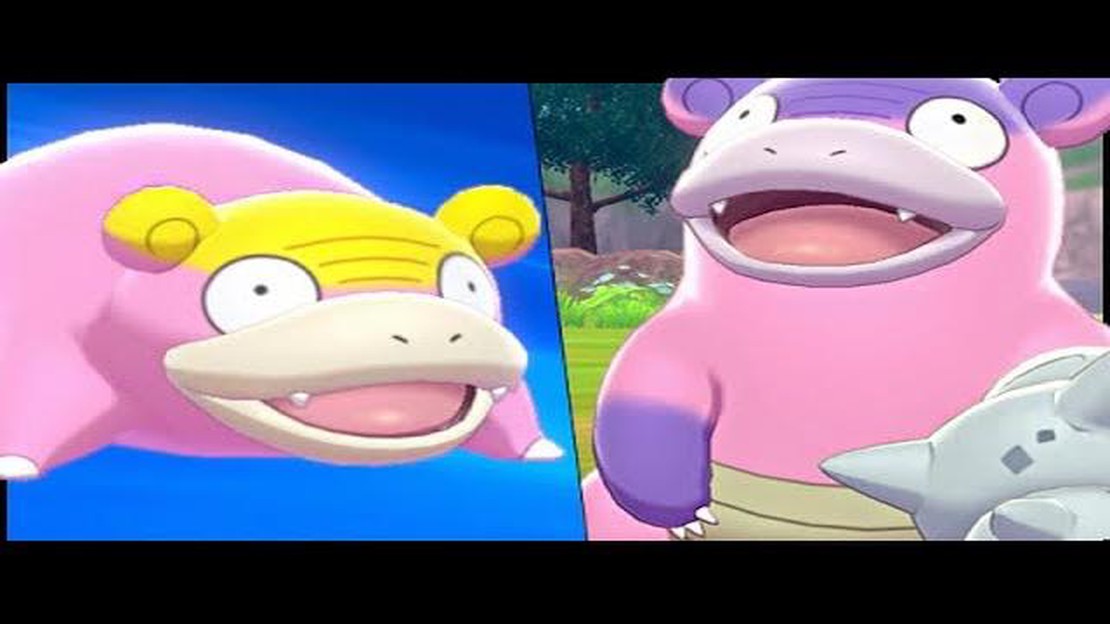
How To Evolve Slowpoke In Pokemon Sword? Slowpoke is a popular Pokemon in the Pokemon Sword game, and many players want to know how to evolve Slowpoke …
Read Article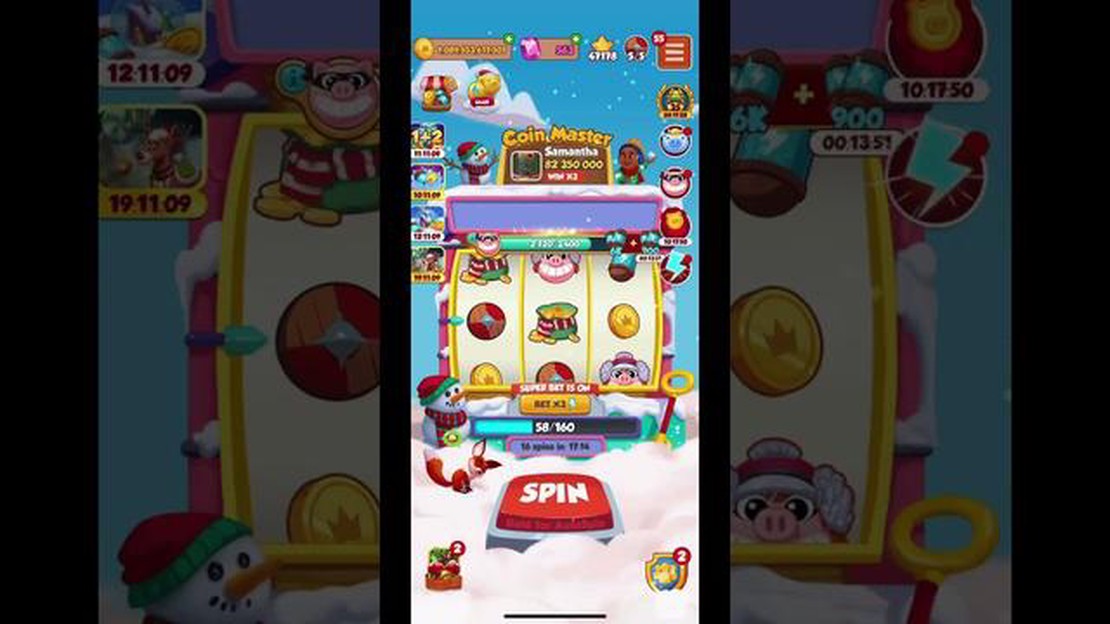
How Do U Make Friends On Coin Master? If you’re an avid player of Coin Master, you probably already know how important it is to have friends in the …
Read Article


