

Easy Steps to Get Toca Boca on Mac | [Website Name]
How To Get Toca Boca On Mac? If you’re a fan of Toca Boca games and you have a Mac, you might be wondering how to get them on your computer. Luckily, …
Read Article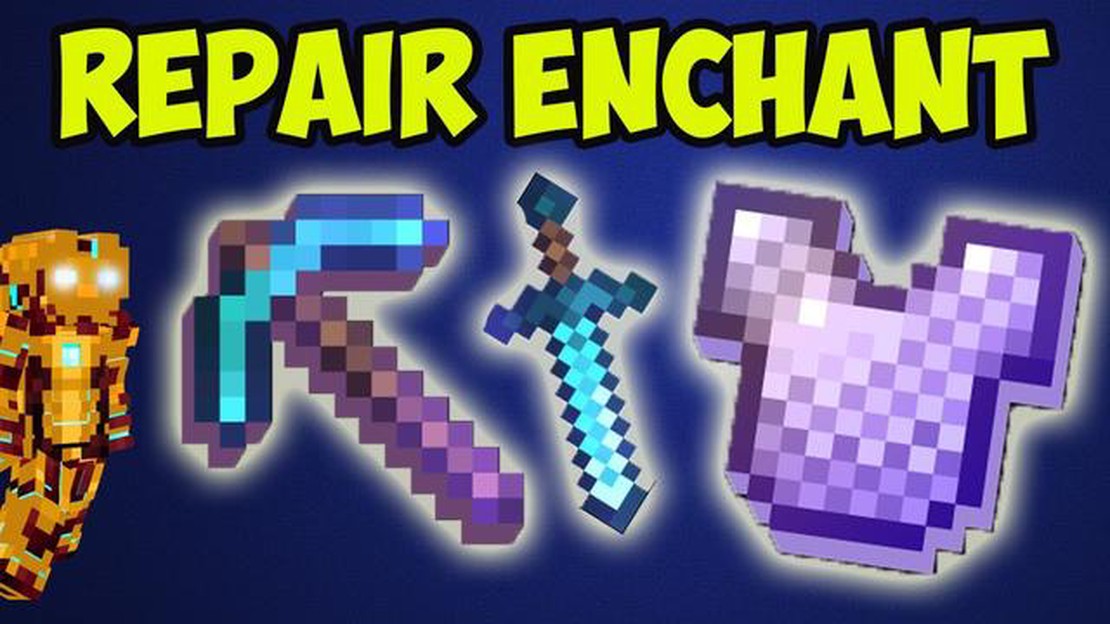
If you’re an avid Minecraft player, you know how important it is to keep your armor in good condition. Armor not only protects you from attacks, but it also helps you to survive in the game. Over time, your armor will wear down and become less effective. That’s where armor repair comes in. In this step-by-step guide, we’ll show you how to repair your armor and keep it in top shape.
First, let’s talk about the materials you’ll need to repair your armor. The main ingredient is another piece of the same type of armor that you want to repair. For example, if you want to repair a helmet, you’ll need another helmet. You’ll also need an anvil, which can be crafted using iron ingots. Anvils are essential for repairing and combining items in Minecraft.
Once you have the materials ready, you can start the armor repair process. First, place the anvil on the ground and right-click on it to open the interface. Place the damaged armor piece in the first slot, and the undamaged armor piece in the second slot. The anvil will show you a preview of the repaired armor and the number of experience levels required to complete the repair.
If you have enough experience levels, go ahead and click on the Repair button. Your armor will be repaired, but keep in mind that the process will cost you some experience levels. If you don’t have enough experience levels, you can still proceed with the repair, but it will cost you more levels. It’s important to consider the trade-off between repairing your armor and saving your experience levels for enchantments or other upgrades.
In conclusion, knowing how to repair your armor is crucial for survival in Minecraft. By following the steps outlined in this guide, you’ll be able to keep your armor in top condition and continue your adventures in the game without any worries. So, gather your materials, find an anvil, and start repairing your armor today!
Armor is an essential aspect of survival in Minecraft. It provides protection against various dangers that players can encounter while exploring the game’s world. Without armor, players are vulnerable to attacks from mobs, environmental hazards, and other hostile entities.
Here are some key reasons why armor is important in Minecraft:
In conclusion, armor is vital for surviving and thriving in Minecraft. It offers protection against various dangers, enhances players’ abilities, and enables them to explore and conquer the game’s challenging environments. Investing time and resources into obtaining and repairing armor is essential for any Minecraft player looking to ensure their survival and success.
Read Also: The Best Star Trek Games: Explore the Final Frontier in these Thrilling Titles
Armor is essential for survival in Minecraft, as it provides protection against hostile mobs and other players. However, with regular use, armor can become worn out and lose its durability. In order to keep your armor in top shape, it’s important to know how to repair it.
It’s important to note that repairing armor in Minecraft using an anvil will cost experience levels, which are displayed in the top right corner of the anvil interface. The more damaged the armor is, the more experience levels it will cost to repair.
Read Also: How to Easily Create a Team on Coin Master - Step-by-Step Guide
In addition to using an anvil, you can also repair armor using the crafting table, although this method is less efficient. To repair armor using a crafting table, simply place the damaged armor and the repair material in the grid and retrieve the repaired armor from the result slot.
By following this step-by-step guide, you can easily repair your armor and ensure its durability in Minecraft. Remember to always keep an eye on your armor’s durability and repair it before it becomes too damaged!
Armor is an essential part of surviving in Minecraft, but it can break if not properly taken care of. To ensure your armor lasts as long as possible, follow these tips and tricks for armor maintenance:
By following these tips and tricks for armor maintenance, you can ensure that your armor lasts longer and provides better protection in the dangerous world of Minecraft.
Repairing armor is important in Minecraft because it helps to prolong the lifespan of the armor, allowing players to continue using it for a longer period of time. Without repair, armor can become weak and easily break, leaving players vulnerable to attacks. Repairing armor also saves resources, as players don’t have to constantly craft new sets of armor.
The materials needed to repair armor in Minecraft depend on the type of armor being repaired. For most types of armor, players will need either a matching material or an anvil, as well as experience levels. For example, to repair iron armor, players will need either iron ingots or an anvil, as well as experience levels. Some types of armor, such as diamond armor, require diamond gems or an anvil, as well as experience levels.
Yes, there is a way to repair armor without using an anvil in Minecraft. Players can repair leather armor by combining two damaged pieces of the same type of leather armor in their crafting grid. This will merge the two pieces and repair the armor. However, this method can only be used with leather armor and does not work for other types of armor.
How To Get Toca Boca On Mac? If you’re a fan of Toca Boca games and you have a Mac, you might be wondering how to get them on your computer. Luckily, …
Read Article
How To Recover Brawl Stars Account Without Supercell Id? Whether you accidentally deleted your Brawl Stars account or got locked out of it, don’t …
Read Article
What Is Vpn In Mobile Legends? Mobile Legends is a popular mobile game that has gained a huge following around the world. It is a multiplayer online …
Read Article
How To Attack Friends In Clash Of Clans Android? Clash of Clans is a popular mobile strategy game that allows players to build their own villages, …
Read Article
How Much Does Clash Royale Cost? Welcome to our Clash Royale pricing guide! If you’re a fan of this popular mobile game, you’re probably wondering how …
Read Article
Call of Duty Mobile Connection Error If you’re an avid player of Call of Duty Mobile and have encountered the frustrating connection error, you’re not …
Read Article


