

The Best Warzone Guns: A Comprehensive Guide to Dominate Your Enemies
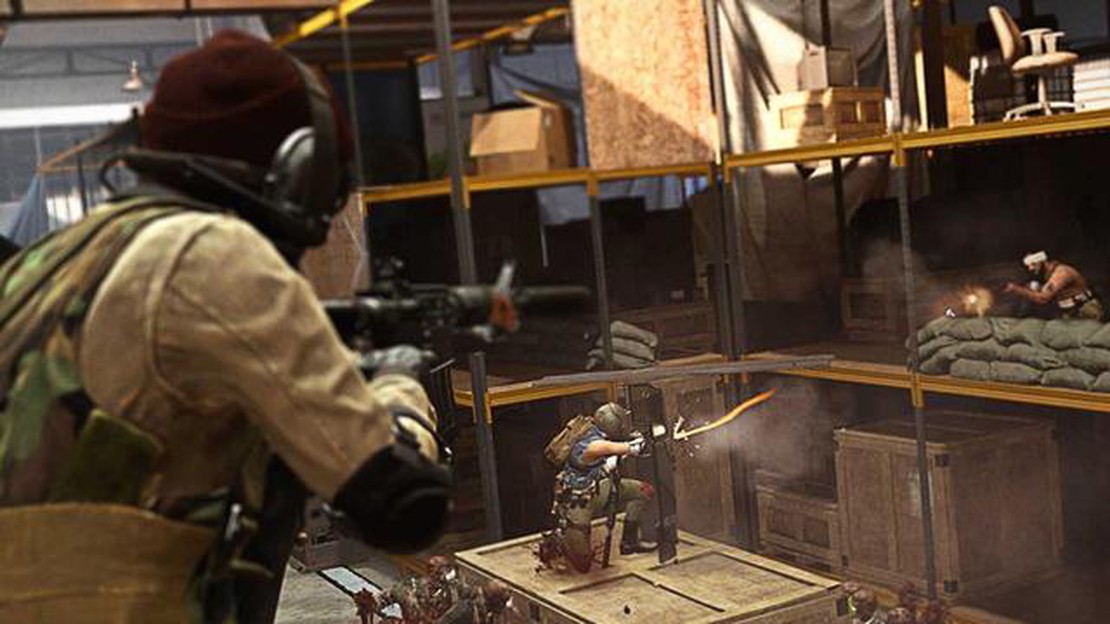
The best Warzone guns Are you tired of getting outgunned and outplayed in Call of Duty: Warzone? Do you want to take your game to the next level and …
Read Article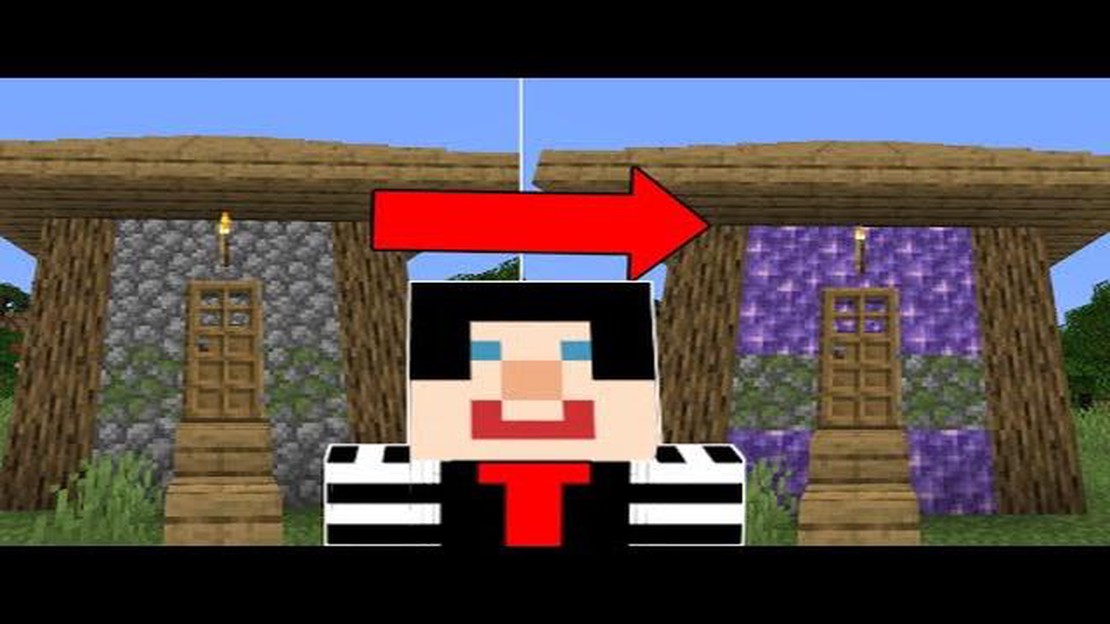
Minecraft, the immensely popular sandbox game, offers players a vast world to explore and create in. One of the key elements of Minecraft is building and modifying structures using various types of blocks. However, as you play the game, you may find yourself wanting to replace certain blocks in your creations with different ones. Fortunately, Minecraft provides a simple and straightforward method for replacing blocks.
To replace blocks in Minecraft, you will need to have the necessary materials and tools. First, you will need to gather the block you want to replace and the block you want to replace it with. This can involve mining resources or obtaining blocks from other sources. Once you have the blocks, you will also need a tool that is capable of breaking and placing blocks, such as a pickaxe.
With your materials and tools ready, you can follow these step-by-step instructions to replace blocks in Minecraft. First, locate the block that you want to replace. Stand close to it and make sure you have the replacement block in your inventory. Next, select your tool and right-click on the block you want to replace. This will break the block and create an empty space. Now, select the replacement block from your inventory and right-click on the empty space. The replacement block will be placed, effectively replacing the original block.
It’s important to note that some blocks in Minecraft may require specialized tools to break and replace. For example, certain blocks may require a specific type of pickaxe or axe. Be sure to check the game’s information or consult online resources to determine the correct tool for the block you want to replace. Additionally, keep in mind that replacing blocks may alter the overall structure or appearance of your creation, so make sure to plan and test your changes before committing to them.
By following these simple steps, you can easily replace blocks in Minecraft and customize your creations to your liking. Whether you’re looking to update the look of your building or experiment with new materials, the ability to replace blocks adds an extra layer of creativity and flexibility to the game. So go ahead, grab your tools, and start transforming your Minecraft world!
In Minecraft, players often come across situations where they want to replace blocks with different types or materials. This could be for building purposes or for aesthetic reasons. Whatever the reason, knowing how to replace blocks in Minecraft is a useful skill. Follow this step-by-step guide to learn how to do it.
Before you can start replacing blocks in Minecraft, make sure you have the necessary materials. This may include a pickaxe or shovel, depending on the types of blocks you want to replace. Also, make sure you have enough of the new block type that you want to replace with.
Next, you need to locate the blocks that you want to replace. This can be done by exploring your Minecraft world or by using certain tools like the “/fill” command. Take note of the coordinates of the blocks you want to replace as it will be needed in the next steps.
There are multiple ways to replace blocks in Minecraft. You can use commands like “/fill” or “/setblock” or you can manually break and place blocks. Choose the method that suits your needs and skills.
If you decide to use commands, open the chat window in Minecraft and type in the appropriate command to replace the blocks. For example, if you want to replace all dirt blocks at coordinates (x,y,z) with stone blocks, you can use the command “/fill x1 y1 z1 x2 y2 z2 stone replace dirt”. Replace (x1,y1,z1) and (x2,y2,z2) with the coordinates of the blocks you want to replace and press enter to execute the command.
If you prefer a more hands-on approach, you can manually replace blocks by breaking them with a pickaxe or shovel and placing the new block type in their place. This method is more time-consuming but gives you more control over the placement of each block.
Once you have replaced the blocks, double-check to ensure that the changes are accurate and to your liking. If necessary, repeat the steps to make further changes or adjustments.
Lastly, make sure to save your progress in the game. This can be done by either exiting the world and saving, or by using the “/save” command in Minecraft. Saving your progress will prevent any accidental loss of changes you have made.
By following these steps, you should now know how to replace blocks in Minecraft. Whether you choose to use commands or go for a manual approach, you can now customize your Minecraft world to your liking.
Before you can start replacing blocks in Minecraft, you will need to gather a few materials. Here is a list of items you will need:
Make sure you have these materials ready before you start replacing blocks in Minecraft. Having the necessary tools and materials will make the process much easier and more efficient.
Before you can replace a block in Minecraft, you first need to find the specific block that you want to replace. There are a few different methods you can use to locate the block:
Choose the method that works best for you and move on to the next step once you have identified the block you want to replace. It’s essential to double-check your selection to ensure you’re replacing the correct block.
Read Also: Step-by-Step Guide: How to Get Clash of Clans on Kindle Fire
When it comes to replacing blocks in Minecraft, it’s important to use the right tools and techniques to ensure a successful process. Here are some key things to keep in mind:
1. Gather the necessary materials:
Read Also: How To Get Victini in Pokemon Sword: Step-by-Step Guide
Before you begin replacing blocks, make sure you have the necessary materials. This can include a pickaxe, shovel, or any other tool required to break or place blocks. Additionally, you may need certain materials to craft specific blocks if you’re changing them into something else.
2. Plan your replacement:
Take some time to plan what you want to replace and how you want to replace it. This could involve deciding on a specific block type you want to use or mapping out the area you want to change. Planning ahead will help you to be more efficient and avoid mistakes.
3. Break the existing blocks:
Once you have your materials and a plan in place, start by breaking the existing blocks that you want to replace. Use the appropriate tool for the job, such as a pickaxe for stone blocks or an axe for wood blocks. Simply approach the block and break it by holding down the left-click button on your mouse.
4. Collect the dropped items:
When you break a block, it will drop as an item that you can collect. Make sure to pick up these dropped items so that you can use them later or discard them if you don’t need them. Simply walk over the dropped item to collect it.
5. Place the new blocks:
Once you have broken the existing blocks and collected the dropped items, it’s time to place the new blocks in their respective positions. Use the same technique as you would when placing any other block in Minecraft. Simply select the desired block in your inventory, position yourself in front of the empty space, and right-click to place the block.
6. Repeat the process:
If you need to replace multiple blocks, repeat the process described above until you have replaced all the desired blocks. Take breaks if needed and double-check your work to ensure accuracy.
7. Clean up and organize:
After you have finished replacing the blocks, take the time to clean up any leftover items or debris from the process. This will help to keep your Minecraft world tidy and organized.
By following these steps and using the proper tools and techniques, you can easily replace blocks in Minecraft and make any changes or improvements you desire.
Congratulations! You have successfully replaced a block in Minecraft. Now it’s time to enjoy and make the most out of your new block. Here are a few suggestions on how to do that:
Remember, the possibilities in Minecraft are endless. Don’t be afraid to experiment and have fun with your new block. Happy building!
The best Warzone guns Are you tired of getting outgunned and outplayed in Call of Duty: Warzone? Do you want to take your game to the next level and …
Read Article
Why Mobile Legends Cant Work On Mobile Data? Mobile Legends is a popular mobile game that has gained a large following around the world. However, many …
Read Article
How To Enter Cheat Codes On Clash Royale? Clash Royale is a popular mobile game that combines elements of tower defense and card collecting. While the …
Read Article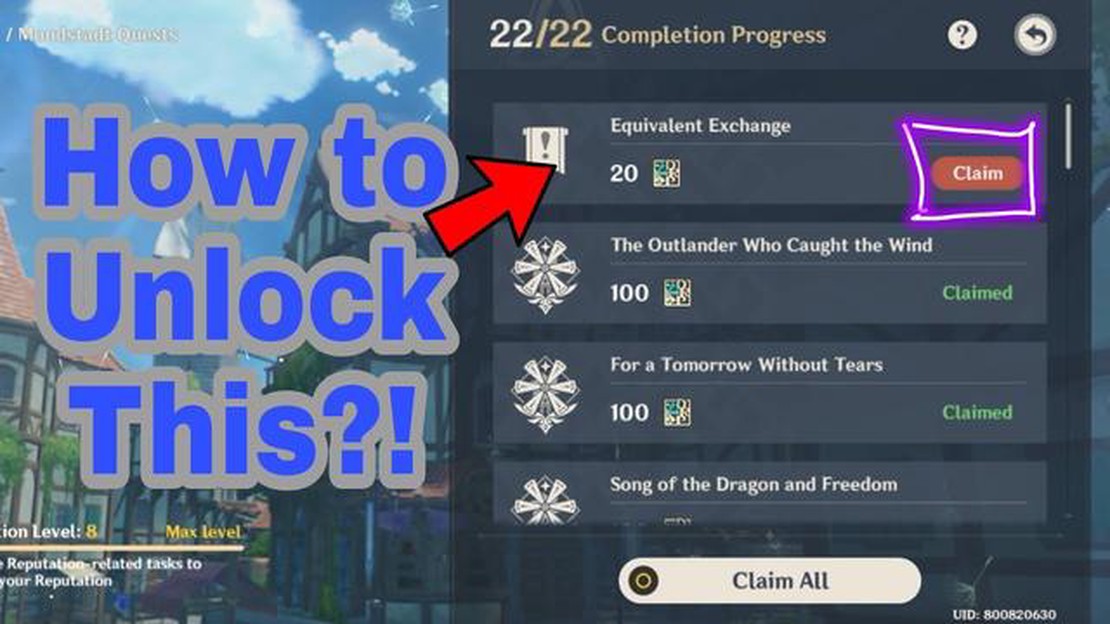
How To Unlock Equivalent Exchange Genshin Impact? Genshin Impact, the popular action role-playing game developed by miHoYo, offers players the ability …
Read Article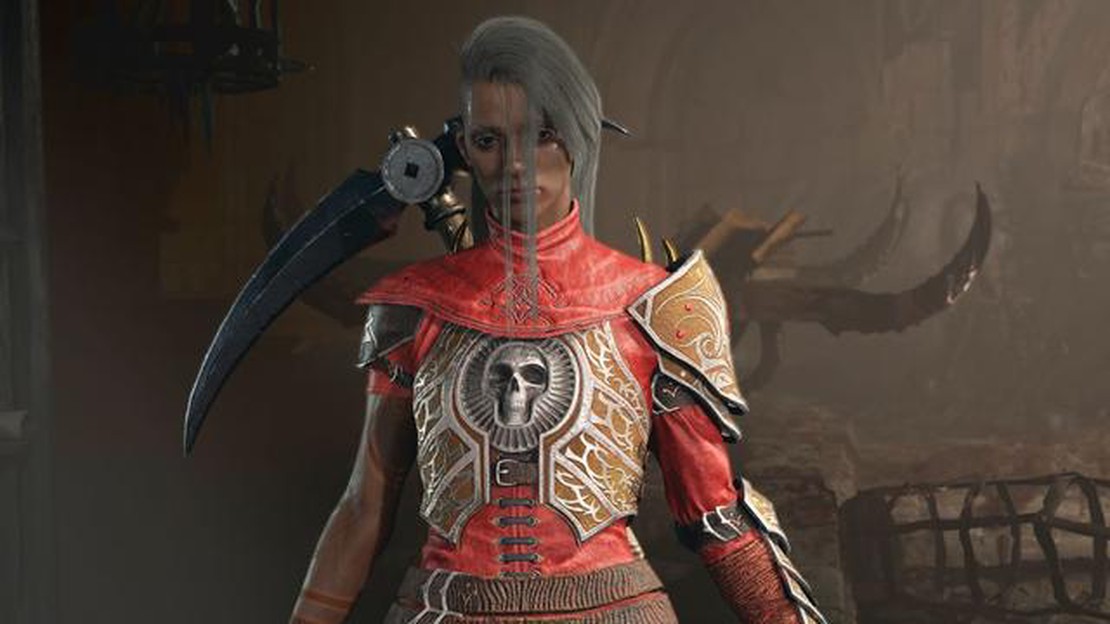
Blizzard just dumped buckets of demons on Diablo 4 to make the endgame grind way less miserable In a recent update, Blizzard Entertainment has …
Read Article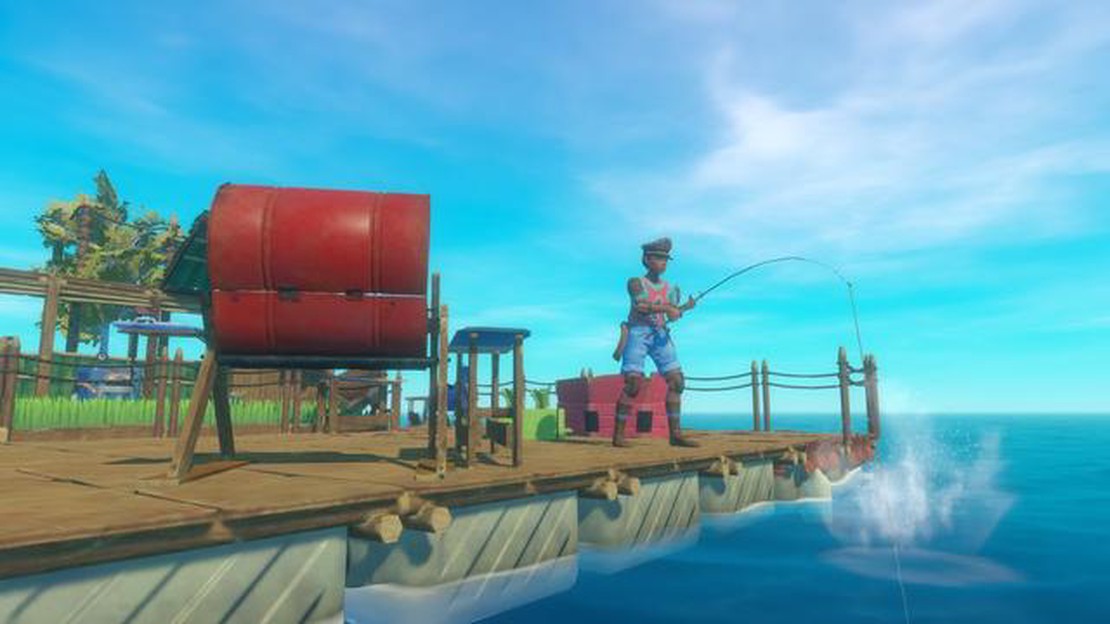
How to get fishing bait in Raft Fishing is an essential part of survival in the game Raft. It not only provides a source of food but also valuable …
Read Article


