


HHKB Professional Hybrid Type S: The Ultimate Keyboard for Professionals
HHKB Professional Hybrid Type S The HHKB Professional Hybrid Type S is a keyboard that has been specifically designed for professionals who demand the …
Read Article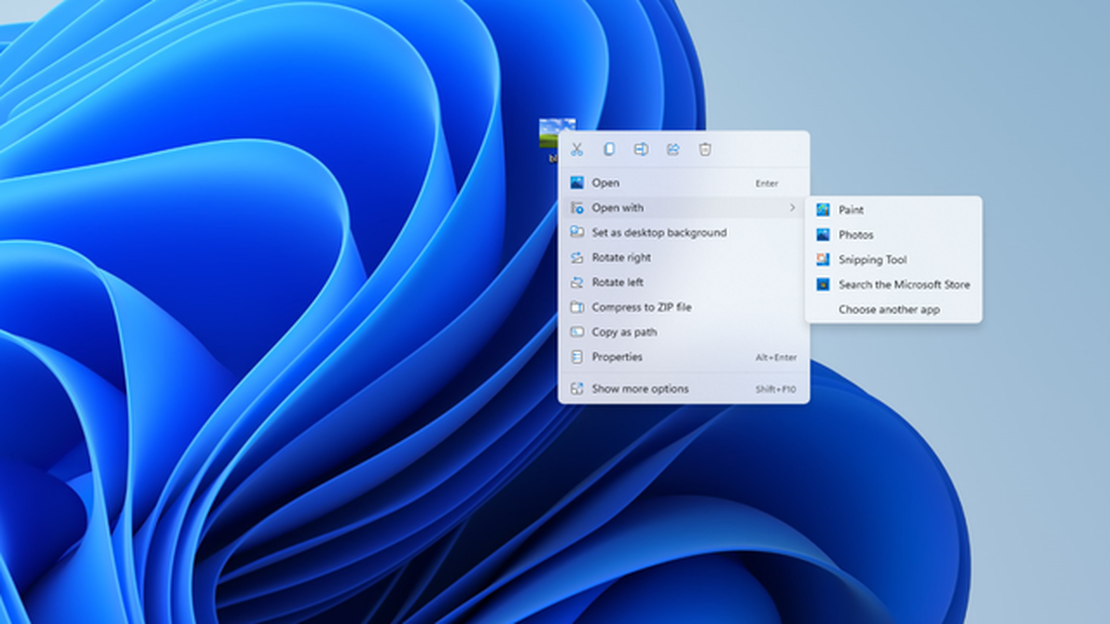
If you recently upgraded to Windows 11 and find that the context menus are missing some options or have been simplified, you may want to restore the full context menus. Full context menus provide access to additional features and options that can enhance your productivity and customization options. In this step-by-step guide, we will show you how to restore the full context menus in Windows 11.
Step 1: Open the Registry Editor
Step 2: Navigate to the ContextMenuHandlers Key
Step 3: Backup the ContextMenuHandlers Key (Optional)
Before making any changes to the Registry, it is always a good idea to create a backup in case something goes wrong. To create a backup of the ContextMenuHandlers key:
Step 4: Restore the Full Context Menus
To restore the full context menus, you will need to delete any keys that have “(Simplified)” or “(Default)” in their names:
Step 5: Restart Your Computer
After deleting the keys, restart your computer to apply the changes. Once your computer has restarted, the full context menus should be restored with all the additional options and features.
Conclusion
By following these steps, you can easily restore the full context menus in Windows 11. Having access to the full context menus provides you with more control over your system and allows you to customize it according to your needs. Remember to always be cautious when making changes to the Registry and create a backup before proceeding.
Read Also: Stellaris Review: Explore the Vast Universe of Stellaris
The new Windows 11 operating system introduces a sleek and minimalist design, but it also comes with some changes to the context menus. If you prefer the full context menus found in previous versions of Windows, you can easily restore them with a few simple steps.
Step 1: Open the Registry Editor
Step 2: Navigate to the Context Menu Settings
Step 3: Create a New DWORD Value
Read Also: Summon Commands in Minecraft: A Comprehensive Guide
Step 4: Modify the Value
Step 5: Restart your computer
After making the above changes, it’s necessary to restart your computer for the full context menus to take effect.
Step 6: Enjoy the Full Context Menus
Once your computer restarts, the full context menus will be restored in Windows 11. You can now right-click on files, folders, or the desktop to access the extended set of options and features.
Note: Modifying the registry can be risky, so it’s recommended to create a backup before making any changes. If you encounter any issues, you can restore the backup or revert the changes by deleting the ExtendedUIHoverTime value from the Registry Editor.
By following these simple steps, you can easily restore the full context menus in Windows 11 and regain access to the additional features and options that were present in previous versions of Windows.
Restoring full context menus in Windows 11 can be done by following a few simple steps. Here’s a step-by-step guide to help you through the process:
Following these steps will ensure that you have access to all the options and features available in the full context menus in Windows 11. Enjoy the improved functionality and convenience!
HHKB Professional Hybrid Type S The HHKB Professional Hybrid Type S is a keyboard that has been specifically designed for professionals who demand the …
Read Article
How To Get Tomatoes In Animal Crossing? Tomatoes are a popular fruit in the world of Animal Crossing. Whether you’re looking to grow your own …
Read Article
How Much Is The Animal Crossing Switch? Are you an Animal Crossing fan looking to upgrade your gaming experience? Well, look no further because we …
Read Article
How to Complete Ariana Grande�s Missions in Fortnite If you’re a fan of both Ariana Grande and Fortnite, you’re in for a treat! The popular pop singer …
Read Article
Kamisato ayaka Genshin Impact Genshin Impact is an action role-playing game developed by miHoYo. One of the most awaited characters in the game is …
Read Article
How Much Is Among Us On Steam? Are you ready to join the craze? Among Us has taken the gaming world by storm, and now you can be a part of it too! But …
Read Article


