

Dell G5 15 SE Gaming Laptop Review: Unbiased Analysis and Rating
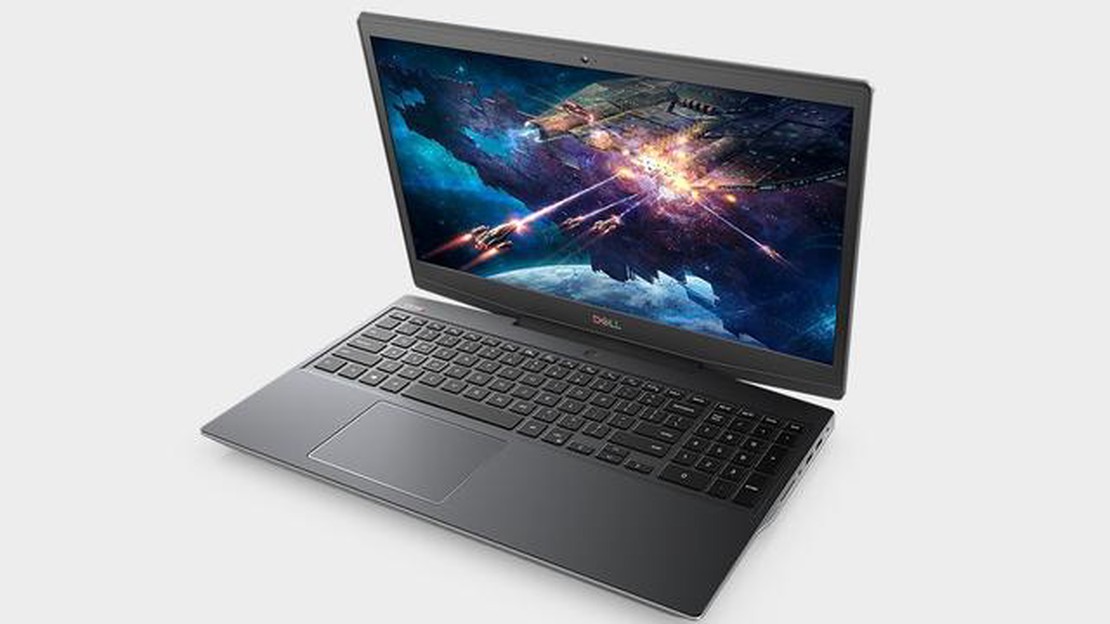
Dell G5 15 SE gaming laptop review The Dell G5 15 SE Gaming Laptop is a powerful and versatile device that caters to gamers looking for a …
Read Article
Are you a Minecraft enthusiast who loves to capture beautiful moments in the game? Taking screenshots in Minecraft is easier than you think! In this step-by-step guide, we will show you how to capture stunning screenshots in Minecraft and save them for later viewing or sharing with friends.
Step 1: Press the F2 key on your keyboard. This key is the default screenshot key in Minecraft. Alternatively, you can go to the options menu in the game and assign a different key for taking screenshots.
Step 2: After pressing the screenshot key, you will see a message in the chat that says “Saved screenshot as [name]”. The [name] represents the file name of the screenshot. By default, the screenshot will be saved in your Minecraft game folder.
Step 3: To locate the saved screenshots, you need to find your Minecraft game folder. Depending on your operating system, the default location of the Minecraft game folder can vary. On Windows, you can find it by going to the %appdata% folder and navigating to the .minecraft folder.
Step 4: Once you have found the Minecraft game folder, open the screenshots folder. This is where all your saved screenshots are stored. You can now view, edit, or share your screenshots with ease.
Now that you know how to take a screenshot in Minecraft, you can capture your favorite moments in the game and share them with the world. Whether it’s a breathtaking landscape, an impressive structure, or a hilarious moment, screenshots are a great way to preserve your Minecraft memories. So go ahead, press that screenshot key, and start capturing the magic of Minecraft!
To take a screenshot in Minecraft, you can follow these simple steps:
Following these steps will allow you to easily take a screenshot in Minecraft and save it for later use or sharing with others.
Before you can start taking screenshots in Minecraft, you need to launch the game and set up the scene you want to capture. Follow these steps to get started:
Read Also: GTA 6: What we know about Rockstar's next crime adventure - The latest updates and information
Once you have launched the game and set up the scene, you’re ready to proceed with taking the screenshot in Minecraft.
Taking a screenshot in Minecraft can be a great way to capture memorable moments, show off your creative builds, or document important achievements. Whether you’re playing on a computer or a console, capturing the perfect screenshot can be easy with just a few simple steps. Here’s how:
Read Also: How to Obtain Golden Cards in Coin Master - Expert Tips and Strategies
Remember, taking a screenshot in Minecraft is not only a way to document your adventures but also a way to express your creativity and share your experiences with others. So, take your time, experiment with different angles and settings, and have fun capturing the perfect screenshot!
To take a screenshot in Minecraft, you can simply press the F2 key on your keyboard. This will automatically save a screenshot of your current screen in the .png format. The screenshots can be found in the “screenshots” folder in your Minecraft directory.
Yes, you can change the key for taking screenshots in Minecraft. To do this, go to the “Options” menu in the game, click on “Controls”, and then find the “Screenshot” option. Click on the keybinding next to it and press the key you want to use for taking screenshots. Make sure to save your changes before exiting the menu.
To find the screenshots you’ve taken in Minecraft, you need to navigate to the “screenshots” folder in your Minecraft directory. The exact location of this folder may vary depending on the operating system you are using. In Windows, you can usually find it in the “.minecraft” folder, which is located in your user directory. On Mac, the folder is typically found in “~/Library/Application Support/minecraft”. On Linux, it can be found in “~/.minecraft”.
Yes, you can share your Minecraft screenshots with others. Once you have located the screenshot you want to share in the “screenshots” folder, you can either copy the file and send it directly to someone via email or messaging apps, or you can upload it to a file-sharing service or social media platform. Many players also like to share their screenshots on forums or in Minecraft communities.
Yes, there is a way to take multiple screenshots in quick succession in Minecraft. By default, each time you press the F2 key, the game will automatically assign a number to the screenshot file name. This allows you to take multiple screenshots without overwriting the previous ones. However, if you want to take screenshots even faster, you can download and install a mod or a third-party software that allows you to bind the screenshot function to a different key or add additional functionalities.
Yes, you can edit your Minecraft screenshots just like any other image file. Once you have taken a screenshot and located it in the “screenshots” folder, you can open it with image editing software such as Photoshop or GIMP. From there, you can crop, resize, add filters, or make any other adjustments you desire. This can be especially useful if you want to enhance the visual quality or create thumbnails for your Minecraft screenshots.
Dell G5 15 SE gaming laptop review The Dell G5 15 SE Gaming Laptop is a powerful and versatile device that caters to gamers looking for a …
Read Article
How To Download Clash Royale On Mac? If you’re a Mac user and a fan of mobile gaming, you’ve probably heard of Clash Royale. This highly addictive and …
Read Article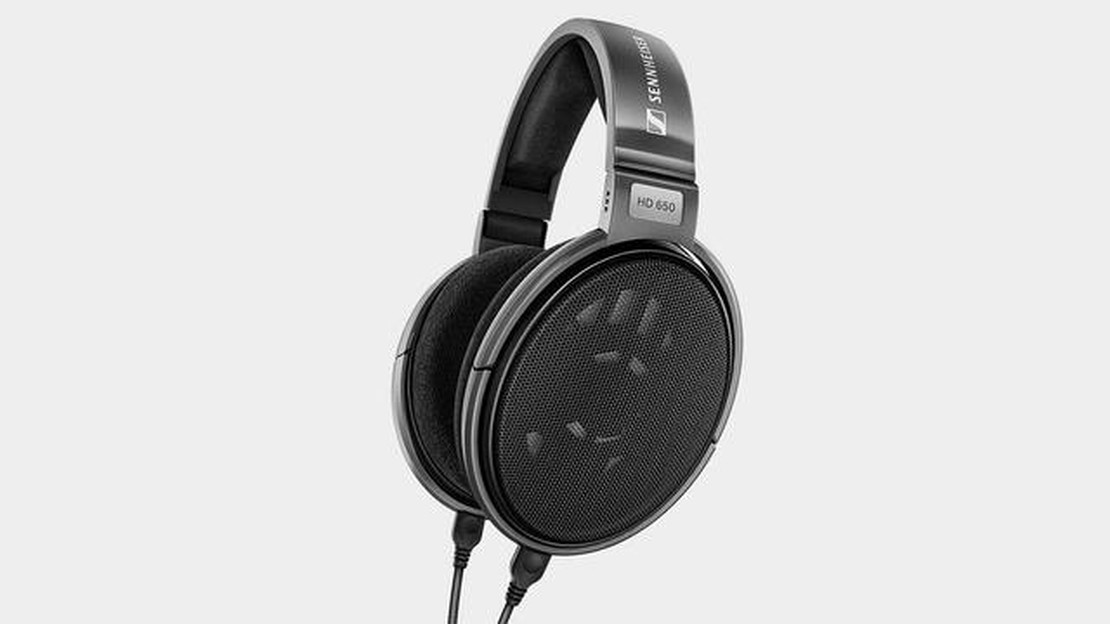
Sennheiser coupon codes for August 2023 Are you in the market for a new pair of headphones? Look no further! Sennheiser is a world-renowned brand …
Read Article
How Do You Make A Grindstone In Minecraft? If you’re an avid Minecraft player, you know how important it is to have the right tools and equipment for …
Read Article
Beginner�s Spear Genshin Impact Welcome to our comprehensive guide on spear characters in Genshin Impact! Whether you’re just starting out or looking …
Read Article
How To Report Someone On Brawl Stars? As an online multiplayer game, Brawl Stars provides players with a fun and competitive gaming experience. …
Read Article


