

Intel Core i5 12600K Review: A Deep Dive into Intel's Latest Processor
Intel Core i5 12600K review The Intel Core i5 12600K is the latest addition to Intel’s lineup of processors, and it promises to deliver impressive …
Read Article
Are you ready to create your own Minecraft world? Setting up a Minecraft server is easier than you might think. Whether you want to play with friends or build a community, hosting your own server gives you complete control over your Minecraft experience. In this step-by-step guide, we will walk you through the process of setting up a Minecraft server, from choosing the right hosting option to configuring your server settings.
Step 1: Choose the Right Hosting Option
Before you start setting up your Minecraft server, you’ll need to choose the right hosting option. There are several options available, including self-hosting, using a third-party hosting service, or renting a dedicated Minecraft server. Each option has its own pros and cons, so it’s important to consider factors such as cost, technical knowledge, and server performance before making a decision.
Step 2: Install and Configure the Server Software
Once you’ve chosen a hosting option, it’s time to install and configure the server software. Most hosting services provide an easy-to-use control panel or one-click installation options, making this step a breeze. If you’re self-hosting, you’ll need to download the server software from the Minecraft website and follow the instructions for your specific operating system. Be sure to configure any necessary settings, such as server name, game mode, and player limit, to customize your Minecraft server to your liking.
Step 3: Set Up Port Forwarding
If you want to allow players outside of your local network to join your Minecraft server, you’ll need to set up port forwarding. Port forwarding allows incoming connections to bypass your router’s firewall and reach your server. The exact process for setting up port forwarding will vary depending on your router, but it typically involves accessing your router’s configuration page and forwarding the Minecraft server port (default is 25565) to your server’s internal IP address.
Setting up a Minecraft server can seem like a daunting task, but with our step-by-step guide, you’ll be playing with your friends in no time! Just follow these easy steps:
The first step in setting up a Minecraft server is choosing a hosting provider. There are many options available, so make sure to research and compare prices, features, and customer reviews. Some popular hosting providers include:
Select a hosting provider that fits your needs and budget. Once you’ve chosen a hosting provider, move on to the next step.
After selecting a hosting provider, navigate to their website and choose a Minecraft server hosting plan that suits your requirements. Consider factors such as server size, RAM, CPU, and number of players. Purchase the plan and proceed to the next step.
Once you have purchased your hosting plan, you will receive the necessary login details to access your server. Follow the hosting provider’s instructions to install and configure the Minecraft server. This usually involves downloading server files and setting up server properties, such as game mode, difficulty level, and player limits.
In order for others to connect to your Minecraft server, you’ll need to set up port forwarding on your router. This involves accessing your router’s settings and forwarding the Minecraft server port (usually 25565) to your server’s IP address. Consult your router’s manual or search online for specific instructions on how to set up port forwarding for your router model.
With your server set up and port forwarding configured, it’s time to invite your friends to join! Share your server’s IP address with them and provide any necessary instructions for connecting. You can also set up whitelisting or password protection for added security.
Read Also: What Is The Point Of Minecraft? Exploring The Purpose and Benefits
Once your friends are connected, you can customize your Minecraft server to your liking. You can install mods, plugins, and resource packs to enhance gameplay. Explore the various options available and experiment with different additions to make your server unique.
Running a Minecraft server requires ongoing management and maintenance. Make sure to regularly update your server files, mods, and plugins to ensure compatibility and security. Monitor server performance, resolve any issues that arise, and enforce server rules to maintain a positive gaming experience for all players.
Read Also: What Do Pigs Eat In Minecraft? | All Food Options for Pigs in Minecraft
That’s it! You’ve successfully set up a Minecraft server and are ready to start playing with your friends. Enjoy your adventures in the blocky world of Minecraft!
Note: Remember to familiarize yourself with the terms and conditions of your chosen hosting provider, as well as any legal requirements for running a server.
Before you can start your own Minecraft server, you need to install the server software on your computer. Follow these steps to get started:
Congratulations! You have successfully installed the Minecraft server software and can now start playing with your friends. In the next section, we will discuss how to configure additional server settings and customize your Minecraft experience.
Once you have set up your Minecraft server, the next step is to configure the settings to customize your server experience. Here are the key server settings you can modify:
It’s important to carefully consider and configure these settings to create the desired gameplay experience for your players. Remember to save the changes and restart the server after making any modifications.
Once you have successfully set up your Minecraft server, you can connect to it and start playing with your friends. To connect to the server, follow these simple steps:
Once you are connected to the server, you will be able to interact with other players and explore the world together. Remember to follow the server rules and guidelines to ensure an enjoyable experience for everyone.
A Minecraft server is a computer or a virtual machine that allows multiple players to connect and play together in the Minecraft game.
You might want to set up a Minecraft server if you want to play with your friends or create a community where other players can join and interact.
The cost of setting up a Minecraft server can vary depending on the hosting provider and the resources you need. It can range from a few dollars per month to more expensive options for larger servers.
The system requirements for a Minecraft server will depend on the number of players and the mods or plugins you plan to use. Generally, you will need a computer with a good amount of RAM and a decent processor.
Intel Core i5 12600K review The Intel Core i5 12600K is the latest addition to Intel’s lineup of processors, and it promises to deliver impressive …
Read Article
How Many Fortnite Skins Are There? Fortnite, the popular online multiplayer game developed by Epic Games, is known for its extensive collection of …
Read Article
How To Get Nicknames On Roblox? Roblox, the popular online gaming platform, allows users to create their own virtual worlds and play games created by …
Read Article
Where Is The Orchard In Fortnite? If you’re an avid Fortnite player, you may have heard about the Orchard. This popular location can be found on the …
Read Article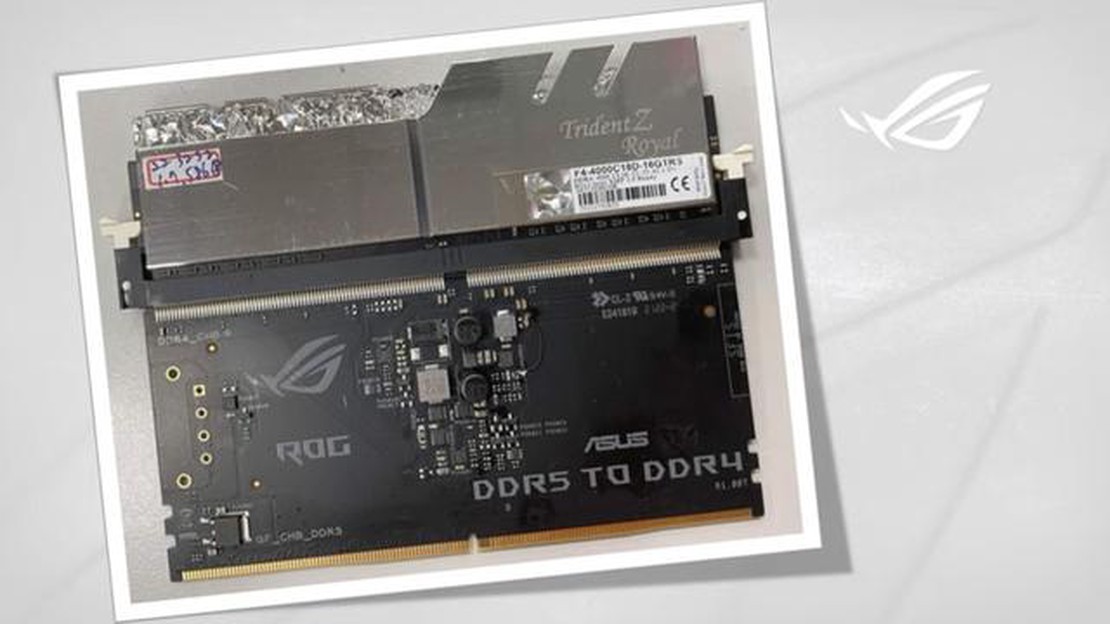
Asus develops a DDR4 to DDR5 adapter card Asus, a leading manufacturer of computer hardware and electronics, has unveiled a groundbreaking solution to …
Read Article
How To Get Galarian Slowpoke In Pokemon Go? Are you a Pokemon Go fanatic and always on the hunt for rare and exclusive Pokemon? If so, you’re in luck! …
Read Article


