

Temtem Review: A Comprehensive Look at the Highly Anticipated MMO Pokemon-Like Game
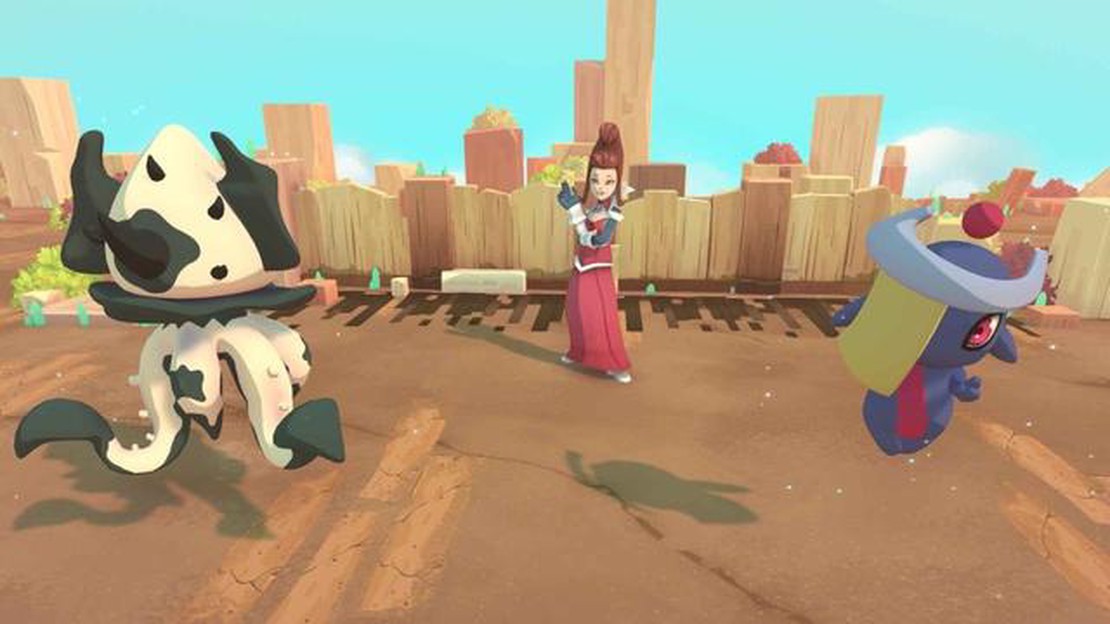
Temtem review Temtem is a highly anticipated massively multiplayer online game that has been gaining a lot of attention in the gaming community. …
Read Article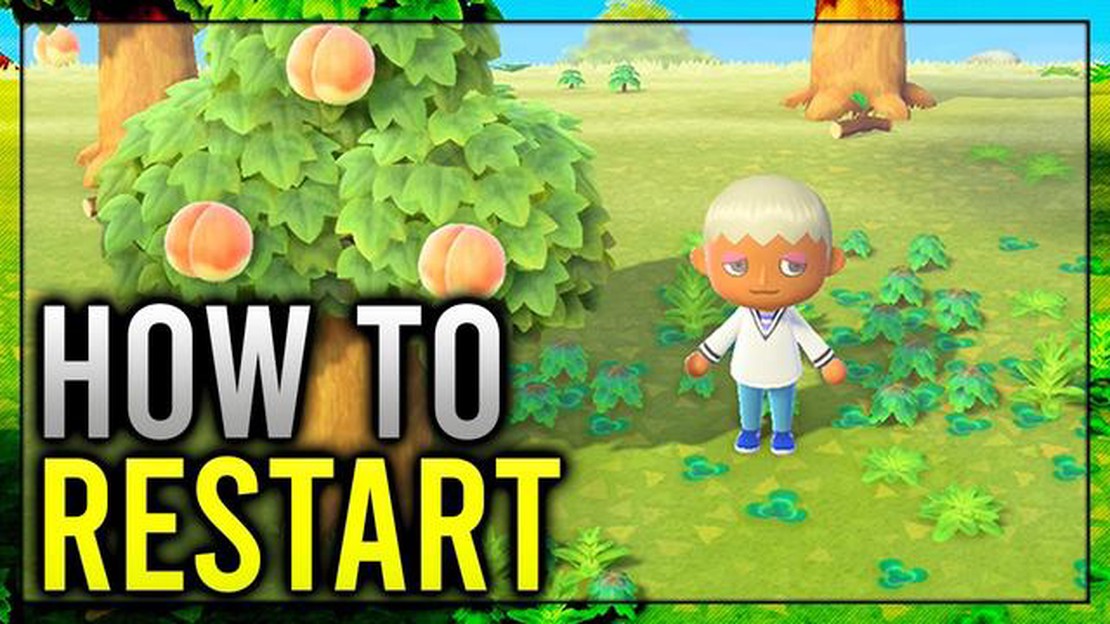
If you’ve recently picked up Animal Crossing: New Horizons and are ready to embark on a new adventure, starting a new island might be just what you need! This beginner’s guide will walk you through the steps to create your very own island paradise and get you on your way to making friends, catching bugs, and decorating your home.
To start a new island, you’ll first need to create a new character. When you boot up the game for the first time, you’ll be prompted to create an avatar that represents you in the game. Choose your gender, appearance, and name, and you’re on your way to starting a brand new island!
Once you’ve created your character, you’ll be taken to an airplane ride to your new island. During the ride, you’ll meet two friendly animal characters, Tom Nook and his twin nephews, Timmy and Tommy. They will be your guides throughout your journey on the island.
After the airplane ride, you’ll arrive at your new island paradise! Tom Nook will give you a tent to set up as your temporary home. You can choose where to place your tent, so take your time to find the perfect spot. Once you’ve set up your tent, your journey on the island truly begins!
From there, the possibilities are endless. Explore the island, meet the animal residents, and gather resources to craft tools and expand your island. Catch fish and bugs, grow trees and flowers, and even design your own custom patterns to decorate your island and home. The more you play, the more you’ll unlock and discover about your new island!
So, grab your Nintendo Switch and get ready to start a new island adventure in Animal Crossing: New Horizons. With this beginner’s guide, you’ll have all the information you need to create your dream island and make the most out of your time in this charming and relaxing game.
Welcome to Animal Crossing! If you’re new to the game and want to start a new island, follow these easy steps to get started:
Remember, Animal Crossing is a game meant to be enjoyed at your own pace. Take your time, relax, and have fun creating your perfect island getaway!
If you have any questions or need further guidance, consult the in-game tutorials or seek out online resources and communities for tips and advice. Happy island living!
Creating a new island in Animal Crossing is an exciting and rewarding experience. It allows you to start fresh and build your own virtual paradise. Follow these steps to set up your new island:
Read Also: Step-by-Step Guide: Creating an Xp Farm in Minecraft | Beginner's Tutorial
Once you’ve completed these steps, you’re all set to start your new island adventure! Enjoy exploring, building, and interacting with your new virtual home in Animal Crossing.
Once you’ve set up your new island in Animal Crossing, it’s time to start exploring and discovering all the hidden gems it has to offer. Here are some tips to get you started:
Read Also: Valheim Fermenter Guide: How to Use the Fermenter in Valheim
Remember to explore at your own pace and enjoy the relaxing experience Animal Crossing has to offer. There’s no rush, so take your time and savor every moment on your new island.
One of the key aspects of Animal Crossing is building relationships with the cute and quirky animal villagers that populate your island. Interacting with them regularly can lead to a stronger bond and unique interactions.
Here are some tips on how to interact with villagers and build relationships:
Remember, building relationships takes time and effort. Don’t get discouraged if a villager seems unresponsive at first. Keep interacting with them consistently, and eventually, you’ll become friends!
To start a new island in Animal Crossing, you need to have a Nintendo Switch console and the Animal Crossing: New Horizons game. First, you need to create a new player profile on your Nintendo Switch. Then, launch the game and follow the prompts to select an island layout and name. Once you confirm your choices, your new island adventure will begin!
No, you can only have one island per Nintendo Switch console in Animal Crossing: New Horizons. Each Nintendo Switch console can support multiple player profiles, but all players will share the same island. If you want to start a new island, you will need to delete your current island data and start fresh.
When choosing an island layout in Animal Crossing: New Horizons, you have four options: Northern Hemisphere, Southern Hemisphere, Standard, and Random. The Northern Hemisphere and Southern Hemisphere options determine the seasonal changes on your island. The Standard option gives you a balanced layout, while the Random option will generate a random layout for you.
No, you cannot change the name of your island once you have started playing Animal Crossing: New Horizons. The name you choose during the initial setup process will be permanent. It’s important to choose a name that you will be happy with for the duration of your time on the island.
Temtem review Temtem is a highly anticipated massively multiplayer online game that has been gaining a lot of attention in the gaming community. …
Read Article
How To Hack Fortnite Accounts? Fortnite has taken the gaming world by storm, and with its popularity comes the risk of hackers trying to steal your …
Read Article
How to get the Bolt of Gransax in Elden Ring In the highly anticipated open-world action role-playing game Elden Ring, players will have the …
Read Article
How To Aim Better In Call Of Duty Modern Warfare Xbox One? Call of Duty Modern Warfare is one of the most popular first-person shooter games on Xbox …
Read Article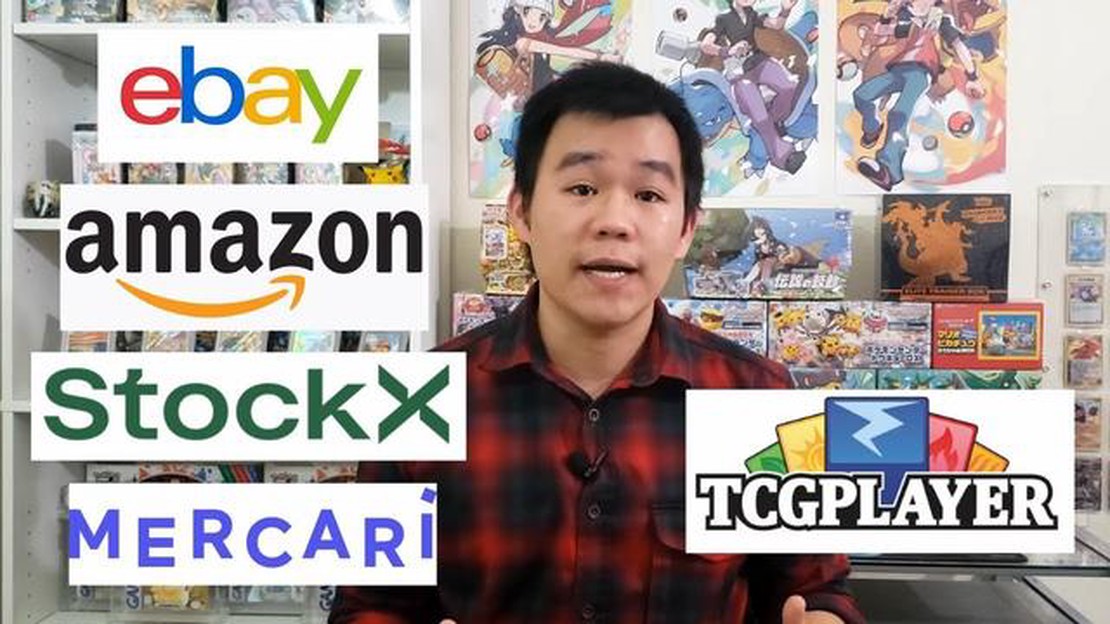
Where Can I Buy Pokemon Cards Near Me? Are you a Pokemon fan looking to expand your card collection? Look no further! We have just what you need - a …
Read Article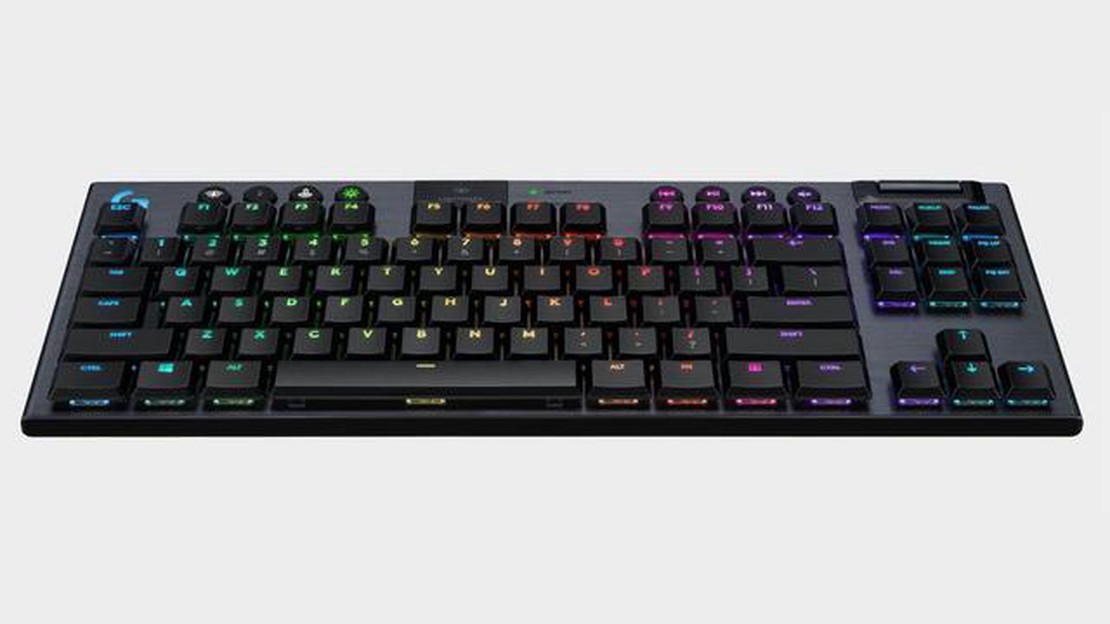
Logitech G915 TKL gaming keyboard review The Logitech G915 TKL Gaming Keyboard has been making waves in the gaming community with its sleek design, …
Read Article


