
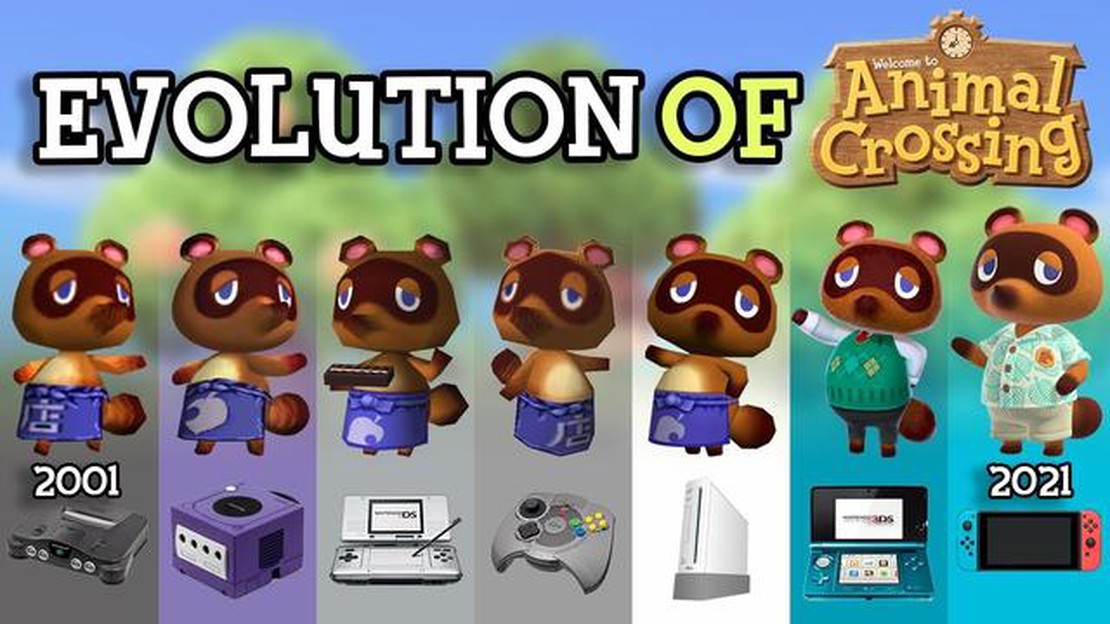

How Many Animal Crossing Games Are There? Discover the Full List!
How Many Animal Crossing Games Are There? Animal Crossing is a beloved video game franchise that has captured the hearts of players around the world. …
Read Article
If you’re a fan of the popular mobile game Brawl Stars, you might find yourself wanting to switch between different accounts for various reasons. Whether you want to start fresh, play with friends on a different account, or simply explore different gameplay strategies, knowing how to switch Brawl Stars accounts is essential. In this step-by-step guide, we’ll walk you through the process of switching accounts in Brawl Stars, ensuring a smooth and hassle-free transition.
Step 1: Access the Brawl Stars Settings
The first step to switching Brawl Stars accounts is to access the game’s settings. Open the game on your mobile device and tap on the gear icon located in the top left corner of the main screen. This will take you to the settings menu, where you can make adjustments and changes to your game.
Step 2: Select Supercell ID
Once you’re in the settings menu, scroll down until you find the “Supercell ID” option. Tap on it to access the Supercell ID settings. Supercell ID is the feature that allows you to switch between multiple accounts in Brawl Stars.
Step 3: Log Out of Your Current Account
After selecting Supercell ID, you’ll see a list of accounts that are linked to your game. Tap on the account you’re currently using and select the “Logout” option. This will log you out of your current account and allow you to switch to a different one.
Step 4: Sign In with a Different Account
Once you’ve logged out of your current account, you’ll be prompted to sign in with a different account. If you already have another Brawl Stars account, simply enter your login information and select the “Sign In” option. If you don’t have another account, you can create a new one by tapping on the “Create New Account” option.
Note: If you’re signing in with a different Supercell ID, make sure you’re using the correct credentials. Otherwise, you won’t be able to access your desired account.
Step 5: Enjoy Playing with Your New Account
Once you’ve signed in with a different account, you’re all set to enjoy playing Brawl Stars with your new profile. You can switch between accounts anytime by going back to the settings menu and selecting the Supercell ID option. This allows you to explore different gameplay styles, compete against your friends, and have a blast in the exciting world of Brawl Stars.
By following these simple steps, you’ll be able to switch Brawl Stars accounts efficiently and smoothly. So go ahead, try out different strategies, connect with friends, and make the most out of your gaming experience!
If you want to switch between different Brawl Stars accounts, follow these step-by-step instructions:
Read Also: Discover the Most Valuable Pokemon Card That Is Worth the Most!
Note that switching accounts may require you to log out of your current account and potentially lose progress or purchases associated with that account. Make sure to double-check that you have selected the correct account before confirming the switch.
If you encounter any issues while switching accounts, you can reach out to Brawl Stars support for further assistance.
Read Also: Animal Crossing on Nintendo Switch: How Much Does It Cost?
There are several reasons why you might need to switch Brawl Stars accounts. Here are a few common scenarios:
Regardless of the reason, it’s important to understand the steps involved in switching accounts to ensure a smooth transition without any loss of progress or data.
Before switching to a new Brawl Stars account, it is important to backup and secure your existing account to ensure that you don’t lose any progress or data. Follow these steps to backup and secure your account:
By following these steps, you can effectively backup and secure your existing Brawl Stars account before switching to a new one. This will ensure that your progress and data are safe and can be easily restored if needed.
To switch to a new Brawl Stars account, you will need to create a new account and link it to your game. This can be done by following these steps:
Note: It is important to remember your Supercell ID credentials as they will be required to log in to your account on another device or after reinstalling the game.
Yes, you can switch Brawl Stars accounts on your Android device. Here is a step-by-step guide on how to do it:
Yes, it is possible to switch Brawl Stars accounts on iOS. The process is similar to switching accounts on Android. Here is a step-by-step guide:
If you want to switch your Brawl Stars account to a different device, follow these steps:
Yes, you can switch your Brawl Stars account without losing your progress. Just make sure to link your account to a Supercell ID or a Google Play account if you’re using Android, or an Apple ID if you’re using iOS. This will allow you to access your account from any device.
If you uninstall the game without linking your account to Supercell ID or any other platform, your progress will be lost. However, if you have linked your account, you can easily recover it by reinstalling the game and logging in with your linked account.
Yes, you can switch your Brawl Stars account multiple times. Just make sure to follow the steps mentioned in the guide to switch your account without any issues.
How Many Animal Crossing Games Are There? Animal Crossing is a beloved video game franchise that has captured the hearts of players around the world. …
Read Article
How Many Emotes Are In Fortnite? If you are a Fortnite player, you are probably familiar with the numerous emotes that have become an important part …
Read Article
How To Play Genshin Impact With Friends? Genshin Impact is an open-world action role-playing game developed by miHoYo. With its vast and visually …
Read Article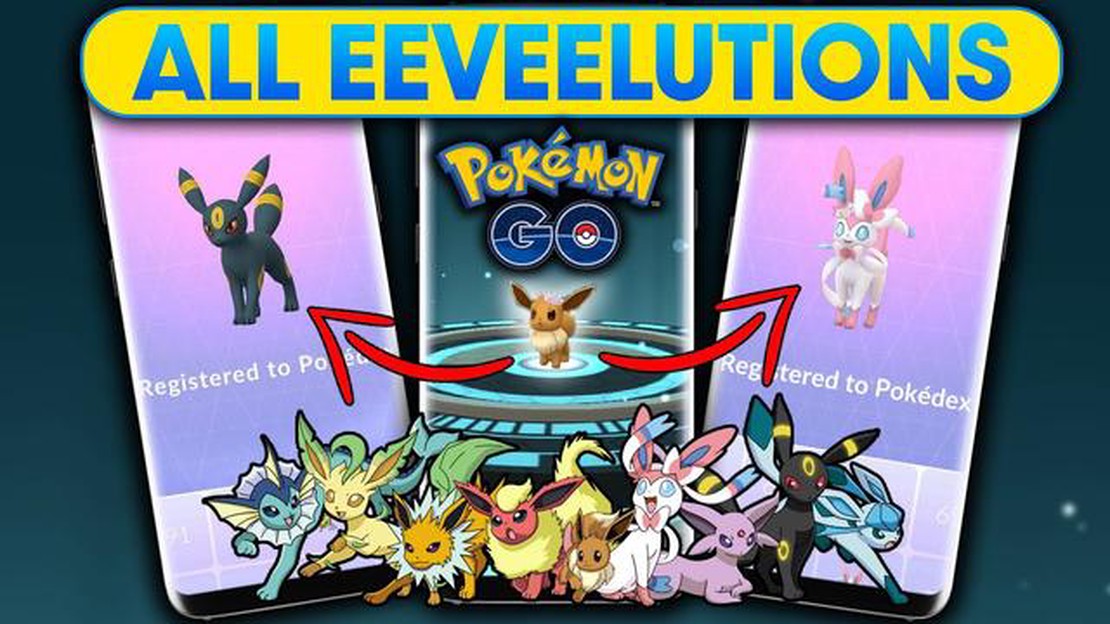
Where To Find Eevee In Pokemon Go? Eevee is one of the most beloved and versatile Pokemon in the world of Pokemon Go. With its ability to evolve into …
Read Article
Mercenary Sword Genshin Impact Looking to up your game in Genshin Impact? Look no further! Introducing the Mercenary Sword, the ultimate weapon for …
Read Article
Where Is Roblox Headquarters? Roblox is a popular online platform that allows users to create and play games. With millions of active users, it’s no …
Read Article


