
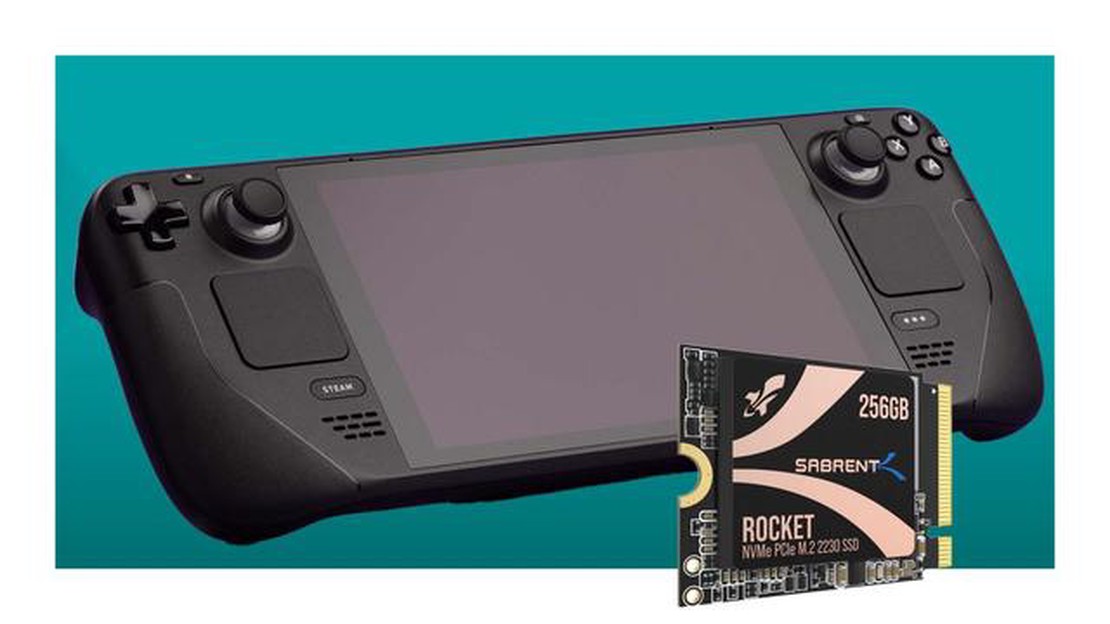

Get a 256GB Steam Deck for the price of 64GB by making a few tweaks
Grab yourself a 256GB Steam Deck for 64GB money with only a teensy bit of tinkering required Valve has recently announced its upcoming handheld gaming …
Read Article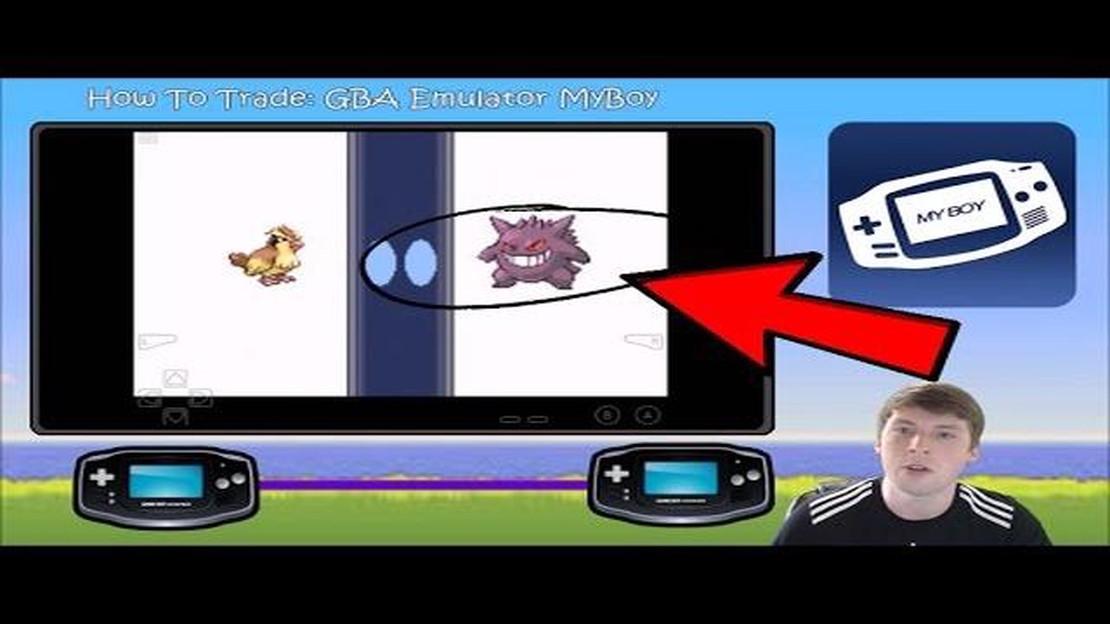
Trading Pokemon has always been a key element of the Pokemon gaming experience. It allows players to exchange and obtain rare Pokemon, complete their Pokedex, and even battle with friends. With the advancement of technology, it is now possible to trade Pokemon on emulators, making it more accessible to gamers who prefer playing on their computers.
In this step-by-step guide, we will walk you through the process of trading Pokemon on an emulator. Whether you’re using an emulator on your computer or smartphone, these instructions will help you connect with other players and trade those cherished Pokemon.
First, you will need to download and install an emulator that supports multiplayer functionality. There are several emulators available, such as VisualBoy Advance and My Boy! emulator, that not only allow you to play Pokemon games but also enable trading with other players. Make sure to choose a reputable emulator and download it from a trusted source.
Once you have your emulator installed, you will need to obtain the ROM file for the Pokemon game you want to play. Again, it’s important to acquire the ROM from a legitimate source to ensure a smooth and safe gaming experience. You may need to search online for the specific Pokemon game ROM you want to trade.
With your emulator and ROM ready, launch the emulator and load the Pokemon game. Navigate to the multiplayer option in the emulator’s menu and select “Trade” or “Link Cable” to initiate the trading process. Depending on the emulator, you may have the option to trade via a local connection or online.
Ensure that both players are connected to the same network if you choose the local connection option. If you opt for online trading, you will need to enter the IP address or code provided by the emulator. This allows you to connect with other players who are also looking to trade Pokemon.
Once you are connected, choose the Pokemon you want to trade and confirm the trade request with the other player. You can negotiate the trade with the other player, specifying which Pokemon you want to exchange. Remember to double-check the details of the trade to avoid any mistakes.
After both players have agreed on the trade, the Pokemon will be exchanged, and you will have successfully traded Pokemon on your emulator. Enjoy the satisfaction of completing your Pokedex or increasing your battle-ready team with the Pokemon you’ve acquired through trading.
Trading Pokemon on an emulator opens up new possibilities for players to connect and trade in the Pokemon universe. With this step-by-step guide, you can now join the trading community and experience the joy of trading Pokemon from the comfort of your computer or smartphone. Start trading and catch ’em all!
Trading Pokemon on an emulator can be a fun way to complete your Pokedex or battle with friends. While it may seem complicated at first, follow these steps to easily trade Pokemon on an emulator.
Trading Pokemon on an emulator can be a nostalgic experience, allowing you to relive the fun of trading with friends or completing your collection. With this step-by-step guide, you can easily trade Pokemon and enjoy the full Pokemon gaming experience on your emulator.
Read Also: Explore the Endless Possibilities in Animal Crossing: What Can You Do?
Before you can start trading Pokemon on an emulator, you need to prepare the emulator software properly. Follow these steps to get started:
Once you have prepared the emulator software and set up the necessary configurations, you are ready to proceed with trading Pokemon on the emulator.
Read Also: Learn How to Get a House in Animal Crossing: Tips and Tricks
Once you have set up the emulator and obtained the necessary ROMs, you can begin the process of trading Pokemon. Follow these steps to set up the trading process on your emulator:
It’s important to note that trading Pokemon on an emulator may have limitations and compatibility issues. Not all emulators will support trading functionality, and some games may not be compatible for trading. Additionally, trading between different generations of Pokemon games may also be limited or not supported.
After successfully connecting with your trading partner, it’s time to complete the trade. Follow these steps to finalize the exchange of Pokémon:
Once the trade is finished, you can continue your Pokémon adventures with your newly acquired Pokémon from your trading partner. Enjoy exploring the game together and discovering new Pokémon!
An emulator is a software that replicates the functionality of a gaming console or system on a different platform, such as a computer or smartphone.
Yes, it is possible to trade Pokemon on an emulator. However, there are certain steps and requirements that need to be followed in order to successfully trade Pokemon between games.
To trade Pokemon between two different games on an emulator, first, you need to have two copies of the respective games and install them on the emulator. Then, you can use the emulator’s built-in trading function or additional software to initiate the trade.
No, you do not necessarily need to connect your emulator to the internet to trade Pokemon. Some emulators have a built-in feature that allows trading between two different instances of the emulator running on the same device.
Yes, it is possible to trade Pokemon between different emulators on different devices. However, it requires additional steps such as linking the emulators through a local network or using specific software to establish a connection for trading.
Yes, there are certain limitations and restrictions when trading Pokemon on an emulator. These may include compatibility issues between different game versions, inability to trade Pokemon not available in both games, and difficulties in trading with real-world players without internet connectivity.
Grab yourself a 256GB Steam Deck for 64GB money with only a teensy bit of tinkering required Valve has recently announced its upcoming handheld gaming …
Read Article
How To Edit Builds In Mobile Legends? Mobile Legends is a popular online multiplayer battle game that requires players to strategize and build their …
Read Article
How To Kill Wolverine Fortnite? Wolverine, the legendary Marvel character, has made his way into the Fortnite world. As one of the toughest bosses to …
Read Article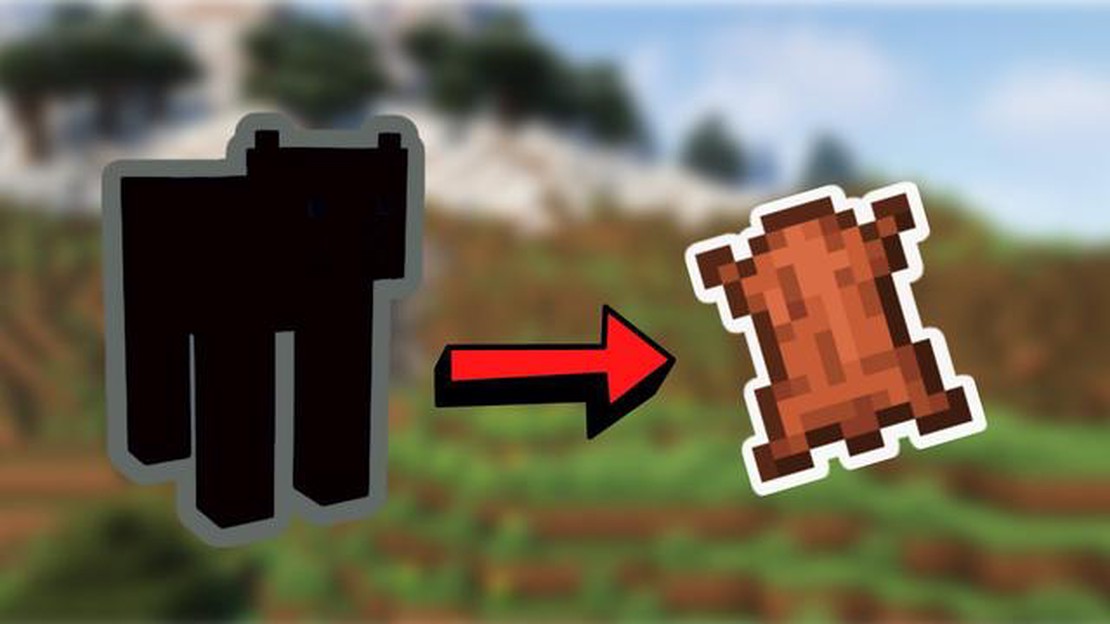
How To Get Leather In Minecraft? In Minecraft, leather is a valuable resource that can be used to craft various items, such as armor and books. It can …
Read Article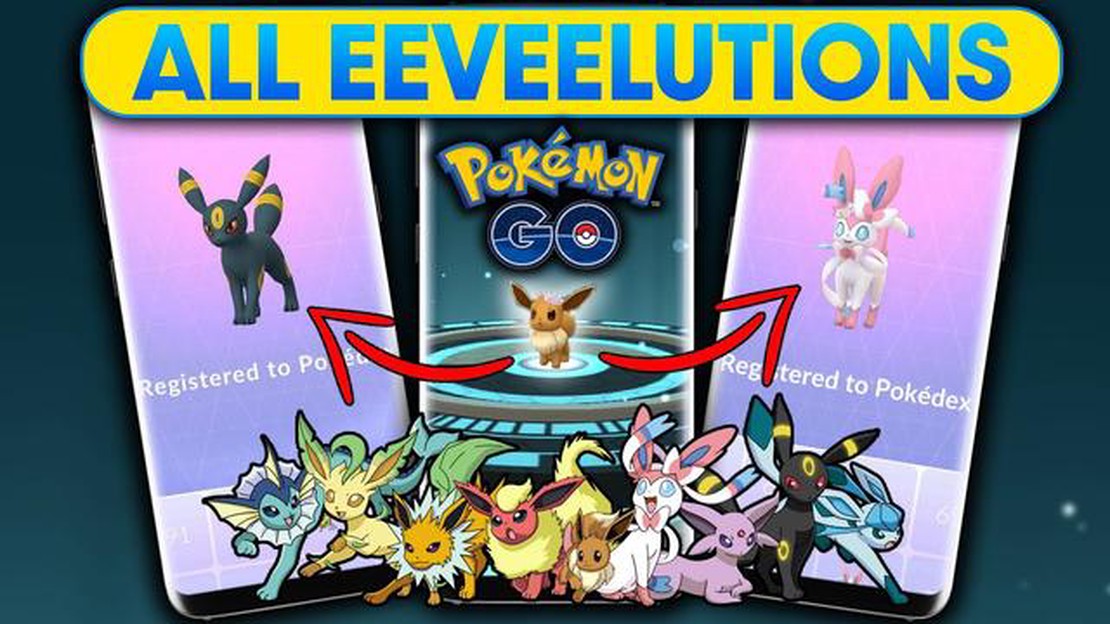
How To Get Eeveelutions In Pokemon Go? Eevee is a unique Pokemon in the world of Pokemon GO, thanks to its ability to evolve into multiple different …
Read Article
Where To Find Ruin Guards Genshin Impact? Genshin Impact is a popular action role-playing game developed by miHoYo. One of the unique enemies in the …
Read Article


