


Find Out the Live Event Time in Fortnite
What Time Is The Live Event In Fortnite? Are you a Fortnite fan eagerly waiting for the next live event? Whether it’s the unveiling of a new season, a …
Read Article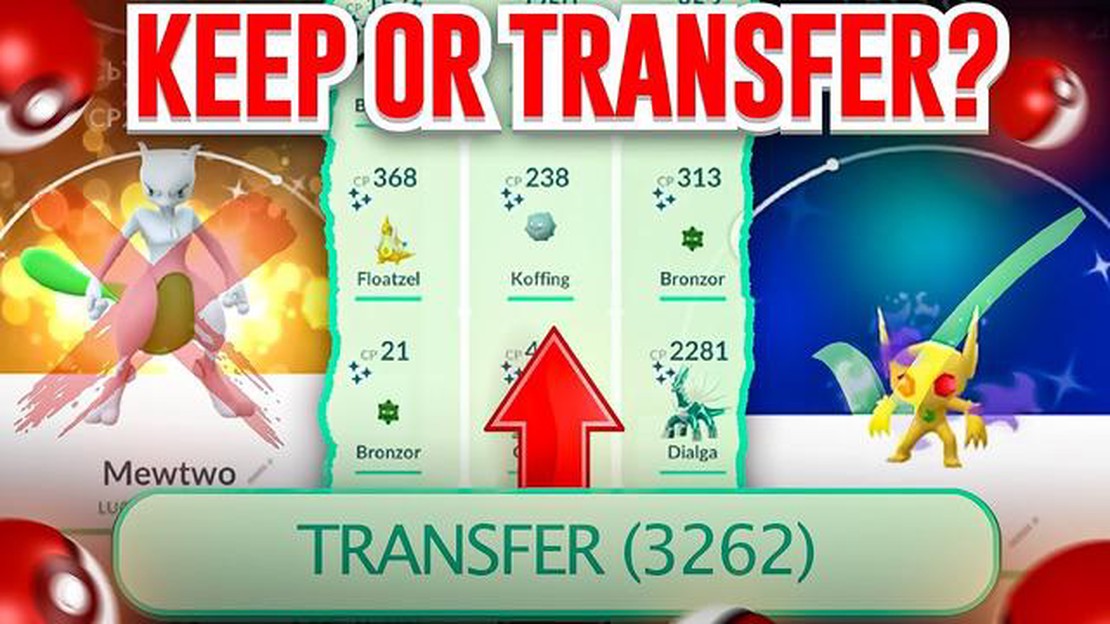
Transferring Pokemon from one game to another is an exciting way to build your collection and bring your favorite creatures with you on new adventures. Whether you’re upgrading to a new game console or simply want to trade Pokemon with a friend, the transfer process is relatively straightforward. In this step-by-step guide, we will walk you through the process of transferring Pokemon so that you can continue your journey with your beloved creatures by your side.
Before you begin the transfer process, there are a few things you’ll need to do. First, make sure you have both the game you’re transferring from and the game you’re transferring to. You’ll also need a second device, such as another game console or a smartphone.
Next, ensure that both games are compatible for transferring. Some games may have specific requirements or restrictions when it comes to transferring Pokemon. Check the compatibility guidelines for each game to avoid any issues.
Finally, consider which Pokemon you want to transfer. You may want to gather your strongest or rarest creatures, or simply transfer the ones that hold a special place in your heart. Keep in mind that once you transfer a Pokemon, it cannot be undone, so choose wisely.
Once you’re ready to transfer Pokemon, you’ll need to connect the devices. If you’re using two game consoles, follow the instructions provided by the manufacturer to establish a connection between the two devices. This may involve using a cable or connecting wirelessly.
If you’re using a smartphone, you’ll need to download and install a compatible app that allows for Pokemon transfers. Some apps may require additional accessories or have specific instructions for connecting the devices. Make sure to follow the app’s guidelines to successfully establish a connection.
With the devices connected, it’s time to initiate the transfer. Follow the on-screen instructions on both devices to navigate to the transfer menu. This menu will typically have options for selecting the Pokemon you want to transfer and confirming the transfer.
Double-check that you have selected the correct Pokemon for transfer, as once the process is complete, there’s no turning back. Press the transfer button or confirm the transfer on both devices to begin the transfer process.
Wait patiently as the transfer takes place. The speed of the transfer will depend on the number of Pokemon being transferred and the devices’ connection speed. Once the transfer is complete, you will receive a confirmation message on both devices.
After the transfer is complete, you’ll need to finalize the process. Follow the on-screen instructions to exit the transfer menu and return to the regular gameplay. Make sure to save your progress on both games to ensure that the transfer is properly registered.
Now, you can enjoy your Pokemon in the new game. Explore new regions, battle trainers, and discover new creatures, all while having the familiar faces of your transferred Pokemon by your side. Remember, Pokemon transfers can be a permanent decision, so choose wisely and enjoy the journey with your beloved creatures!
Before transferring your Pokemon, there are a few steps you should follow to ensure that you are ready.
Read Also: Discover the Age of Kaeya in Genshin Impact - Uncover the Mystery!10. Use items wisely: 11. Candies: If you have excess candies for a certain Pokemon species, consider transferring some of them along with the Pokemon. This will help free up space and provide you with additional resources. 12. Consider trading options:
13. In-game trading: If you have friends or fellow Pokemon trainers who might be interested in your Pokemon, consider trading them instead of transferring. 14. Special trades: Save special trades for rare or valuable Pokemon that you don’t want to transfer.
By following these steps, you can ensure that you are transferring the right Pokemon and maximizing your resources.
Before transferring your Pokemon, it is important to check your Pokemon storage to see which Pokemon you want to transfer and which ones you want to keep. Here are some steps to follow:
By checking your Pokemon storage and transferring the ones you no longer need, you can free up space for new Pokemon and ensure that you are keeping the Pokemon that are most valuable to you.
Read Also: Easy Steps to Ai Match Mobile Legends - Level Up Your Game!
Once you have caught a Pokemon, you can power it up and evolve it to make it stronger and more capable in battles. Powering up your Pokemon increases its Combat Power (CP), while evolving it changes its form and often increases its CP as well.
To power up your Pokemon, follow these steps:
To evolve your Pokemon, follow these steps:
It’s important to note that evolving a Pokemon will reset its progress in terms of powering up. So if you have already powered up a Pokemon and then evolve it, you will need to power it up again to reach its maximum potential.
Keep in mind that evolving and powering up your Pokemon requires resources such as Stardust and Candy, so make sure to manage them wisely and consider which Pokemon to invest in based on their potential and your personal preferences.
Once you have transferred your Pokemon to a new game, it’s important to organize them properly. This will make it easier for you to find and use specific Pokemon when you need them. Here are some tips on how to organize your Pokemon:
By following these tips, you will have a well-organized collection of Pokemon that will make it easier for you to strategize and enjoy your adventures in the Pokemon world.
When it comes to transferring your Pokémon, you’ll need to find a suitable location that supports the transfer feature. Here are some options:
Before transferring your Pokémon, make sure to check the specific requirements and limitations of the location you choose. Some places may have restrictions on the number of Pokémon you can transfer at once or the types of Pokémon that can be transferred.
Additionally, it’s important to consider the security of the transfer location. Make sure you trust the location and any online services you use to avoid losing your Pokémon or falling victim to scams.
Once you have found a suitable transfer location, you can proceed with the transfer process. Follow the instructions provided by the location or online service to ensure a successful transfer.
The purpose of transferring Pokémon is to move them from one Pokémon game to another. This allows you to keep your favorite Pokémon and use them in different games.
Yes, you can transfer Pokémon between different generations of games. However, there are some restrictions and limitations. For example, you can only transfer Pokémon from Generation V games to Generation VI games using the Poké Transporter app.
When you transfer Pokémon, they are removed from the game they were originally in and moved to the game you are transferring them to. They will no longer be available in the original game.
No, you cannot transfer Pokémon directly from a Game Boy Advance game to a Nintendo 3DS game. However, you can transfer Pokémon from a Game Boy Advance game to a Generation IV game (Diamond, Pearl, Platinum, HeartGold, or SoulSilver) using a Nintendo DS system, and then transfer them to a Nintendo 3DS game using the Poké Transporter app.
Yes, there is a limit to how many Pokémon you can transfer at once. In the Poké Transporter app, you can transfer up to 30 Pokémon in one session. If you have more Pokémon to transfer, you will need to repeat the process multiple times.
What Time Is The Live Event In Fortnite? Are you a Fortnite fan eagerly waiting for the next live event? Whether it’s the unveiling of a new season, a …
Read Article
How to Complete Ariana Grande�s Missions in Fortnite If you’re a fan of both Ariana Grande and Fortnite, you’re in for a treat! The popular pop singer …
Read Article
How Long Will The Fortnite Event Last? Fortnite, the popular online video game developed by Epic Games, is known for its frequent and exciting in-game …
Read Article
How Much Can You Get For A Legends Player In Madden Mobile? Mobile legends how-much-can-you-get-for-a-legends-player-in-madden-mobile? Table Of …
Read Article
How To Make A Jukebox In Minecraft? Are you looking to spice up your Minecraft world with some musical tunes? One way to do that is by creating a …
Read Article
How To Get Flimsy Shovel Animal Crossing? If you’re an avid player of Animal Crossing: New Horizons, you probably know how important it is to have a …
Read Article


