

Black Friday PC Gaming Deals UK 2022: Best Deals on PCs, Components and Peripherals
Black Friday PC gaming deals UK 2022: the best deals on PCs, components and peripherals Black Friday is just around the corner, and gamers across the …
Read Article
Minecraft is a popular sandbox game that continues to receive updates and improvements. Keeping your game up to date is important not only for accessing new features and content, but also for ensuring a smooth and stable gameplay experience. Fortunately, updating Minecraft to the latest version is a simple process that can be completed in just a few steps.
Step 1: Launch the Minecraft Launcher. The launcher is the application that you use to launch the game. If you have the shortcut on your desktop, simply double-click it to open the launcher.
Step 2: Check for updates. Once the launcher is open, you will see a list of available versions of Minecraft. Look for the “Latest Release” or a similar option, which indicates the most recent version of the game. Click on this option to select it.
Step 3: Confirm the update. After selecting the latest version, a confirmation prompt will appear asking if you want to update Minecraft. Click “Yes” or “Update” to begin the update process. The launcher will then begin downloading and installing the update. Depending on your internet speed, this may take a few minutes.
Step 4: Launch the updated game. Once the update is finished installing, the launcher will display a “Play” button next to the updated version of Minecraft. Click this button to launch the game with the updated version.
Step 5: Enjoy the updated Minecraft experience. Now that you have successfully updated Minecraft, you can explore the new features, content, and improvements that the update has to offer. Whether it’s new blocks, mobs, or gameplay mechanics, updating Minecraft ensures that you are getting the most out of your gaming experience.
By following these simple steps, you can easily update Minecraft to the latest version and stay up to date with all the latest additions and improvements. Don’t miss out on the exciting new content and features that Minecraft has to offer, update your game today!
Updating Minecraft is a simple process that allows you to access the latest features and bug fixes in the game. If you’re unsure how to update Minecraft, follow these steps:
Updating Minecraft is essential to ensure that you have the best gaming experience. By following these simple steps, you can easily update Minecraft to the latest version and enjoy all the new content the game has to offer.
Read Also: Discover the Password for the Fortress of Doom Computer
Before updating Minecraft, it is important to check if there are any available updates. By checking for updates, you can ensure that you have the latest version of Minecraft installed on your computer, which may include bug fixes, new features, and improvements to the game.
To check for updates in Minecraft, follow these simple steps:
If there are updates available, you can proceed to update Minecraft by following the next steps in this guide. However, if there are no updates listed, it means that you already have the latest version of Minecraft installed on your computer. In this case, you can continue playing the game without any further updates.
Checking for updates regularly is important to ensure that you are playing the most up-to-date version of Minecraft. Updates often include important bug fixes and security patches, so it is recommended to keep your game updated to have the best possible gaming experience.
Once you have determined which platform you are using to play Minecraft, you can proceed with downloading the latest version of the game. Here are the steps to follow:
Once the download is finished, you will have the latest version of Minecraft ready to be installed on your device. In the next step, we will guide you through the installation process.
Read Also: How to Check If the Splitgate Servers Are Down: A Quick Guide
Before updating Minecraft, it’s important to backup your worlds to ensure that you don’t lose any progress or creations. Follow these simple steps to create a backup of your worlds:
| Windows: | C:\Users\YourUsername\AppData\Roaming\.minecraft\saves |
| Mac: | ~/Library/Application Support/minecraft/saves |
| Linux: | ~/.minecraft/saves |
Now that you have created a backup of your worlds, you can proceed with updating Minecraft without worrying about losing your progress or creations.
After you have successfully downloaded the latest version of Minecraft, you are ready to install the update. Follow these simple steps to install the update:
It is important to note that installing the update may take some time depending on your computer’s performance and internet connection. Be patient and allow the installation process to finish before attempting to launch the game.
Congratulations! You have now successfully installed the latest update for Minecraft. Enjoy exploring the new features and improvements added in the update.
If you have a cracked version of Minecraft Java Edition, updating the game may not be possible through the official launcher. Cracked versions usually don’t receive updates from Mojang, the developer of Minecraft. However, there may be alternative launchers or methods available online that allow you to update the game, but we do not condone or support the use of cracked versions. It is always recommended to purchase and play the official version of Minecraft to ensure the best experience and support from the developers.
Black Friday PC gaming deals UK 2022: the best deals on PCs, components and peripherals Black Friday is just around the corner, and gamers across the …
Read Article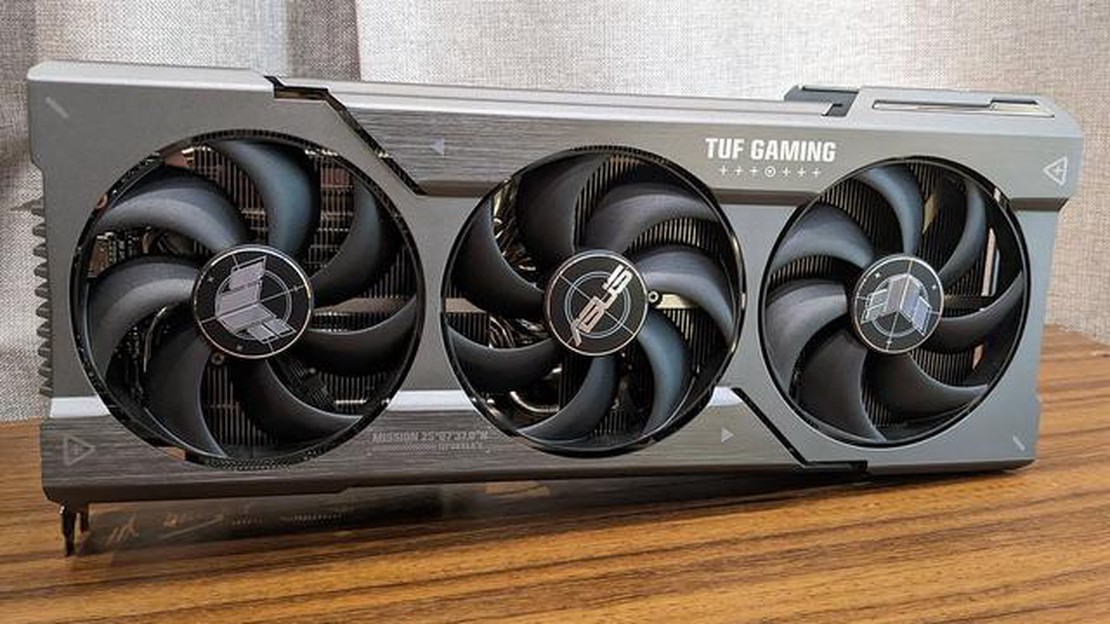
Asus TUF Gaming Radeon RX 7900 XTX OC Edition When it comes to gaming, performance is everything. And if you’re looking for a graphics card that can …
Read Article
How Do You Play Pokemon? Welcome to the world of Pokemon! Whether you’ve been a fan of the franchise for years or are just starting out, this …
Read Article
How to Buy and Sell V-Bucks in Fortnite Calling all Fortnite players! Are you looking to level up your gaming experience? Look no further than V-Bucks …
Read Article
Where To Buy Clash Of Clans Accounts? If you are looking to buy Clash of Clans accounts, you’ve come to the right place. We have curated a list of the …
Read Article
Brawl Stars How To Increase The Size Of Movement Control? If you’re a fan of Brawl Stars and find yourself struggling with the small movement control …
Read Article


