

Learn How to Master Belerick in Mobile Legends | Pro Tips and Tricks
Mobile Legends How To Play Belerick? Are you looking to dominate the battlefield with a tank hero in Mobile Legends? Look no further than Belerick, …
Read Article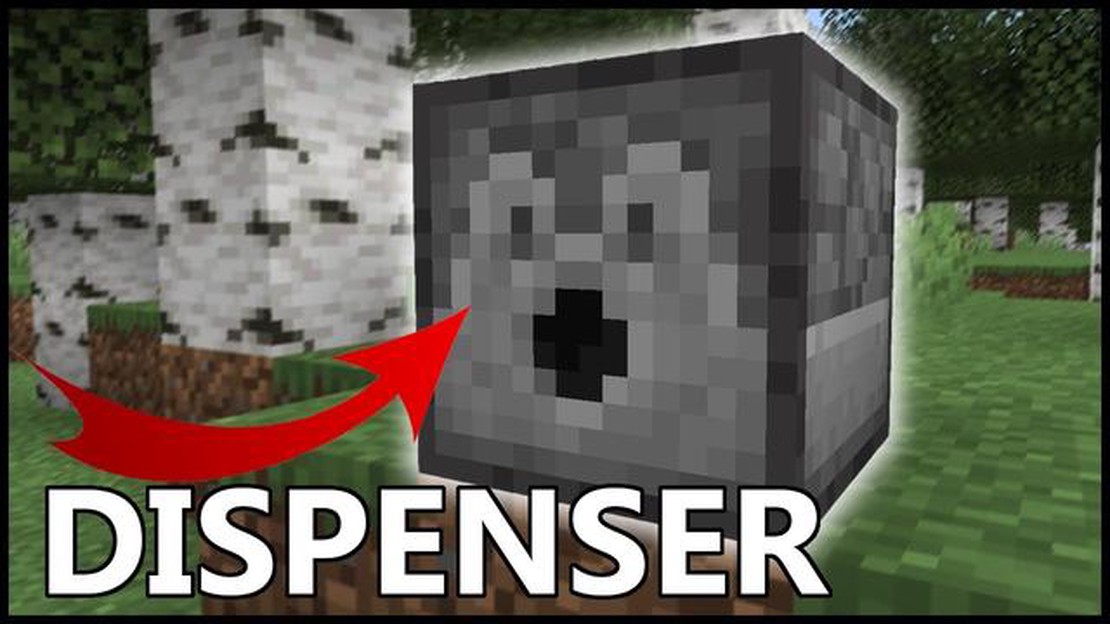
Minecraft is a popular sandbox game that allows players to build and explore virtual worlds. One of the many tools available in Minecraft is the dispenser, which can be used to automate various tasks and mechanisms. Whether you’re a beginner or a seasoned player, learning how to use a dispenser in Minecraft can greatly enhance your gameplay experience.
A dispenser is a block that can hold and dispense items, similar to a chest or a dropper. However, what sets a dispenser apart is its ability to activate other blocks and mechanisms using a redstone signal. This makes it a versatile tool that can be used to automate tasks such as shooting arrows, launching fireworks, or feeding animals.
Using a dispenser in Minecraft is relatively simple, but it requires a few key steps to set up and operate effectively. In this tutorial, we will walk you through the process of using a dispenser, from crafting it to connecting it to other blocks. So let’s get started and unlock the potential of this powerful tool in Minecraft!
Dispensers are useful blocks in Minecraft that allow you to store and dispense items automatically. They can be used in various ways to automate tasks and create interesting contraptions. Here is a step-by-step guide on how to use a dispenser in Minecraft.
Step 1: Gather the necessary materials:
Step 2: Craft the dispenser:
Step 3: Place the dispenser:
Step 4: Load the dispenser:
Step 5: Connect the dispenser to a redstone circuit (optional):
Step 6: Activate the dispenser:
Step 7: Additional features:
That’s it! You have now successfully learned how to use a dispenser in Minecraft. Experiment with different items and redstone circuits to automate tasks and create unique contraptions in the game.
Read Also: Where to Find Togepi in Pokemon Sword: Complete Guide
In Minecraft, a dispenser is a redstone-powered block that can store and dispense items. By using a dispenser, you can automate processes such as shooting arrows, throwing potions, or planting seeds. Here’s how you can craft a dispenser:
| Cobblestone | ||
| Cobblestone | Bow | Cobblestone |
| Redstone Dust |
Note: The dispenser should appear in the result box on the right side of the crafting table. 4. Drag the dispenser into your inventory.
Once you have crafted a dispenser, you can place it in your Minecraft world. To activate the dispenser, provide it with a redstone signal. This can be done by using a lever, pressure plate, or redstone torch. To fill the dispenser with items, right-click on it and place the items in the inventory slots.
Now that you know how to craft and use a dispenser, you can incorporate it into your Minecraft builds and creations to automate various tasks and contraptions. Have fun exploring all the possibilities!
To use a dispenser in Minecraft, you first need to place it in the world. To do this, follow these steps:
Read Also: Total War: Rome 2 review - The epic strategy game that takes you back to ancient Rome
Once the dispenser is placed, you can activate it to perform various functions. Here’s how to activate the dispenser:
Note that the dispenser can be activated in several ways, including:
Experiment with different activation methods to create automated systems and contraptions in your Minecraft world!
The dispenser is a versatile block in Minecraft that can be used for a variety of purposes. Here are some tips on how to use the dispenser effectively:
By using the dispenser effectively, you can automate tasks, create clever traps, and add an extra level of complexity to your Minecraft world. Experiment with different setups and combinations to discover new uses for this versatile block.
A dispenser in Minecraft is a redstone device that can dispense items, shoot projectiles, and trigger certain mechanisms.
To make a dispenser in Minecraft, you will need 7 cobblestones, 1 bow, and 3 redstones. Arrange the cobblestones in the bottom two rows of the crafting table, leaving the middle slot of the middle row empty. Place the bow in the middle slot of the middle row, and place the redstones in the row above the bow. This will create a dispenser.
A dispenser in Minecraft has several uses. It can dispense items such as arrows, fire charges, and splash potions. It can shoot projectiles such as arrows, snowballs, and fire charges. It can also trigger mechanisms such as placing water or lava, activating redstone circuits, or activating pressure plates.
To use a dispenser in Minecraft, simply right-click on it. If the dispenser contains items, it will dispense one item at a time. If the dispenser contains a projectile, it will shoot the projectile in the direction it is facing. If the dispenser is connected to a mechanism, it will activate the mechanism when right-clicked.
Yes, dispensers can be activated by redstone signals. When a redstone signal is applied to a dispenser, it will activate and perform its designated function, such as dispensing an item or shooting a projectile. The redstone signal can come from a lever, a button, a pressure plate, or any other redstone mechanism.
Yes, it is possible to automate a dispenser in Minecraft using redstone mechanisms. By using redstone circuitry, you can create contraptions that activate a dispenser at certain intervals or in response to specific triggers. This can be useful for creating automated farms, traps, or defense mechanisms.
Mobile Legends How To Play Belerick? Are you looking to dominate the battlefield with a tank hero in Mobile Legends? Look no further than Belerick, …
Read Article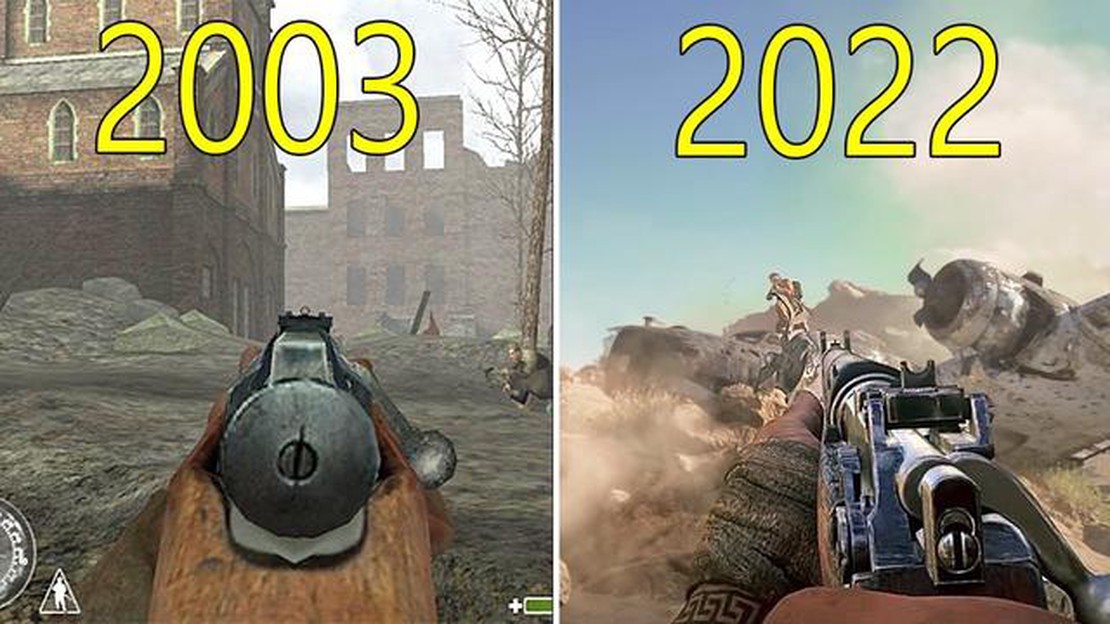
What Is The Oldest Call Of Duty Game? Welcome to a fascinating journey through the history of the Call of Duty franchise, one of the most successful …
Read Article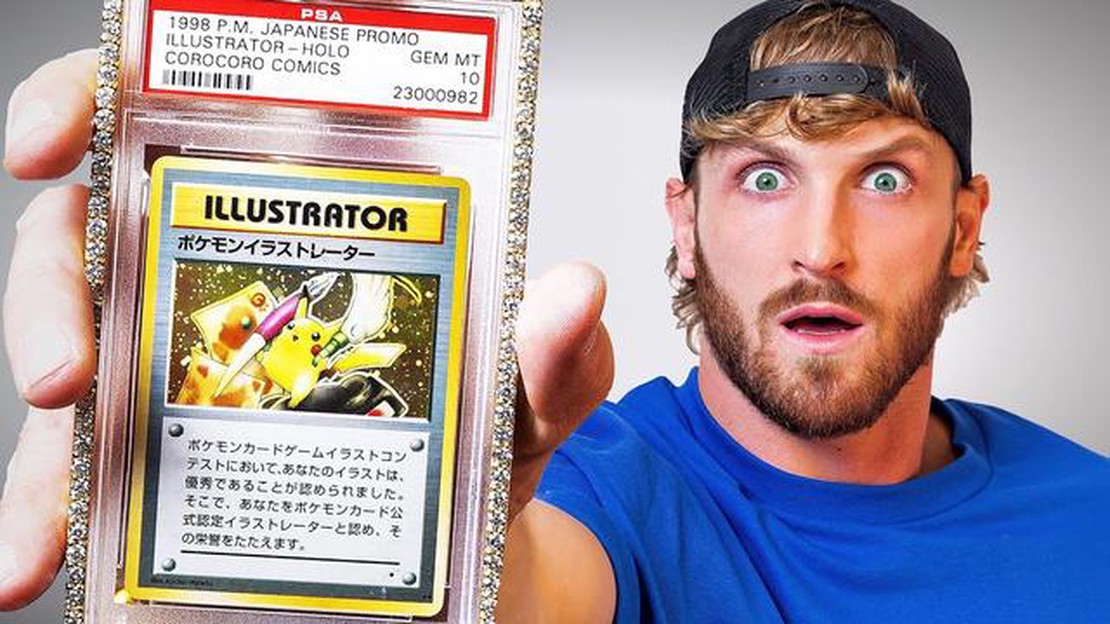
How Much Is The Most Expensive Pokemon Card? When it comes to Pokemon cards, collectors know that some cards are more valuable than others. But what …
Read Article
How Do You Go To Sleep In Animal Crossing? Are you finding it difficult to fall asleep in Animal Crossing? Whether it’s the excitement of a new day or …
Read Article
What Is The Newest Pokemon Game? If you’re a fan of the Pokemon franchise, you’re probably always on the lookout for the newest Pokemon game. With so …
Read Article
How to complete the Innovating the Engine quest in WoW: Dragonflight Are you ready to embark on an exciting adventure in the world of World of …
Read Article


