


What Is The Rarest Pokemon? - Uncovering The Elusive Creatures
What Is The Rarest Pokemon? In the vast world of Pokemon, there are countless species to capture and train. From the fiery Charizard to the …
Read Article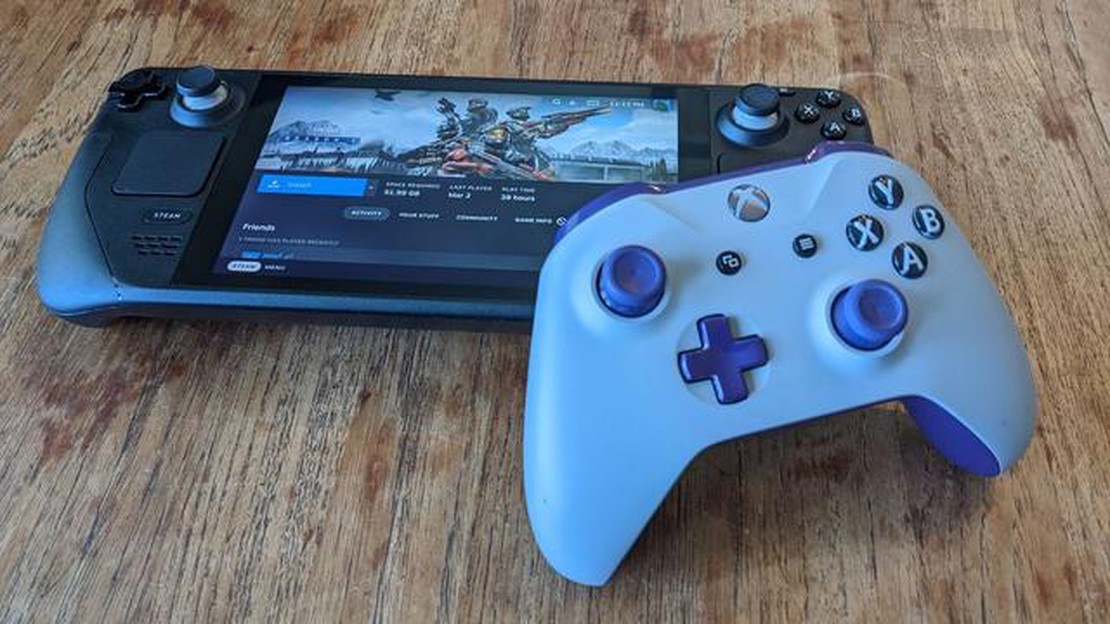
The Steam Deck is a portable gaming device that allows you to play your favorite PC games on the go. One of the key features of the Steam Deck is its controller support, which allows you to use a variety of controllers to play games. In this step-by-step guide, we will walk you through how to use controllers on the Steam Deck, so you can get the most out of your gaming experience.
First, make sure your controller is compatible with the Steam Deck. The Steam Deck supports a wide range of controllers, including the Steam Controller, Xbox One controller, and PlayStation DualShock 4 controller. Check the Steam Deck’s website or documentation to see if your controller is supported.
Once you have confirmed that your controller is compatible, connect it to the Steam Deck using either Bluetooth or a USB cable. If you are using Bluetooth, make sure your controller is in pairing mode and follow the on-screen instructions on the Steam Deck to pair it. If you are using a USB cable, simply plug it into the USB port on the Steam Deck.
After your controller is connected, navigate to the Steam Deck’s settings menu. Here, you will find options for configuring your controller settings. You can adjust the sensitivity of the joystick, customize button mapping, and even create macros for specific actions. Take some time to explore the settings and configure your controller to your liking.
Now that your controller is set up, you can start playing games on the Steam Deck. Simply launch your favorite game from the Steam Deck’s library and enjoy using your controller to play. The Steam Deck’s controller support is seamless, providing an immersive gaming experience whether you are playing on the go or at home.
In conclusion, the Steam Deck’s controller support makes it easy to play your favorite PC games on the go. By following this step-by-step guide, you can learn how to use controllers on the Steam Deck and customize your gaming experience. So grab your controller, connect it to the Steam Deck, and get ready to game wherever you are.
Before you can start using controllers on the Steam Deck, you’ll need to set them up. Follow these steps to get started:
That’s it! You have successfully set up your controller on the Steam Deck. Now you can start using it to play games and navigate the Steam interface.
Read Also: How to Benchmark Your PC: A Complete Guide
Once you have connected your controller to the Steam Deck, you can start navigating the controller interface to access various features and settings. The controller interface is designed to provide a seamless and intuitive gaming experience, making it easy for you to control your games and interact with the Steam Deck.
The main buttons on the controller interface include:
In addition to these main buttons, the controller interface may also include:
To navigate the controller interface, simply use your thumbs and fingers to press the appropriate buttons or move the analog sticks. The Steam Deck’s interface is designed to be user-friendly, so you shouldn’t have any trouble finding your way around.
If you’re new to using controllers, it may take some time to get used to the button layout and functions. However, with practice, navigating the controller interface will become second nature, allowing you to fully enjoy your gaming experience on the Steam Deck.
In addition to the basic controller configurations that we covered in Step 2, the Steam Deck also offers advanced controller configurations for those who prefer a more customized gaming experience. These advanced configurations allow you to fine-tune your controls to match your preferences and playstyle.
Read Also: How Many Players Play Clash Royale? Total Number of Players Revealed
Here are a few examples of advanced controller configurations you can try on the Steam Deck:
To access these advanced controller configurations, simply navigate to the controller settings in the Steam Deck interface. From there, you can explore and adjust the different options to find the perfect configuration for your gaming needs.
Remember, the Steam Deck is designed to be a versatile and customizable gaming device, and the advanced controller configurations offer you even more flexibility in how you play your favorite games. Take your time to experiment with different configurations and find what works best for you.
Yes, the controllers on the Steam Deck are designed to be user-friendly. They have a comfortable grip and intuitive button layout, making it easy for users to navigate and play games.
The Steam Deck features two types of controllers: thumbsticks and trackpads. The thumbsticks provide analog control for precise movement, while the trackpads offer more sensitivity and can be used for mouse-like control.
Yes, you can customize the controller settings on the Steam Deck. The Steam Deck’s operating system, SteamOS, allows users to remap the buttons and adjust various controller settings to suit their preferences.
No, setting up the controllers on the Steam Deck is straightforward. Once you power on the device, the controllers are automatically recognized, and you can start using them right away. The Steam Deck also provides on-screen prompts and tutorials to guide you through the setup process.
What Is The Rarest Pokemon? In the vast world of Pokemon, there are countless species to capture and train. From the fiery Charizard to the …
Read Article
How To Make Friends On Roblox? Roblox is a popular online game platform where users can create and play games created by other users. One of the best …
Read Article
Genshin Impact They Who Hear The Sea? Discover the breathtaking world of Genshin Impact’s latest update: They Who Hear The Sea. Embark on a …
Read Article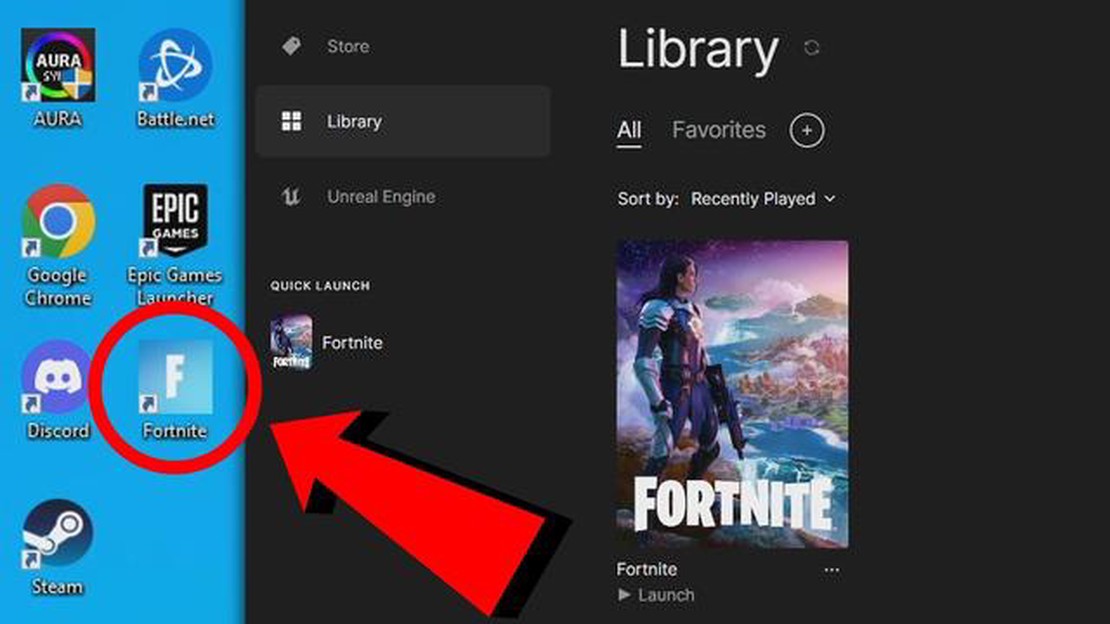
How Many Gigs Is Fortnite? How Many Gigs Does Fortnite Take Up? All You Need to Know Fortnite is a popular online video game that has taken the gaming …
Read Article
How To Turn Off Chat On Mobile Legends Bang Bang? Mobile Legends Bang Bang is a popular multiplayer online battle arena (MOBA) game that allows …
Read Article
Brawl Stars Who Is Mr P? If you’re a fan of the popular multiplayer mobile game Brawl Stars, then you’ve probably encountered the mysterious character …
Read Article


