

How To Use Kurious Kamera in Genshin Impact: A Comprehensive Guide
How To Use Kurious Kamera Genshin Impact? In the world of Genshin Impact, players are constantly discovering new and exciting tools to aid them in …
Read Article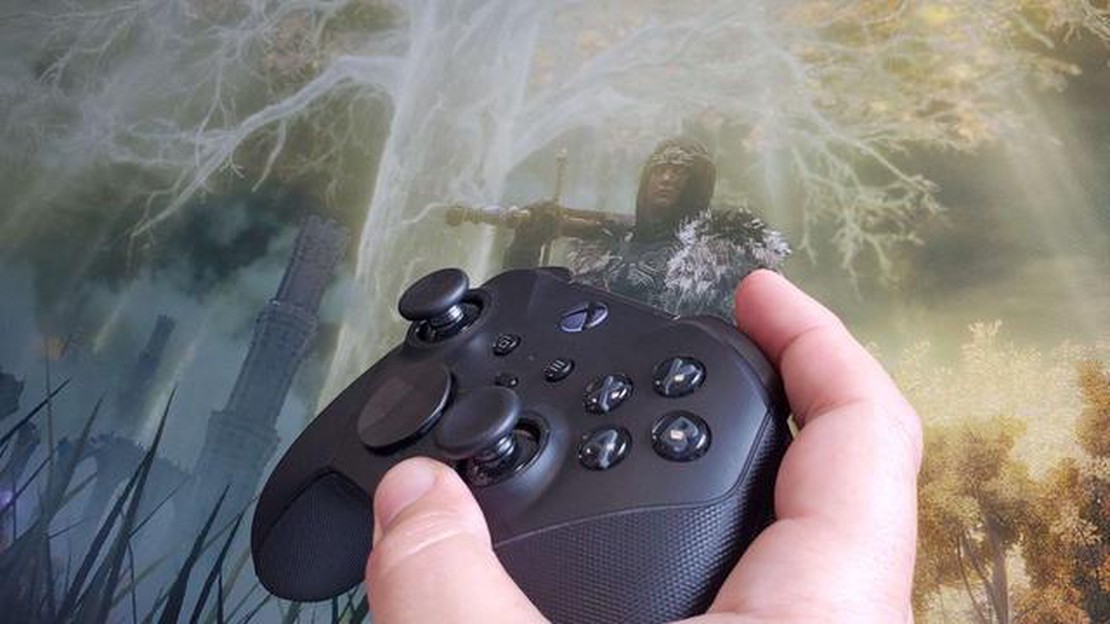
If you are an Xbox Elite Series 2 controller user, you may have encountered issues with the bumper buttons at some point. These buttons are responsible for the overall gaming experience, allowing you to perform actions like shooting, aiming, or using special abilities. However, due to wear and tear or accidental damage, they can become unresponsive or malfunction.
Thankfully, repairing the bumper buttons on your Xbox Elite Series 2 controller is relatively simple and can be done at home with a few basic tools. In this troubleshooting guide, we will walk you through the steps to fix the bumper buttons and get your controller back to its optimal performance.
Before we begin, it’s essential to gather the necessary tools for the repair process. You will need a small Phillips head screwdriver, a flathead screwdriver, and a pair of tweezers. Additionally, it’s a good idea to have a clean and well-lit workspace to ensure you don’t lose any small components during the repair.
Now, let’s get started with the step-by-step instructions to repair your Xbox Elite Series 2 bumper buttons. Remember to proceed with caution and take your time to avoid causing any further damage to the controller.
The Xbox Elite Series 2 controller features two bumper buttons, located on the top of the controller. These buttons are designed to provide additional input options for players, allowing for quick and easy access to certain commands or actions during gameplay.
Each bumper button is labeled with a small icon, typically representing the specific function or action associated with that button. These labels may vary depending on the game or application being used.
The bumper buttons are positioned on either side of the controller, above the triggers. They can be pressed inward towards the center of the controller to register an input. The buttons are designed to be responsive and provide tactile feedback when pressed.
These buttons are typically used to perform secondary actions or commands in games. For example, in a first-person shooter game, one bumper button may be used to reload a weapon, while the other bumper button may be used to switch between different firing modes.
It’s important to note that the bumper buttons on the Xbox Elite Series 2 controller are highly customizable. Users can adjust the sensitivity, remap the buttons to different functions, or even create custom profiles for different games or applications using the Xbox Accessories app.
Understanding the functionality and layout of the bumper buttons is key to effectively using the Xbox Elite Series 2 controller and taking advantage of its advanced features and customization options.
The Xbox Elite Series 2 controller is known for its high-quality features and performance. However, like any electronic device, it can experience issues with its bumper buttons. Here are some common problems and solutions:
Remember, if you are not familiar with electronics or controller repairs, it is best to seek professional help or contact the Xbox support team for further assistance. Attempting complex repairs without proper knowledge can void the warranty and further damage the controller.
If you are experiencing issues with the bumper buttons on your Xbox Elite Series 2 controller, follow these troubleshooting steps to try and resolve the problem.
1. Check for any physical damage:
Inspect the bumper buttons for any visible signs of physical damage, such as cracks or loose components. If you notice any damage, it may be necessary to replace the bumper buttons or the entire controller.
Read Also: The Best Minecraft Texture Packs for 1.20: Enhance Your Gaming Experience
2. Clean the bumper buttons:
Dirt, dust, and debris can accumulate over time and affect the performance of the bumper buttons. Use a clean, dry cloth to gently wipe the buttons and remove any dirt or debris that may be present.
3. Calibrate the bumper buttons:
4. Update the controller firmware:
5. Reset the controller:
6. Contact Xbox support:
Read Also: How Tall Is Bennett in Genshin Impact? Exploring the Height of this Playable Character
If you have tried all the above troubleshooting steps and the bumper buttons still do not work properly, it is recommended to contact Xbox support for further assistance. They may be able to provide additional troubleshooting steps or advise on repair or replacement options.
Before you can begin repairing the bumper buttons on your Xbox Elite Series 2 controller, it’s important to first identify the specific issue you are experiencing. This will help determine the appropriate troubleshooting steps to take.
There are several possible issues that could be affecting the bumper buttons, including:
To assess the issue, start by examining the bumper buttons closely for any visible signs of damage or debris. Pay attention to how the buttons feel when pressed and whether they respond consistently or not. Consider whether the issue has been present since you first started using the controller or if it has developed over time.
Once you have identified the specific issue with your Xbox Elite Series 2 controller’s bumper buttons, you can proceed to the appropriate troubleshooting steps to address and resolve the problem.
The bumper buttons on your Xbox Elite Series 2 controller may become unresponsive or sticky over time due to dirt, dust, or debris. Cleaning the buttons can often resolve these issues. Follow the steps below to clean your bumper buttons:
If the bumper buttons are still not working correctly after cleaning, you may need to consider further troubleshooting or contacting customer support for additional assistance.
In most cases, it is best to remove the Xbox Elite Series 2 bumper buttons in order to properly clean and repair them. Removing the buttons allows for better access to the contact pads and ensures that you can thoroughly clean any dirt or debris that may be causing the issue. However, if you are unable or uncomfortable with removing the buttons, you can try using compressed air to blow out any debris that may be causing the problem. Keep in mind that this method may not be as effective as removing and cleaning the buttons.
It is recommended to clean your Xbox Elite Series 2 bumper buttons periodically, especially if you notice any issues or if they become sticky or unresponsive. Regular cleaning can help prevent dirt and debris from building up and causing problems with the buttons. Additionally, if you play games for extended periods or if you eat while gaming, it is a good idea to clean the buttons more frequently to maintain optimal performance.
Yes, it is possible to replace the Xbox Elite Series 2 bumper buttons with third-party buttons. There are several third-party manufacturers that produce replacement buttons compatible with the Xbox Elite Series 2 controller. However, it is important to note that using third-party buttons may void your warranty and could potentially lead to compatibility or performance issues. If you decide to replace the bumper buttons with third-party ones, make sure to do thorough research and purchase from a reputable manufacturer.
If you have tried all the troubleshooting steps and your Xbox Elite Series 2 bumper buttons still do not work, it may be time to contact Microsoft support for further assistance. They will be able to provide you with additional troubleshooting steps or guide you through the process of sending in your controller for repair or replacement. Make sure to provide them with all the details of the issue and any steps you have already taken to resolve it.
How To Use Kurious Kamera Genshin Impact? In the world of Genshin Impact, players are constantly discovering new and exciting tools to aid them in …
Read Article
How To Get Smooth Stone In Minecraft? Minecraft is a popular sandbox game where players can build and explore virtual worlds. One of the essential …
Read Article
How to Get the Golden Shovel in Animal Crossing New Horizons One of the most sought-after and valuable items in Animal Crossing New Horizons is the …
Read Article
How To Get Rick In Fortnite? Are you ready to level up your Fortnite game and start earning big bucks? Fortnite is not just a game for fun; it’s a …
Read Article
What Is Wbs In Clash Of Clans? If you are a fan of the popular mobile strategy game Clash of Clans, you may have heard of the WBS feature. WBS stands …
Read Article
How To Get Skins In Brawl Stars? Brawl Stars is a popular multiplayer mobile game where players battle it out in fast-paced 3v3 matches. One of the …
Read Article


