


How to Grow Cocoa Beans in Minecraft: Easy Step-by-Step Guide
How To Grow Cocoa Beans In Minecraft? Minecraft is a game known for its versatility and the ability to create and grow a wide variety of crops and …
Read Article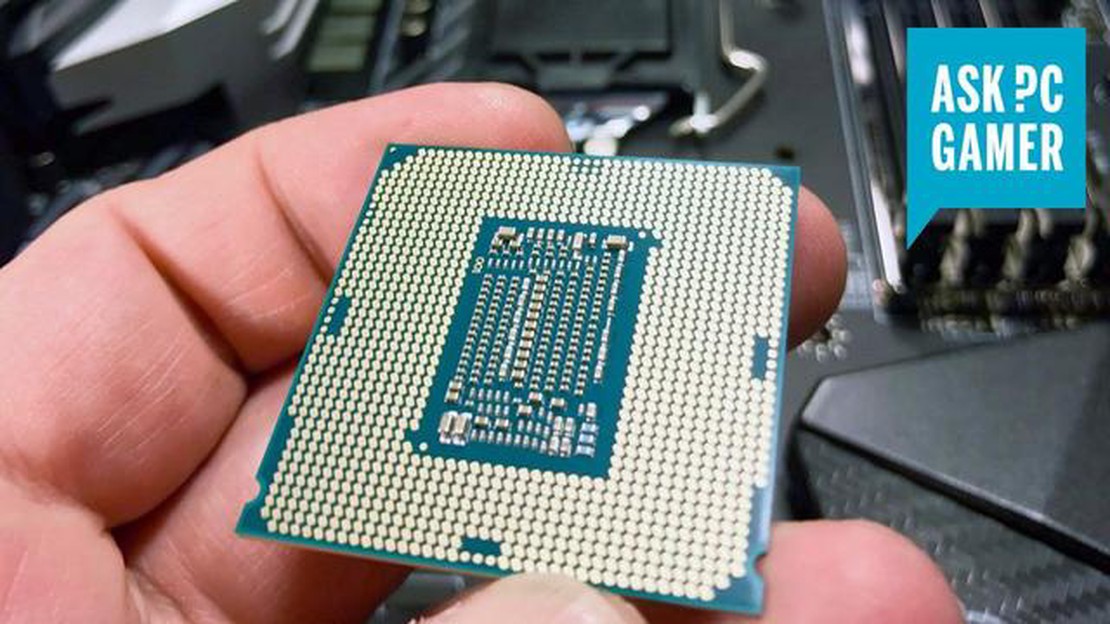
Welcome to our guide on overclocking Intel CPUs! Overclocking is a technique used by computer enthusiasts and gamers to push their processors beyond their stock speeds for improved performance. In this step-by-step guide, we will walk you through the process of overclocking your Intel CPU, highlighting important considerations and providing helpful tips along the way.
Why Overclock Intel CPUs?
Overclocking allows you to extract more processing power from your Intel CPU, which can significantly enhance your computer’s performance in demanding tasks such as gaming, video editing, and content creation. By increasing the clock speed of your CPU, you can achieve faster processing times and smoother gameplay, giving you a competitive edge and better overall experience.
Disclaimer: Overclocking can void your warranty and may potentially damage your CPU if not done correctly. We recommend that you proceed with caution and consult your CPU manufacturer’s guidelines before attempting to overclock your Intel CPU.
Step-by-Step Instructions:
By following these step-by-step instructions and considering the tips provided, you can safely and effectively overclock your Intel CPU for improved performance. Remember to approach overclocking with caution and always prioritize system stability and temperature management.
Note: Overclocking results will vary depending on the specific Intel CPU model and individual system configurations. Always consult your CPU’s documentation and follow manufacturer guidelines for best practices.
Take your computing experience to the next level with overclocking and unleash the full potential of your Intel CPU!
Overclocking is the process of increasing the clock speed of a computer component, such as a CPU or GPU, beyond its default settings to achieve higher performance. It involves making adjustments to the settings in the motherboard’s BIOS or UEFI firmware to push the hardware beyond its manufacturer’s recommended specifications.
By increasing the clock speed, the component can execute instructions at a faster rate, resulting in improved performance in tasks such as gaming, rendering, and multimedia editing. Overclocking is a popular practice among enthusiasts and gamers who want to squeeze out every bit of performance from their hardware.
However, it’s important to note that overclocking comes with some risks. Pushing the component beyond its designed limits can generate more heat, which may require additional cooling solutions. It can also shorten the lifespan of the hardware and void the warranty. Therefore, it’s crucial to proceed with caution and ensure proper cooling and voltage settings when overclocking.
Overclocking is most commonly associated with CPUs, but it can also be done on other components such as GPUs, RAM, and even storage devices. Each component has its own limitations and methods for overclocking, so it’s important to research and follow specific instructions for each one.
A successful overclock can result in significant performance gains, but it requires careful tweaking and testing to find the optimal settings. It’s a trial-and-error process that involves gradually increasing the clock speed, stress testing the system for stability, and monitoring temperatures to ensure they remain within safe limits.
Overall, overclocking can be a rewarding way to maximize the performance of your hardware, but it requires knowledge, patience, and caution. With the right approach, you can squeeze out extra performance and enjoy a faster computing experience.
Overclocking Intel CPUs can provide a variety of benefits for PC enthusiasts and gamers alike. By increasing the clock speed of the processor, you can achieve higher performance levels and potentially improve the overall efficiency of your system. Here are some compelling reasons why you might want to consider overclocking your Intel CPU:
It’s important to note that overclocking does come with some risks. It can increase power consumption and generate more heat, requiring adequate cooling solutions. Additionally, overclocking may void your CPU’s warranty, so proceed with caution and take proper precautions when attempting to overclock your Intel CPU.
To overclock your Intel CPU, follow these step-by-step instructions:
Remember that overclocking involves pushing your CPU beyond its factory settings, which can void the warranty and potentially cause damage if done incorrectly. Proceed with caution and always research and monitor your CPU’s performance and temperature.
Happy overclocking!
Before you begin overclocking your Intel CPU, it’s important to do some research and prepare yourself for the process. This will help you understand what overclocking is, what it can do for your CPU’s performance, and how to go about it safely and effectively.
1. Understand the Basics of Overclocking:
Read Also: Complete the Innovating the Engine Quest in WoW: Dragonflight
Overclocking is the process of increasing the operating frequency of your CPU beyond its default specifications. This can result in higher performance, but it also generates more heat, which must be managed properly to avoid damaging your hardware.
2. Identify the Model and Specifications of Your CPU:
Before you begin overclocking, make sure you know the exact model and specifications of your Intel CPU. This information is crucial for finding the optimal settings and overclocking techniques specific to your processor.
3. Research Safe Overclocking Limits for Your CPU:
Read Also: How to Add People on Coin Master: A Step-by-Step Guide
Each CPU has different limits when it comes to overclocking. It’s important to know what these limits are to ensure that you don’t push your CPU beyond its capabilities and risk causing damage. Look for information from reputable sources, such as Intel’s official documentation or user forums dedicated to overclocking.
4. Gather the Necessary Tools:
Before you start overclocking, make sure you have the necessary tools. This includes a reliable cooling solution to manage the increased heat generated by the overclocked CPU, a stable and updated BIOS for your motherboard, and software tools for monitoring temperatures, voltages, and clock speeds.
5. Back Up Your Data:
Overclocking involves pushing your CPU beyond its factory settings, which can introduce instability and potential system crashes. It’s a good idea to back up your important data before you start overclocking, just in case something goes wrong and you need to reset everything to default settings.
6. Read Guides and Tutorials:
There are many guides and tutorials available online that provide step-by-step instructions and tips on overclocking Intel CPUs. Take the time to read through these resources to gain a better understanding of the process and learn from others’ experiences.
7. Start Slow and Test Stability:
When you’re ready to begin overclocking, start with conservative settings and gradually increase the CPU frequency and voltage. Make sure to stress test your CPU after each adjustment to ensure stability and prevent crashes or system instability.
By conducting thorough research, understanding your CPU’s specifications, and preparing yourself with the necessary tools and knowledge, you’ll be ready to move on to the next steps in overclocking your Intel CPU.
Adjusting BIOS settings is a crucial step in the overclocking process. This is where you can access and modify various settings that control the performance and stability of your Intel CPU. Here are some important settings to consider:
It’s important to note that every BIOS is different, so the specific location and naming of these settings may vary. Consult your motherboard’s manual or search online for guidance on locating and adjusting these settings in your BIOS.
Once you have made the necessary adjustments, save your changes and exit the BIOS. Your system will restart with the new settings applied. It’s a good idea to test the stability of your overclocked CPU using stress testing software to ensure that it can handle the increased frequency and voltage reliably.
Overclocking is the process of increasing the clock speed of your CPU to achieve higher performance. It can be beneficial for tasks that require a lot of processing power, such as gaming or video editing.
When done properly, overclocking can be safe for your CPU. However, it can also increase the heat generated by the CPU, so it’s important to monitor temperatures and make sure they stay within safe limits.
To overclock your Intel CPU, you will need a motherboard that supports overclocking, a cooling solution to keep temperatures under control, and software utilities such as Intel Extreme Tuning Utility or BIOS settings to make the necessary adjustments.
Yes, there are risks involved in overclocking. It can void your CPU warranty, and if done improperly, it can cause stability issues, system crashes, or even damage to your CPU. It’s important to proceed with caution and do thorough research before attempting to overclock.
Before overclocking your CPU, you should consider factors such as the capabilities of your CPU and motherboard, the cooling solution you have in place, and the potential benefits versus the risks involved. It’s important to have realistic expectations and understand that not all CPUs will overclock the same.
It may be more difficult to overclock a pre-built computer, as the motherboard and BIOS settings may be locked. However, it’s still possible in some cases, especially if you have a higher-end pre-built system. You will need to do some research and potentially make hardware or software modifications to unlock overclocking capabilities.
How To Grow Cocoa Beans In Minecraft? Minecraft is a game known for its versatility and the ability to create and grow a wide variety of crops and …
Read Article
How To Fix The Battle Error On Mobile Legends? Mobile Legends is a popular multiplayer online battle arena (MOBA) game that has gained a massive …
Read Article
Why Is Roblox So Bad? Roblox may be an immensely popular online gaming platform, but many parents and critics argue that it has a dark side. From …
Read Article
How Many Seasons Are In Fortnite? Are you a Fortnite enthusiast eager to know how many seasons have been released? Look no further, as we have all the …
Read Article
How Do You Fish In Animal Crossing? Fishing is one of the most popular activities in the beloved video game series, Animal Crossing. Whether you’re a …
Read Article
Razer Nari Ultimate review Razer, the leading gaming hardware company, has always been known for delivering top-notch products to gamers around the …
Read Article


