


Learn How to Set Up a Private Server for Clash of Clans
How To Get A Private Server On Clash Of Clans? If you’re a Clash of Clans enthusiast, you may have wondered about the possibility of playing the game …
Read Article
Welcome to our comprehensive guide on setting up a dedicated or local server for Valheim multiplayer co-op! Valheim is a popular survival game that allows players to explore a vast open world, build structures, gather resources, and battle formidable creatures. While the game can be enjoyed in single-player mode, many players prefer to embark on their adventures alongside friends or other players in multiplayer mode.
Setting up a dedicated or local server for Valheim allows you to have more control over your multiplayer experience. It ensures a stable connection, lower latency, and the ability to customize the server settings according to your preferences. Whether you want to establish a dedicated server to host a large community or simply play with a group of friends, this step-by-step guide will walk you through the process.
Before we begin, please note that setting up a server for Valheim requires some technical knowledge and may vary depending on your operating system. We recommend reading through the entire guide before proceeding to ensure a smooth setup process. So, let’s dive in and get your Valheim multiplayer adventure started!
Valheim is a popular multiplayer co-op game that allows players to explore a vast open world and battle various creatures. While you can play the game on official servers, setting up your dedicated or local server can provide more control and customization options. In this step-by-step guide, we will walk you through the process of setting up a Valheim server.
By following this step-by-step guide, you can easily set up your dedicated or local server for Valheim multiplayer co-op. Enjoy the game with your friends and explore the world of Valheim together!
Valheim is a popular survival game that offers an immersive multiplayer co-op experience. The multiplayer mode in Valheim allows players to team up and explore the vast open world together. Here are some of the key features of Valheim multiplayer co-op:
Overall, Valheim multiplayer co-op offers a rich and engaging experience, encouraging teamwork, exploration, and customization. Whether you’re looking to conquer challenging enemies or build magnificent structures, Valheim’s multiplayer co-op has something for everyone.
Valheim is an open-world survival game that allows players to embark on epic adventures with friends in a cooperative multiplayer mode. While playing on public servers can be fun, setting up your own dedicated or local server can provide a more personalized and controlled gaming experience. In this guide, we will walk you through the steps to set up your own server for Valheim multiplayer co-op.
The first step is to download the Valheim server files. These files can be obtained from the official Valheim website or through third-party hosting providers. Make sure to choose the correct server files for your operating system.
Before setting up the server, it is important to ensure that your hardware meets the minimum system requirements for hosting a Valheim server. Make sure you have a stable internet connection and sufficient processing power and RAM to handle the server load.
Read Also: How To Customize Fences in Animal Crossing: A Complete Guide
To allow external players to connect to your server, you will need to configure your router and firewall settings. This typically involves opening specific ports on your router and allowing inbound connections through your firewall. Refer to your router and firewall documentation for instructions on how to do this.
Once the server files are downloaded and the hardware and network settings are prepared, it’s time to configure the server. This involves modifying the server configuration file to customize various settings such as server name, password, maximum players, and world settings. Refer to the Valheim server documentation for specific instructions on how to modify the configuration file.
Read Also: Resident Evil 3 Remake Locker and Safe Codes: Complete Guide
After configuring the server, you can start it by running the server executable file. This will launch the server and allow players to connect to it. You may need to run the server as an administrator or use a command line interface to start the server.
With the server up and running, you can invite your friends to join your Valheim multiplayer co-op adventure. Provide them with the server IP address and any necessary passwords or instructions for connecting to the server. Make sure to communicate any server rules or guidelines to ensure a smooth and enjoyable gaming experience.
Once your server is running, it’s important to regularly maintain and update it. Monitor the server performance, address any technical issues that arise, and keep the server software up to date. This will help ensure a stable and enjoyable multiplayer experience for all players.
Setting up a dedicated or local server for Valheim multiplayer co-op may require some technical knowledge and troubleshooting skills. However, the effort is well worth it for those seeking a more personalized and controlled gaming experience with friends. Follow this guide, and soon you’ll be embarking on epic adventures in Valheim with your own dedicated server.
Valheim is a popular multiplayer co-op game set in a procedurally generated Viking-inspired world. Players can explore, build, and fight mythical creatures together.
A dedicated server is a separate computer or virtual machine that is solely dedicated to running game servers. It provides a stable and reliable environment for multiplayer gameplay.
Setting up a dedicated server for Valheim allows you to have more control over the server settings, such as the world size, difficulty, and player limits. It can also provide a better multiplayer experience with improved performance and reduced lag.
To set up a dedicated server for Valheim, you will need to download the Valheim server files, configure the server settings, and then run the server. This can be done by following a step-by-step guide or using a server hosting service.
How To Get A Private Server On Clash Of Clans? If you’re a Clash of Clans enthusiast, you may have wondered about the possibility of playing the game …
Read Article
Roots of Pacha review Journey back in time and experience the wonders of prehistoric life in the captivating new game, Roots of Pacha. Developed by a …
Read Article
How To Draw Brawl Stars Sprout? If you’re a fan of Brawl Stars and want to learn how to draw one of the most popular characters, Sprout, you’re in the …
Read Article
When Is The Call Of Duty Black Ops 3 Beta? The highly anticipated Call of Duty Black Ops 3 Beta is finally almost here! Fans of the popular …
Read Article
What Is The Best Skin In Fortnite? Fortnite is not only a game but a way to express your own personal style. The game offers a wide range of skins …
Read Article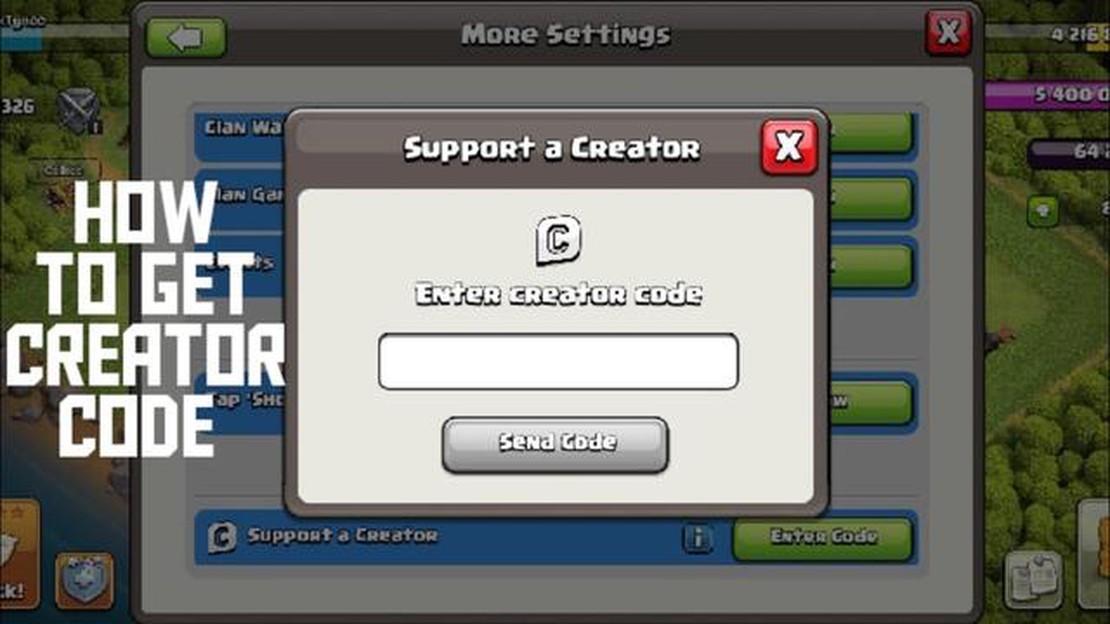
What Is A Creator Code For Clash Of Clans? Clash of Clans is one of the most popular mobile strategy games in the world, with millions of active …
Read Article

