How To Get Tropius in Pokemon Go: Step-by-Step Guide
How To Get Tropius Pokemon Go? If you’re a Pokemon Go player determined to catch ’em all, then you’ll definitely want to add Tropius to your …
Read Article
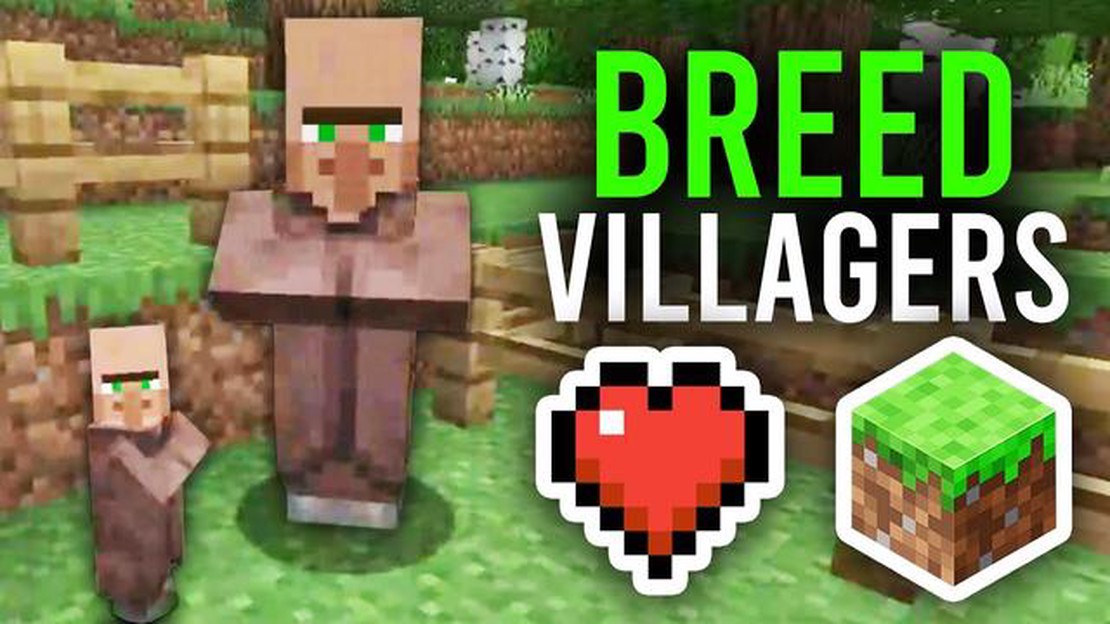
Welcome to our comprehensive guide on how to breed villagers in Minecraft! Villagers are an important part of the game, as they can trade valuable items and provide resources for players. Breeding villagers is a key strategy for expanding your village and creating a thriving community.
Step 1: Build Suitable Housing
The first step in breeding villagers is to create appropriate living conditions for them. Villagers require a certain number of houses with beds to start breeding. Each house should have at least one bed and a nearby job site block, such as a lectern or a brewing stand.
Note: The number of villagers that can breed depends on the number of available beds. Ensure that there are enough beds for each potential pair of villagers.
Step 2: Prepare a Food Supply
In order for villagers to breed, they need to have a sufficient food supply. The food supply must consist of bread, carrots, potatoes, or beetroots. You can either gather these items from naturally generated structures or grow them in your own crop fields. Make sure to have a surplus of food to sustain the growing population of villagers.
Step 3: Entice Villagers to Breed
To encourage villagers to breed, you need to ensure that there are at least two adult villagers within the village. Once the housing and food requirements are met, villagers will naturally start breeding. You can speed up the breeding process by trading with the villagers and increasing their happiness levels.
Tip: Keep an eye on the “Hearts” particles that appear above the heads of villagers, as it indicates that breeding is taking place.
By following these steps, you’ll be able to successfully breed villagers in Minecraft and create a thriving community. They will not only provide valuable trades but also contribute to the overall growth and development of your village. So get out there and start building your population!
Breeding villagers in Minecraft can be a useful way to increase your village population and create a thriving community. Here is a step-by-step guide to help you successfully breed villagers.
By following this step-by-step guide, you can successfully breed villagers in Minecraft and create a thriving community in your world. Enjoy watching your village grow!
Read Also: Endless Space 2 Review: A Deep and Engaging Space Strategy Game
Before you start breeding villagers in Minecraft, there are a few things you need to know:
By keeping these points in mind, you will be better prepared to breed villagers successfully in Minecraft and expand your village.
Read Also: Understanding Ads in Call of Duty: A Comprehensive Guide
In order to breed villagers in Minecraft, you will need to create a suitable breeding area for them. Here are the steps to create a villager breeding area:
Once you have created a suitable breeding area, you are ready to move on to the next step of breeding villagers in Minecraft.
Once you have created a suitable breeding environment, the next step is to obtain villagers. There are several ways to do this:
It is important to note that not all villagers can breed, so make sure you choose villagers with the ability to breed if you want to start a villager breeding program.
Once you have obtained villagers, you can move on to the next step of the breeding process.
The purpose of breeding villagers in Minecraft is to create a sustainable source of new villagers. Villagers can provide valuable resources and services, such as trading items and providing access to rare items or enchantments.
To breed villagers in Minecraft, you need to create conditions that encourage them to mate. This includes giving them enough food, creating suitable living conditions, and ensuring there are enough beds available for the potential baby villagers.
Villagers need to have enough food in order to breed. The food they require varies depending on their profession. Farmers need to have access to crops, while other villagers can be fed with bread, carrots, potatoes, or beetroot.
To create suitable living conditions for villagers, you need to provide them with enough housing. Each villager needs a bed and a workstation. Additionally, you can build a village breeder, which is a structure that helps accelerate the breeding process by creating the necessary conditions.
By breeding villagers in Minecraft, you can create a self-sustaining population of villagers that can provide various benefits. These benefits include trading items, providing access to rare items or enchantments, and increasing the overall activity in your Minecraft world.
In Minecraft, you cannot directly control the breeding process of villagers. However, by creating suitable conditions and providing enough resources, you can encourage villagers to breed and increase the chances of successful breeding.
How To Get Tropius Pokemon Go? If you’re a Pokemon Go player determined to catch ’em all, then you’ll definitely want to add Tropius to your …
Read ArticleWhy Is Call Of Duty So Big? Call of Duty, without a doubt, is one of the most popular video game franchises in the world. Since its inception in 2003, …
Read ArticleHow Much Is The Battle Pass For Fortnite? Are you an avid Fortnite player? Do you want to unlock amazing rewards and level up your gameplay? Then you …
Read ArticleWhy Can�t I Log Into My Roblox Account? Are you having trouble logging into your Roblox account? Don’t worry, you’re not alone. Many Roblox users …
Read ArticleWhy Did Roblox Remove Guests? Roblox, a popular online gaming platform, recently made the decision to remove the ability for users to access the …
Read ArticleHow to Get Return Tickets in Fortnite How to Get Return Tickets in Fortnite: A Step-by-Step Guide Fortnite is a popular online multiplayer game that …
Read Article