


Valheim: Introducing Creative Mode and Brutal Hardcore Difficulty Options
Valheim is getting a creative mode and some truly brutal hardcore difficulty options In the world of Valheim, an open-world survival game that has …
Read Article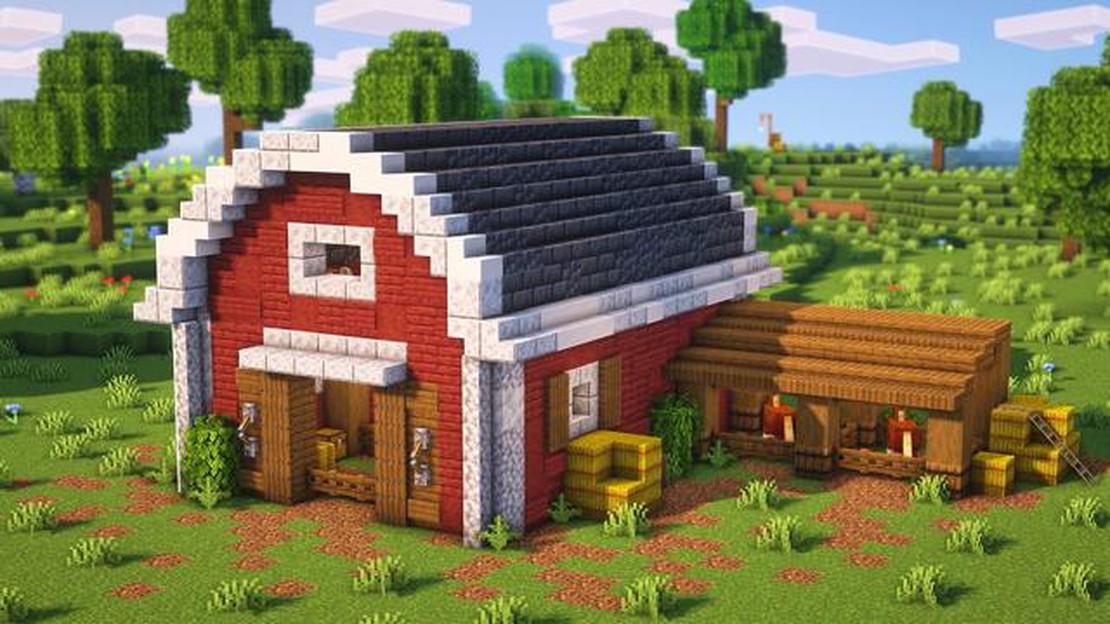
Welcome to our Minecraft barn building tutorial! In this step-by-step guide, we will show you how to build a barn in Minecraft. Whether you’re a beginner looking to learn the basics or an experienced player searching for new building ideas, this tutorial is perfect for you. Get ready to create a functional and aesthetically pleasing barn to house your animals.
Step 1: Planning
Before you start building, it’s important to have a clear plan in mind. Decide on the size and layout of your barn. Consider the number of animals you want to house and the different sections you’ll need for storage and other purposes. Take into account the materials you want to use and the style you want to achieve. This will help you stay organized and avoid having to make major changes later on.
Step 2: Gathering Materials
Now that you have a plan, it’s time to gather the necessary materials. You will need a variety of blocks, such as wood, logs, and fences, to create the structure of the barn. Collect enough materials to ensure you have everything you need before you start building. This will save you time and frustration during the construction process. You can obtain materials by chopping down trees, mining, or trading with villagers.
Step 3: Building the Foundation
Begin by building the foundation of your barn. Create a flat platform using your chosen blocks. Make sure it is large enough to accommodate all the animals and areas you planned in the first step. Use a shovel to level the ground and remove any unwanted blocks. This will ensure a sturdy base for your barn.
Step 4: Constructing the Walls and Roof
Next, start building the walls of your barn, using the blocks you gathered. Depending on your design, you may want to use different types of blocks to create a more interesting and visually appealing structure. Don’t forget to leave openings for doors and windows.
Step 5: Adding Doors, Windows, and Details
After you’ve constructed the basic structure, it’s time to add doors, windows, and other details to your barn. Use fences or gates for the doors, and glass panes for the windows. You can also add hay bales, lanterns, or other decorative elements to make your barn stand out.
Step 6: Adding Interior Features
Once the exterior is complete, don’t forget to decorate the interior of your barn. Install stalls for your animals, storage chests for supplies, and any other features you planned in the first step. This will make your barn functional and practical for all your Minecraft needs.
Now that you know how to build a barn in Minecraft, it’s time to put your skills into practice. Use this step-by-step guide as a starting point, and feel free to get creative and add your own personal touches to make your barn unique. Good luck and have fun building!
In Minecraft, building a barn can be a fun and rewarding project. Whether you’re looking to create a rustic farm or just add some extra space for your animals, building a barn can enhance your overall gameplay experience. Follow this step-by-step guide to learn how to build a barn in Minecraft.
To build a barn in Minecraft, you will need the following materials:
Choose a suitable location for your barn. It should be spacious enough to accommodate your animals and have easy access for movement.
Start by laying down a cobblestone foundation in the desired shape and size of your barn. This will serve as the base of your structure.
Using cobblestone, construct the walls of your barn. Make sure to leave openings for doors and windows.
Place glass blocks to create windows in your barn walls. Additionally, add wooden doors for entrance and exit points.
Use wooden planks to construct the roof of your barn. Start from one side and gradually slope it towards the other side.
Enhance the appearance of your barn by adding wooden slabs and stairs to create a detailed roof design. Place fences around the barn to give it a more authentic farm feel. Also, add torches inside for lighting.
Inside your barn, create separate animal pens using fences or wooden walls. This will provide designated spaces for your animals.
To complete the look, add hay bales inside your barn. You can use straw blocks or carpet to mimic hay.
Finally, personalize your barn by adding decorations such as flower pots, item frames, or signs. This will add character to your creation.
Read Also: Simple Steps to Recover Your Hacked Roblox Account Without Email
By following these steps, you can successfully build a barn in Minecraft and enjoy a realistic farm experience.
Welcome to this step-by-step tutorial on how to build a barn in Minecraft! In this guide, we will walk you through the process of constructing a traditional barn in the popular sandbox game. Whether you’re a beginner or an experienced player, this tutorial will help you create a functional and visually appealing barn for your Minecraft world.
Read Also: How Many People Can Live on Your Island in Animal Crossing?
To begin building your barn, you will need the following materials:
Additionally, make sure you have the following tools:
Before starting the construction, it’s helpful to plan out the design and layout of your barn. Consider the size, shape, and the number of floors you want the barn to have. Decide if you want any specific features, such as a loft or storage area.
Begin by clearing a suitable area for your barn and crafting your cobblestone foundation. Use your shovel to dig a flat surface and lay down the cobblestone blocks in a rectangular shape. Ensure the foundation is level and properly aligned.
Using your wood blocks, start constructing the walls of your barn on top of the foundation. Begin with the corners and gradually fill in the rest, ensuring the walls are tall enough to accommodate your desired barn height. Leave spaces for windows and doors as needed.
Insert glass panes in the designated spaces to create windows. Place doors at suitable entrances to provide access to the barn’s interior.
To create a roof for your barn, construct a triangular shape using your wood blocks. Begin at one side of the barn and gradually extend it to the other side, creating the desired roof pitch. Repeat the process for the other side. You can also experiment with different roof designs.
Once you have completed the exterior, it’s time to add interior features such as hay bales, animal pens, and storage areas. Use fencing to create enclosures for livestock and organize the space to suit your needs.
Add any finishing touches you desire to make your barn stand out. Consider adding decorative elements like lanterns, signs, or vegetation around the barn to enhance its appearance.
Congratulations! You have successfully built a barn in Minecraft. Feel free to customize and modify the design to make it your own. Enjoy your new barn and all the possibilities it brings to your Minecraft world!
In Minecraft, building a barn can be a fun and creative project that adds a rustic touch to your virtual world. Follow this step-by-step guide to learn how to build a barn in Minecraft.
Select a spacious area in your Minecraft world where you want to build your barn. It should have enough room to accommodate the size of the barn you have in mind.
Use wooden planks or logs to create the base or foundation of the barn. Make sure it is level and evenly spaced to provide stability.
Using wooden planks, construct the walls of your barn. Decide on the height and width based on your preferred design. Leave space for windows and doors.
Place glass panes as windows on the walls of your barn. For doors, you can use wooden doors or create your own design using wooden planks.
Use wooden planks or logs to create the roof of your barn. Make sure it is sloped and covers the entire structure. This will give your barn a traditional look.
Once the exterior is complete, focus on decorating the interior of your barn. Add hay bales for a rustic touch. You can also incorporate storage areas, stalls for animals, or any other features you desire.
Place torches or other light sources inside the barn to ensure it is well-lit. This will not only make it more visually appealing but also provide a safe environment for your virtual animals.
Add any additional details you desire to make your barn unique. This can include fences, signs, or even landscaping around the barn to enhance its appearance.
Building a barn in Minecraft allows you to unleash your creativity and create a charming addition to your virtual world. Follow these steps and let your imagination run wild!
To build a barn in Minecraft, you will need materials such as oak wood, oak wood planks, oak wood stairs, oak wood slabs, fences, hay bales, and doors.
The size of the barn can vary depending on your preferences, but a common size would be around 10 blocks wide, 12 blocks long, and 8 blocks tall.
To make a roof for the barn, you can use oak wood stairs and slabs. Start by placing oak wood planks as the base of the roof, then alternate between placing stairs and slabs until you reach the top.
Yes, absolutely! The beauty of Minecraft is that you can customize almost everything. Feel free to experiment with different materials, shapes, and decorations to create a unique and personalized barn design.
Valheim is getting a creative mode and some truly brutal hardcore difficulty options In the world of Valheim, an open-world survival game that has …
Read Article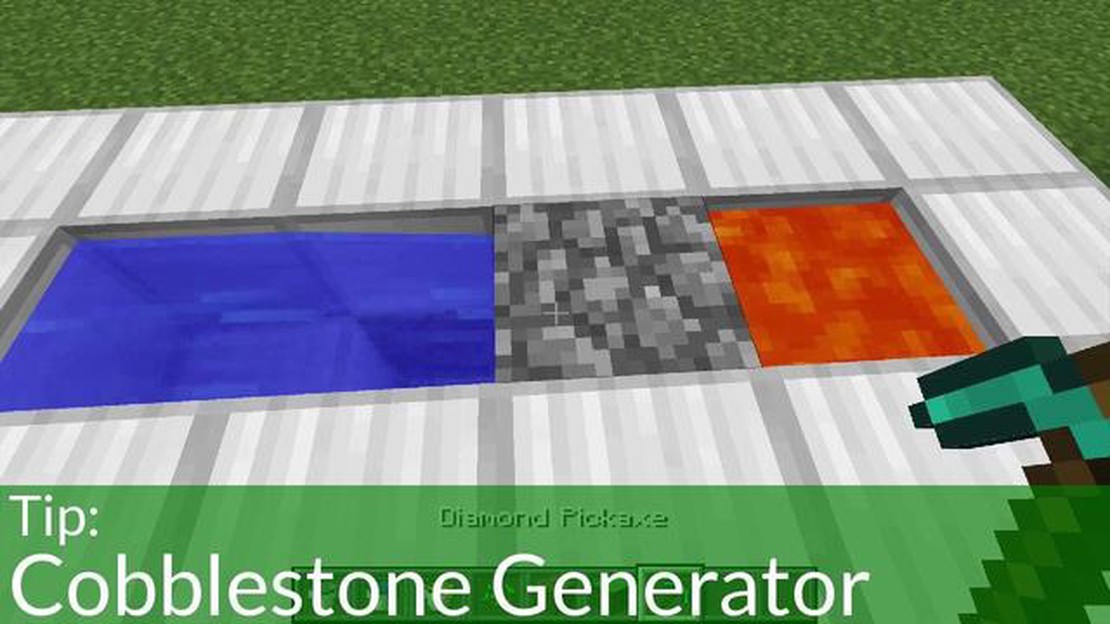
How To Make A Cobblestone Generator In Minecraft? Minecraft is a popular sandbox game that allows players to build and explore their own virtual …
Read Article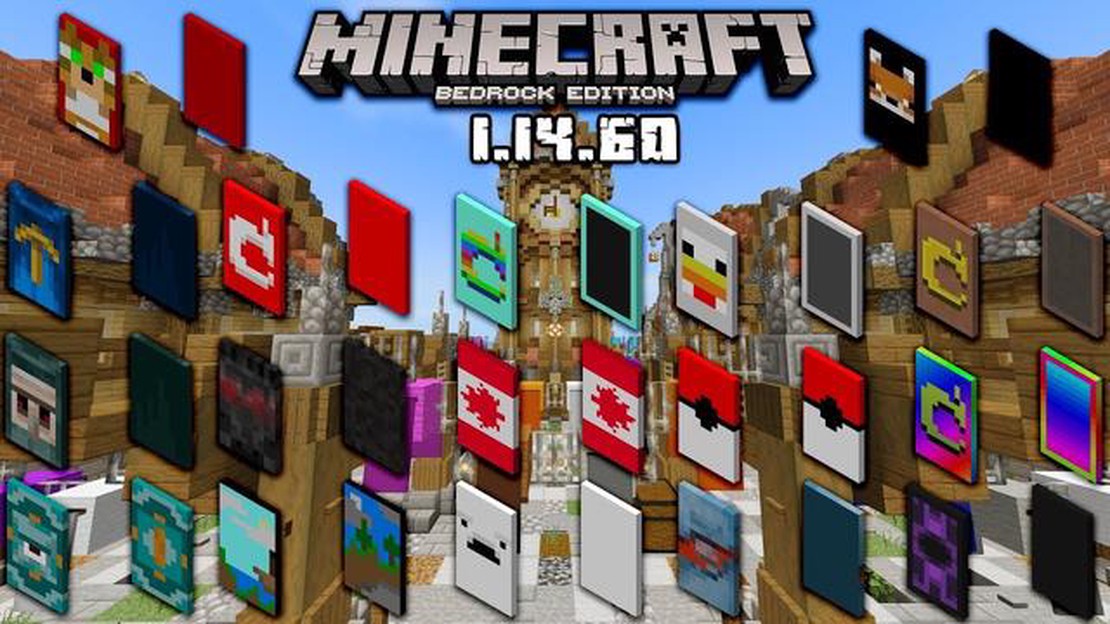
How To Get A Cape In Minecraft 1.14? As an avid Minecraft player, you may have seen other players with cool capes and wondered how to get one for …
Read Article
How To Play Modded Clash Royale? Welcome to the world of modded Clash Royale! If you’re a beginner looking to take your Clash Royale gaming experience …
Read Article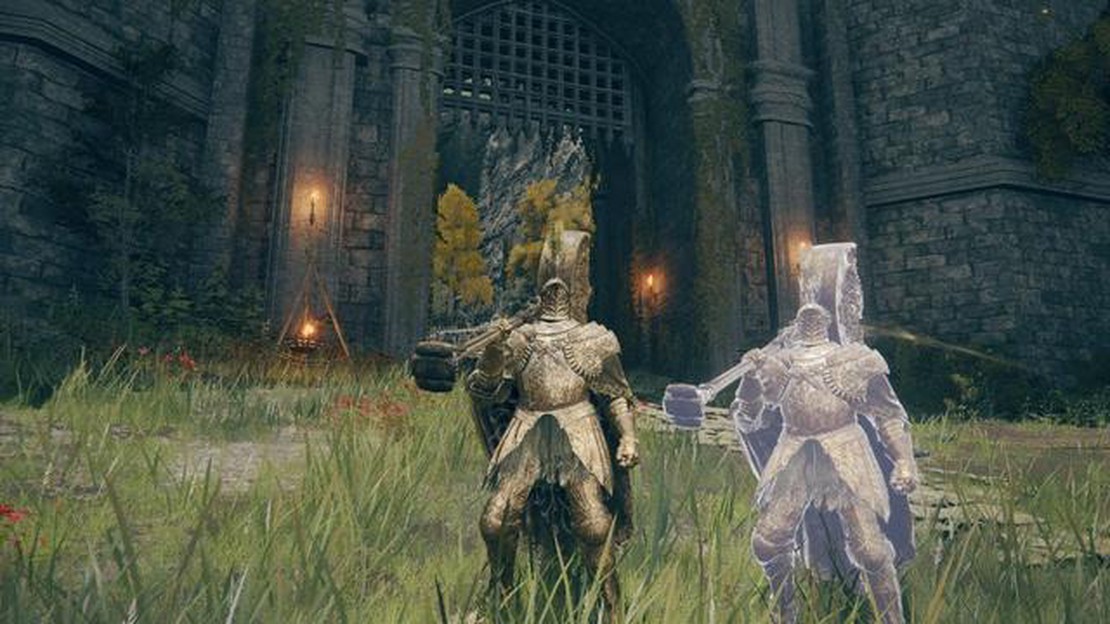
How to find Mimic Tear spirit ashes in Elden Ring Welcome to our comprehensive guide on finding Mimic Tear Spirit Ashes in Elden Ring! This highly …
Read Article
Arcane Act 1 review: Netflix’s League of Legends spin-off is amazing League of Legends fans have been eagerly anticipating the release of Arcane, …
Read Article

