

Where Can You Buy Roblox Gift Cards? - Find the Best Places to Purchase!
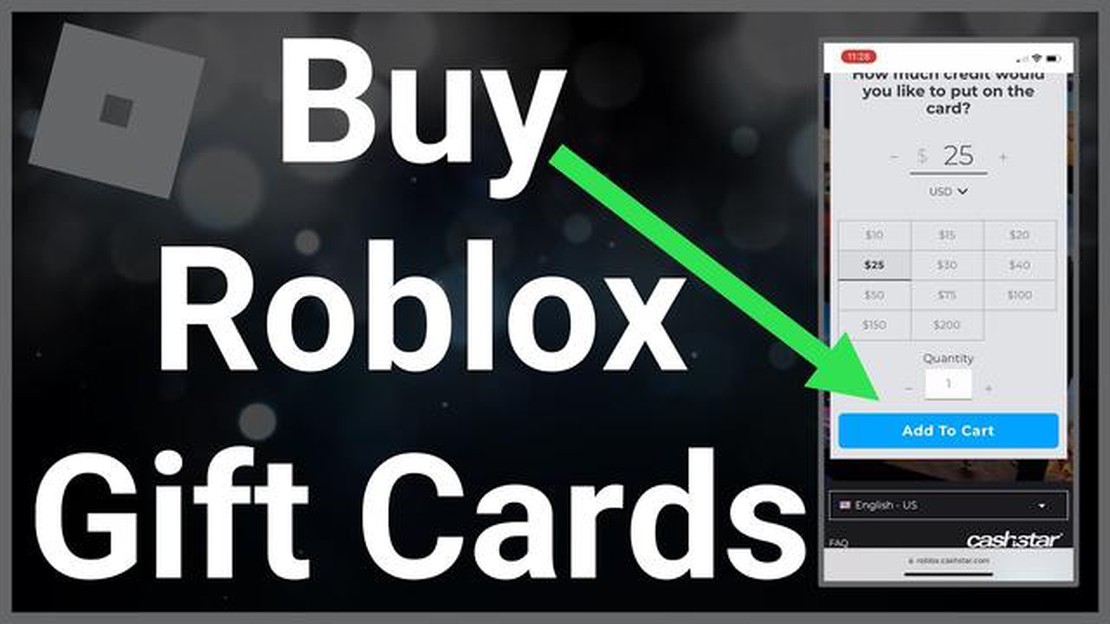
Where Can You Buy Roblox Gift Cards? If you are a fan of Roblox and want to get your hands on Roblox gift cards, you might be wondering where you can …
Read Article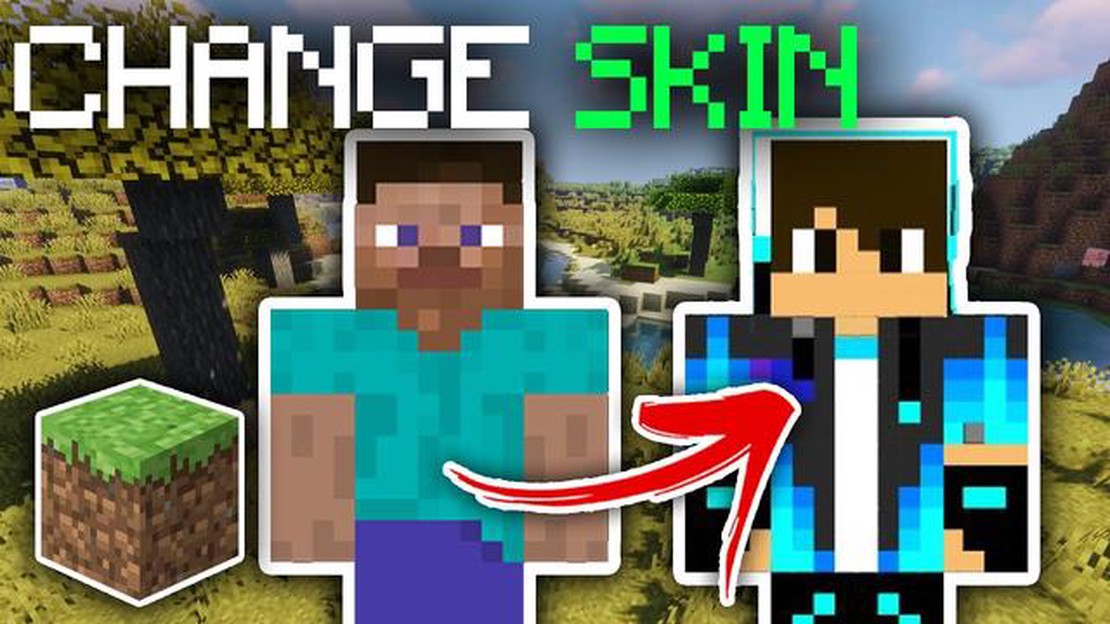
Changing your Minecraft skin is a fun and easy way to personalize your in-game character. Whether you want to show off your unique style or simply try something new, customizing your avatar can enhance your gaming experience. With a few simple steps, you can change your Minecraft skin and stand out among other players.
To change your Minecraft skin, first, you need to find a skin that you like. There are numerous websites that offer free skins for Minecraft, or you can create your own using image editing software. Once you have chosen a skin, download it to your computer.
Next, open your Minecraft launcher and go to the “Skins” section. Here, you will see two options: “Default” and “Custom.” Choose the “Custom” option, and a new window will appear. Click on the “Browse” button and navigate to the location where you saved the downloaded skin on your computer.
Select the skin file and click “Open.” Your selected skin will now appear in the preview window, allowing you to see how it will look on your character. If you are satisfied with your choice, click the “Upload” button, and your Minecraft skin will be changed.
Now, when you start the game, your character will appear with the new skin. Other players will also see your custom skin when playing multiplayer. If you change your mind or want to try a different skin, simply repeat the above steps with a new skin file.
Overall, changing your Minecraft skin is a simple process that allows you to express your creativity and individuality. Whether you want to become a superhero, a mythical creature, or simply want a new look, changing your Minecraft skin is a great way to enhance your gaming experience.
In Minecraft, skins are a way to customize the appearance of your character, also known as your avatar or player model. Skins allow you to change the default look of Steve, the default character in Minecraft, to something more unique and personalized.
A Minecraft skin is a file that determines the appearance of your character. It consists of two parts: the main body and the overlay. The main body is the base layer that covers most of the character’s body, while the overlay is a second layer that can be used to add details such as clothing, accessories, or even different body parts.
There are two types of Minecraft skins:
Read Also: How to Quit Fortnite Club in Easy Steps: A Complete Guide
Changing your Minecraft skin is a simple process. All you need to do is find or create a skin that you like, and then upload it to your Minecraft account. Once uploaded, your new skin will be applied to your character in the game.
It’s worth noting that Minecraft skins are purely cosmetic and do not affect gameplay in any way. They are a fun way to express your creativity and show off your personal style while playing Minecraft.
If you want to further customize your Minecraft experience, you can also download or create resource packs that change the game’s textures and sounds. These packs can give your Minecraft world a whole new look and feel, in addition to your character’s skin.
In summary, Minecraft skins are files that determine the appearance of your character in the game. They can be either default skins that come with the game or custom skins created by players. Changing your Minecraft skin allows you to personalize your avatar and give it a unique look that reflects your style and creativity.
Changing your Minecraft skin is a fun way to customize your avatar and make it truly your own. When choosing a new skin, you have a few options to consider:
Once you have decided which type of skin you want to use, you are ready to proceed to the next step and apply it to your Minecraft account.
Read Also: Why Does Toca Boca Keep Kicking Me Out? - Exploring the Common Issues and Solutions
After you have chosen the perfect skin for your Minecraft avatar, it’s time to download it. Here are the steps to follow:
That’s it! You have successfully downloaded the skin for your Minecraft avatar. Now, let’s move on to the next step to learn how to apply the skin in the game.
Once you’ve downloaded or created your new Minecraft skin, it’s time to apply it to your avatar. Follow these simple steps to change your Minecraft skin:
Congratulations! You have successfully changed your Minecraft skin. Enjoy exploring the virtual world of Minecraft with your customized avatar!
Changing your Minecraft skin allows you to customize your avatar and make it unique. It can help you stand out in multiplayer games and express your personal style.
There are many websites where you can find Minecraft skins. Some popular ones include MinecraftSkins.com, NameMC.com, and PlanetMinecraft.com. These websites offer a wide range of skins to choose from, including ones based on popular TV shows, movies, and video games.
Yes, you can create your own Minecraft skin. There are many online skin editors available that allow you to customize your avatar’s appearance. Some popular skin editors include Novaskin.me, MCSkin3D, and Skindex. These editors allow you to edit individual pixels, add accessories, and even create custom designs for your skin.
Other players will see your custom Minecraft skin if you are playing on a multiplayer server that allows player skins. However, if you are playing on a server that has its own custom skins or has disabled player skins, your custom skin may not be visible to other players. It’s always a good idea to check the server rules and settings before joining.
Where Can You Buy Roblox Gift Cards? If you are a fan of Roblox and want to get your hands on Roblox gift cards, you might be wondering where you can …
Read Article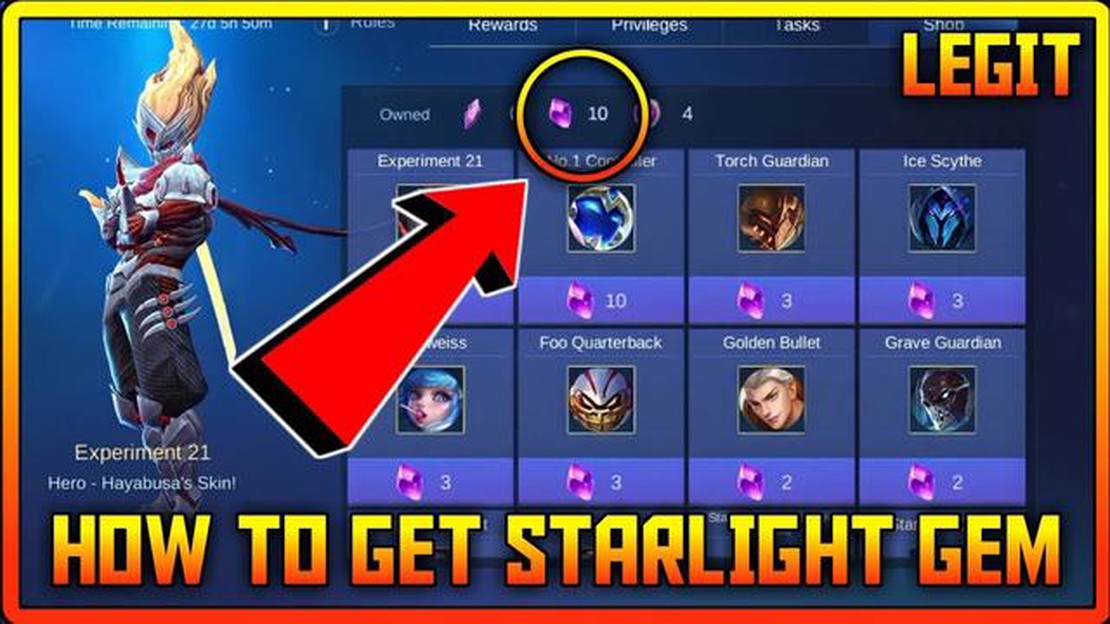
Mobile Legends How To Get Starlight Gem? Mobile Legends is a popular multiplayer online battle arena (MOBA) game developed and published by Moonton. …
Read Article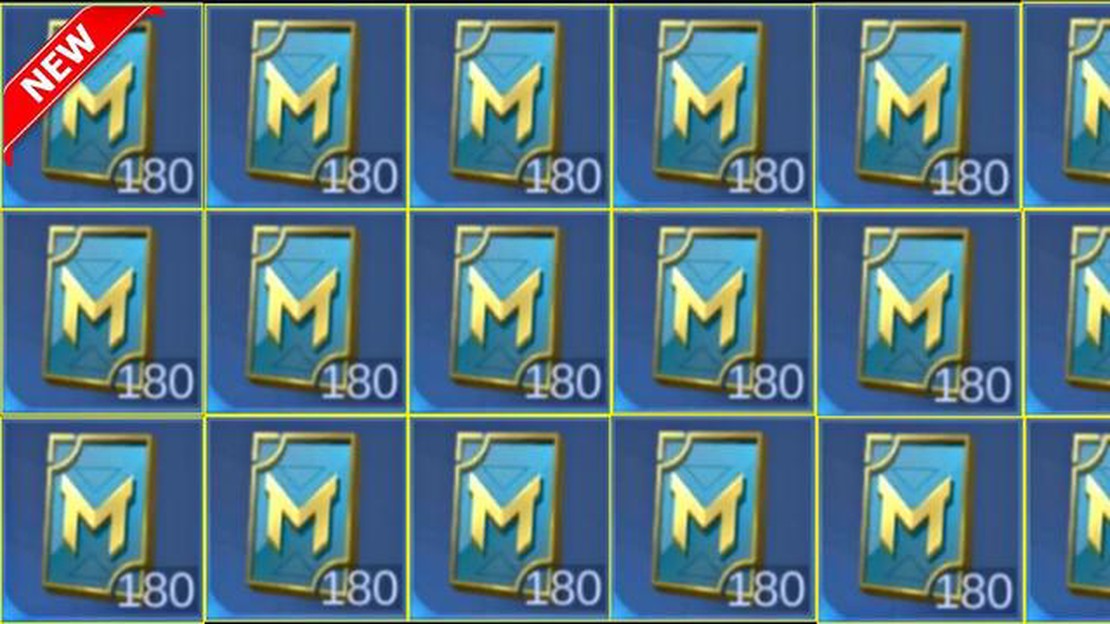
How To Get Many Tickets In Mobile Legends? Mobile Legends is a highly popular multiplayer online battle arena (MOBA) game played by millions of people …
Read Article
What Beats Poison Pokemon? Poison-type Pokemon can be a formidable opponent in battles, but like all types, they have their weaknesses. Knowing which …
Read Article
How To Beat Giovanni Pokemon Go? Giovanni, the leader of Team Rocket, poses a formidable challenge for Pokemon Go players. Defeating Giovanni is no …
Read Article
Why Isn�t Clash Of Clans Working? Clash of Clans is a popular mobile game that allows players to build and defend their own virtual villages. However, …
Read Article


