


How to Catch Kangaskhan in Pokemon Go: A Complete Guide
How To Get Kangaskhan In Pokemon Go? If you’re a fan of Pokemon Go, you know that catching rare and elusive Pokemon is one of the most exciting parts …
Read Article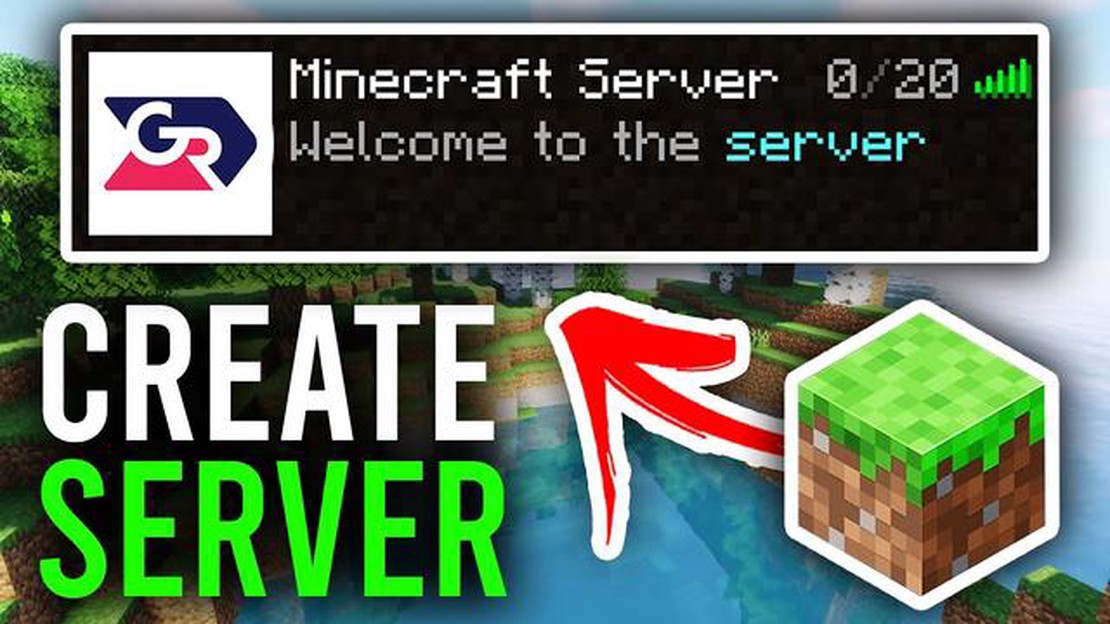
Minecraft is a popular sandbox game that allows players to build and explore virtual worlds. While you can play Minecraft alone, many players enjoy the multiplayer experience of joining a server with friends. If you want to create your own Minecraft server, this step-by-step guide will walk you through the process.
Step 1: Choose a Hosting Service
The first step in creating a Minecraft server is to choose a hosting service. There are many hosting services available, each with their own features and pricing options. Some popular hosting services for Minecraft include Minehut, Apex Hosting, and Shockbyte. Consider factors such as server location, number of players, and available resources when choosing a hosting service.
Step 2: Install Java
Minecraft servers require Java to run. Before setting up your server, make sure you have Java installed on your computer. You can download the latest version of Java from the official Oracle website. Follow the installation instructions provided to install Java on your system.
Step 3: Set Up Port Forwarding
In order for other players to connect to your server, you’ll need to set up port forwarding on your router. Port forwarding allows incoming connections on specific ports to be directed to your computer running the Minecraft server. Consult your router’s documentation or contact your internet service provider for instructions on how to set up port forwarding.
Step 4: Download and Configure the Minecraft Server Software
Next, you’ll need to download and configure the Minecraft server software. Visit the official Minecraft website to download the server software. Once downloaded, create a new folder on your computer and place the server software inside it. Open the server properties file and adjust settings such as server name, player limit, and world generation options.
Step 5: Start the Minecraft Server
With the server software configured, you’re ready to start your Minecraft server. Open the command prompt or terminal on your computer and navigate to the folder where you placed the server software. Use the “java -jar " command to start the server. The server will begin generating the world and you’ll be able to connect to it using your Minecraft client.
Following these steps will allow you to create your own Minecraft server and start playing with friends. Keep in mind that running a server requires adequate hardware resources and a stable internet connection to ensure smooth gameplay for all players.
Disclaimer: The information provided in this article is for educational purposes only. Creating a Minecraft server may require technical knowledge and can involve security risks. Proceed with caution and ensure you are following all legal and copyright guidelines.
Installing a Minecraft server requires a few simple steps. Follow the guide below to set up your own server:
Following these steps will allow you to successfully install and set up your own Minecraft server. Enjoy playing and exploring the world with your friends!
Before you start creating your Minecraft server, it’s important to choose the right version of the game that you want to use. Minecraft is constantly being updated with new features and improvements, so it’s crucial to make sure you’re using a compatible version.
Read Also: How to Shiny Hunt in Pokemon Go: Tips and Tricks
There are two main versions of Minecraft: Java Edition and Bedrock Edition. Java Edition is the original version of the game and is available for Windows, macOS, and Linux. Bedrock Edition is a version of Minecraft that is designed for consoles, mobile devices, and Windows 10.
Java Edition:
Bedrock Edition:
Once you’ve decided on the version you want to use, you’ll need to make sure you have the correct Minecraft server software. There are several options available for both Java Edition and Bedrock Edition, each with their own set of features and requirements.
It’s important to note that players using the Java Edition of Minecraft can only connect to servers running the same version of the game. On the other hand, players using the Bedrock Edition can connect to any server running the same major version.
Before setting up your Minecraft server, it’s a good idea to check the official Minecraft website or community forums for the latest information on available server software options and compatibility requirements.
Read Also: How to Hack Coin Master Free Spins: Step-by-Step Guide
Java is a programming language that is necessary for running a Minecraft server. Before you can create a Minecraft server, you will need to download and install Java on your computer. Follow these steps:
Once the download is complete, follow the instructions to install Java on your computer. This process may vary slightly depending on your operating system, but the general steps are as follows:
Now that Java is installed on your computer, you are ready to proceed with setting up your Minecraft server.
Once you have downloaded and installed the necessary software, you are ready to start setting up your Minecraft server. This involves configuring and optimizing the server settings to ensure a smooth gameplay experience for your players.
By following these steps, you should be able to set up and configure your Minecraft server successfully. Remember to regularly update your server software and plugins/mods to ensure security and access the latest features.
Port forwarding is a vital step in creating a Minecraft server, as it allows external connections to access your server through your internet connection. Without port forwarding, players outside of your local network will not be able to connect to your server.
To begin port forwarding, you need to access your router’s settings. Here are the general steps to accomplish this:
Once you have completed the port forwarding steps, your Minecraft server should be accessible from outside your local network. Players will be able to connect to your server using your external IP address along with the port number specified in the port forwarding rule.
Note that port forwarding can expose your server and network to potential security risks. Be sure to keep your server and router firmware up to date and use strong passwords to minimize these risks.
Minecraft is a popular sandbox video game that allows players to build and explore virtual worlds.
Creating a Minecraft server can be a bit complex, but with the right steps and instructions, it is manageable for anyone.
Creating a Minecraft server allows you to have full control over the gameplay experience, invite friends to play together, and customize the world to your liking.
The system requirements for hosting a Minecraft server can vary depending on the number of players, but generally, you will need a decent computer with a high-speed internet connection.
There are no costs associated with creating a basic Minecraft server if you host it on your own computer. However, if you want to have a server that is always online, you may need to consider renting a server from a hosting provider, which can incur a monthly fee.
Absolutely! Once you create a Minecraft server, you can invite your friends to join the server and play together in the same virtual world.
How To Get Kangaskhan In Pokemon Go? If you’re a fan of Pokemon Go, you know that catching rare and elusive Pokemon is one of the most exciting parts …
Read Article
Where to find the Stoplight Loosejaw in Dredge Deep below the surface of the ocean, in the mysterious world of the abyss, lies a creature that few …
Read Article
How To Move Villagers Minecraft? Are you looking to relocate some villagers in Minecraft? Moving villagers can be a useful skill to learn, especially …
Read Article
How To Reach Glorious Legends Mobile Legends? If you’re an avid Mobile Legends player, you’ve probably heard of the elusive Glorious Legends rank. …
Read Article
How To Teleport In Pokemon Go? Teleporting in Pokemon Go can be a useful strategy for quickly reaching new locations and capturing rare Pokemon. While …
Read Article
The Settlers: New Allies review The Settlers: New Allies is the latest installment in the long-running strategy game series. Developed by Blue Byte …
Read Article


