

Top Game Developers Behind Call Of Duty - Revealed
What Companies Make Call Of Duty? Call of Duty has taken the gaming world by storm, captivating millions of players around the globe with its intense …
Read Article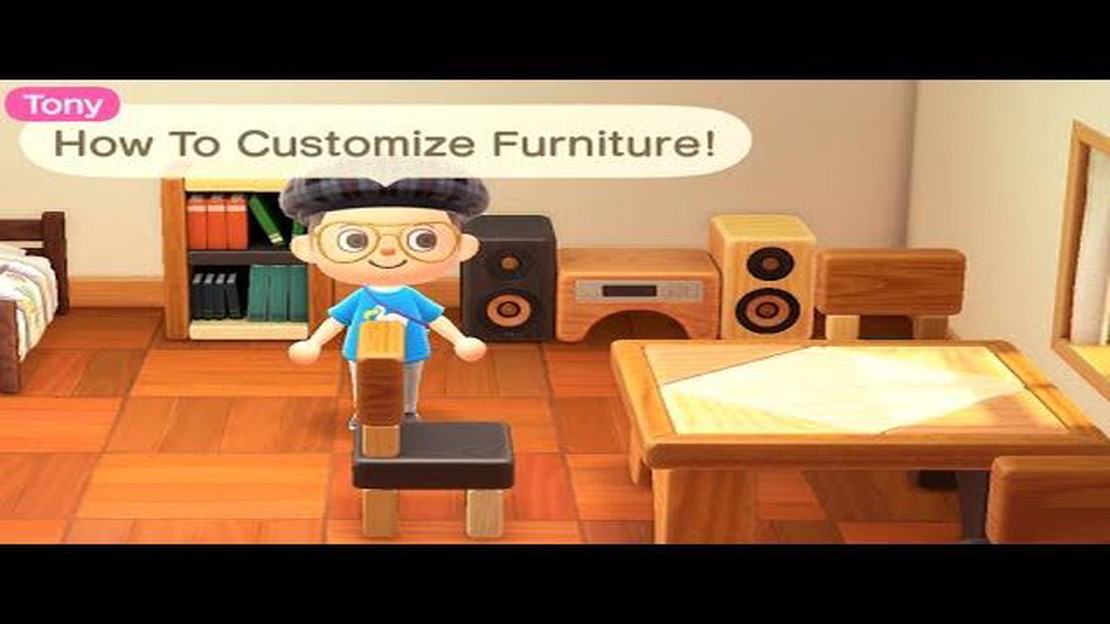
Animal Crossing: New Horizons allows players to not only decorate their virtual homes but also customize their furniture to suit their personal style. With a wide range of customization options available, players can transform ordinary furniture into unique and personalized pieces. In this step-by-step guide, we will walk you through the process of customizing furniture in Animal Crossing.
Step 1: Acquire Customization Kits
In order to customize furniture in Animal Crossing, you will need to first obtain customization kits. These can be purchased from the Nook’s Cranny shop on your island or through the Nook Shopping app on your in-game smartphone. Customization kits come in a variety of colors and each kit contains 50 uses.
Step 2: Select the Furniture to Customize
Once you have acquired customization kits, the next step is to select the furniture you want to customize. This can include items such as tables, chairs, or even your bed. Simply interact with the furniture and choose the option to customize it.
Step 3: Choose a Customization Option
After selecting the furniture, you will be presented with a range of customization options. These options can include changing the color, pattern, or design of the furniture. Some furniture may have more customization options than others, so feel free to experiment and find the combination that suits your taste.
Step 4: Use the Customization Kit
Once you have chosen your desired customization option, you will need to use a customization kit to apply the changes. Select the customization kit from your inventory and follow the on-screen prompts to complete the customization process. Each use of the customization kit will consume one unit from the kit, so make sure you have enough kits for all the changes you want to make.
Step 5: Enjoy Your Customized Furniture
Once you have successfully customized your furniture, you can place it back in your house or display it outside. With your newfound customization options, you can create a unique and personalized look for your virtual home. Let your creativity run wild and make your house truly one-of-a-kind!
Customizing furniture is a fun and creative way to personalize your house in Animal Crossing. In this step-by-step guide, we will walk you through the process of customizing furniture in Animal Crossing.
Step 1: Obtaining Customization Kits
The first step in customizing furniture is to obtain the necessary customization kits. You can purchase customization kits from the Nook’s Cranny store, which is open every day. Each customization kit costs 600 Bells.
Step 2: Selecting the Furniture
Once you have obtained the customization kits, choose the furniture that you want to customize. You can select any piece of furniture in your house or inventory, as long as it can be customized.
Step 3: Using the Customization Kits
To customize the furniture, select the customization kits from your inventory and use them on the chosen piece of furniture. This will bring up the customization interface.
Step 4: Choosing the Customization Options
In the customization interface, you will see a variety of options to customize the furniture. These options may include changing the color, pattern, or design of the furniture. Use the arrow keys or touch screen to navigate through the options and select the one you like.
Read Also: Discover the Exciting Features of Teams on Coin Master | Coin Master Blog
Step 5: Confirming the Customization
Once you have made your customization choices, confirm your selections. The customization kits will be consumed, and the furniture will be instantly customized according to your preferences.
Read Also: Discover the Secret to Getting Free Tixs on Roblox!
Step 6: Enjoying your Customized Furniture
Now that you have customized your furniture, place it back in your house or display it in your island. Admire your personalized furniture and show it off to your friends and fellow Animal Crossing players.
Conclusion
Customizing furniture in Animal Crossing is a fantastic way to add your personal touch to the game. With the help of customization kits, you can transform any piece of furniture to match your style and preferences. Get creative and have fun customizing!
When it comes to customizing furniture in Animal Crossing, it’s important to choose the right pieces to work with. Here are a few considerations to keep in mind:
By considering these factors, you can choose the right furniture pieces that will be easy to customize and make a statement in your Animal Crossing home. Happy decorating!
Before you can start customizing your furniture in Animal Crossing, you’ll need to gather the necessary materials. Here’s what you need to do:
By gathering these materials, you’ll be well-prepared to start customizing your furniture in Animal Crossing. Remember to check your DIY recipes and inventory regularly to see what customization options are available to you!
Customizing furniture in Animal Crossing allows you to personalize your island and make your furniture match your style. With a wide variety of customization options, you can transform the look of your furniture to create a unique and personalized space.
Here is a step-by-step guide on how to customize your furniture:
Remember to experiment with different customization options to find the perfect look for your furniture. You can also mix and match different customization options to create even more unique designs. Don’t be afraid to get creative and make your island truly your own!
Customizing your furniture in Animal Crossing is a fun and rewarding activity that allows you to add a personal touch to your in-game home. Enjoy the process of transforming your furniture and creating a space that reflects your individual style and creativity.
Animal Crossing is a popular life simulation video game series where players take on the role of a human character and live in a village inhabited by anthropomorphic animals.
Yes, you can customize furniture in Animal Crossing. There are various customization options available that allow you to change the color, pattern, and design of your furniture.
To customize furniture in Animal Crossing, you will need to have the DIY recipe for customization kits. Once you have the DIY recipe, you can craft the customization kits and use them to customize your furniture.
The DIY recipe for customization kits can be obtained from various sources in Animal Crossing, such as villagers, message bottles on the beach, and from the Nook’s Cranny shop.
In Animal Crossing, you can customize a wide range of items including furniture, clothing, wallpapers, flooring, and even your own house. The customization options allow you to personalize your in-game space to suit your own style and preference.
While there are many customization options available in Animal Crossing, some furniture items cannot be customized. These items typically have unique designs or patterns that cannot be changed.
No, once you customize a piece of furniture in Animal Crossing, you cannot revert it back to its original state. Therefore, it is important to carefully consider your customization choices before applying them to your furniture.
What Companies Make Call Of Duty? Call of Duty has taken the gaming world by storm, captivating millions of players around the globe with its intense …
Read Article
When Does Call Of Duty Season 4 Start? Are you a Call of Duty fan? Exciting news is coming your way! The highly anticipated Season 4 of Call of Duty …
Read Article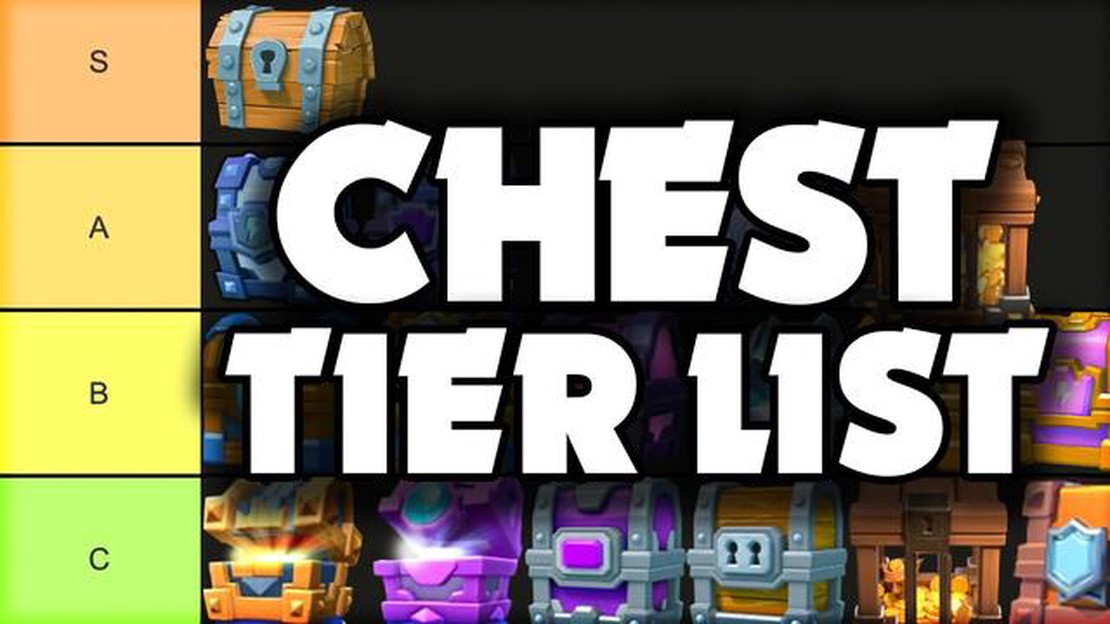
How To Get Clan Chest In Clash Royale? Clash Royale is a popular mobile game that pits players against each other in intense, real-time battles. One …
Read Article
Twitch bans ‘promotion or sponsorship’ of CS:GO skin gambling In a major move, Twitch has announced that it is now prohibiting the promotion or …
Read Article
How Many Personality Types Are There In Animal Crossing? Animal Crossing is a popular video game franchise that allows players to create and manage …
Read Article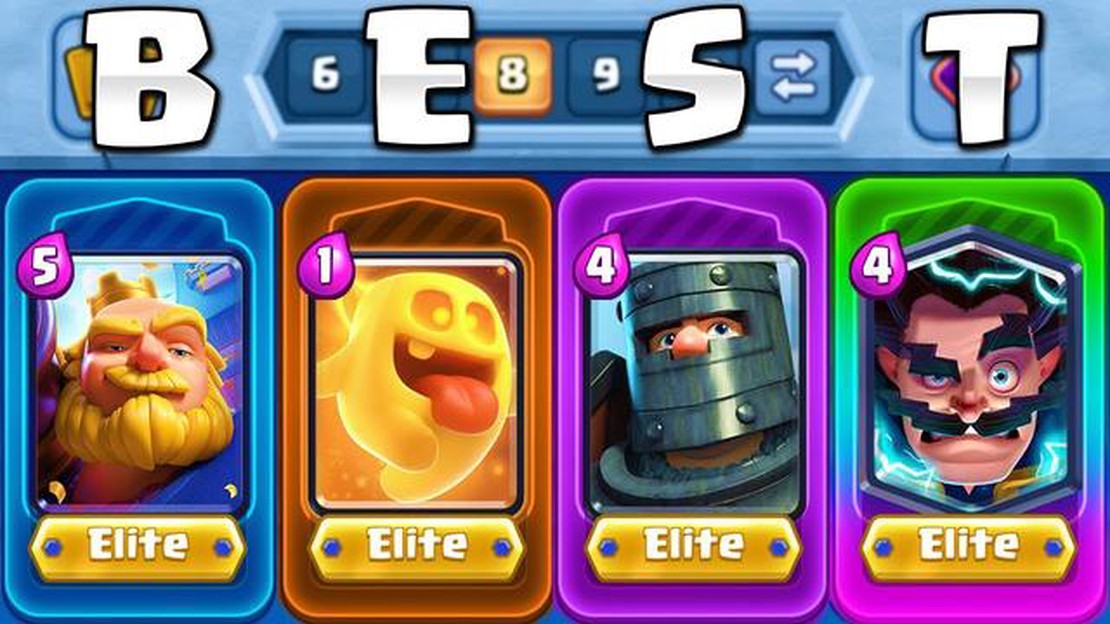
What Cards To Use In Clash Royale? Are you tired of losing battles in Clash Royale and want to dominate the arena? Look no further! We have the …
Read Article


