
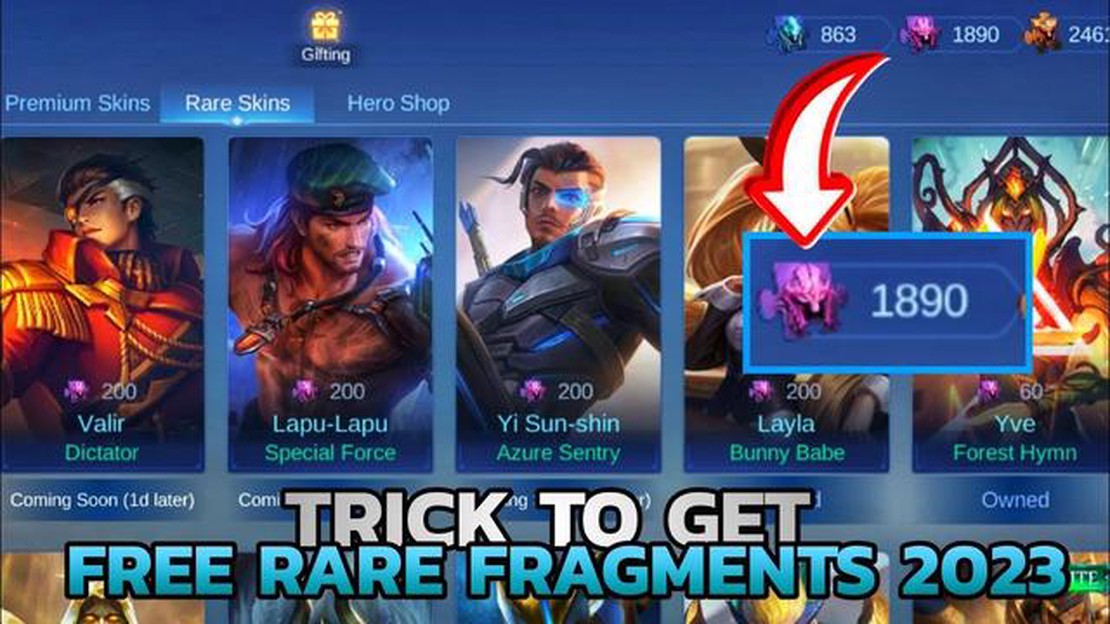

Discover the Best Ways to Obtain Rare Skin Fragments in Mobile Legends
Mobile Legends How To Get Rare Skin Fragment? Mobile Legends is a popular mobile game that allows players to battle it out in a team of five against …
Read Article
Animal Crossing: Wild World is a beloved video game that allows players to create their own virtual world inhabited by anthropomorphic animals. One of the most charming aspects of the game is its immersive soundtrack, which consists of catchy tunes that change throughout the day. However, what if you could add your own music to the game, personalizing your experience even further?
In this step-by-step guide, we will show you exactly how to put your own music on Animal Crossing: Wild World. Whether you want to listen to your favorite tracks or recreate the ambiance of your favorite real-life locations, customizing the game’s soundtrack is a fun and easy process.
Step 1: Prepare your music files.
The first step is to gather the music files that you want to add to the game. These can be any audio files in the common formats such as MP3 or WAV. You can choose songs that you love, soundtracks from other games, or even original compositions. Make sure to have these files accessible on your computer or mobile device before moving on to the next step.
Step 2: Convert the music files to the appropriate format.
Before you can add the music to the game, you may need to convert the files to the appropriate format. Animal Crossing: Wild World supports the AAC format, so if your music files are not already in this format, you will need to convert them. There are many online converters and software programs available that can help you with this task.
Step 3: Transfer the music files to your Nintendo DS.
Once you have your music files in the proper format, it’s time to transfer them to your Nintendo DS. If your computer has an SD card slot, you can simply copy the files onto an SD card. Otherwise, you may need to use a card reader or an adapter to connect your SD card to your computer. Once the files are on the SD card, insert it into your Nintendo DS.
Step 4: Access the music player in Animal Crossing: Wild World.
Now that your music files are on your Nintendo DS, you can access them in Animal Crossing: Wild World. Start the game and go to the music player located in the museum. You can then select the music player option and follow the on-screen instructions to import and play your custom music.
With these easy-to-follow steps, you can now enjoy your favorite songs while playing Animal Crossing: Wild World. Whether you want to relax to the sounds of nature or rock out to your favorite tunes, customizing the game’s soundtrack will enhance your gaming experience and add a personal touch to your virtual world.
Animal Crossing Wild World is a beloved video game that allows players to create their own virtual world and interact with cute animal characters. One of the features of the game is the ability to customize your town’s background music. If you want to put your own music on Animal Crossing Wild World, follow these simple steps:
Read Also: When Was Animal Crossing Made? - A Brief History of Animal Crossing Creation
With these easy steps, you can add your own music to Animal Crossing Wild World and make your virtual town even more personalized and enjoyable. Have fun creating the perfect soundtrack for your town!
Before you can add music to Animal Crossing: Wild World, you’ll need to make sure your music files are in the correct format and organized on your computer. Follow these steps to prepare your music files:
By following these steps, you’ll be ready to add your favorite music to Animal Crossing: Wild World and enhance your gaming experience with a customized soundtrack. Enjoy!
To put music on Animal Crossing: Wild World, you’ll need to connect your device to your game console. Here’s a step-by-step guide on how to do it:
Read Also: When Does Redd Come to Animal Crossing: A Guide for Finding the Art Dealer
Remember to comply with any copyright laws and restrictions when transferring and using music files in the game. Only use music that you have the legal rights to use.
Animal Crossing: Wild World allows players to listen to their favorite tunes while enjoying their virtual life in the game. If you want to set up your own custom music in Animal Crossing: Wild World, you can follow these simple steps to transfer music to the game.
Once you have completed these steps, you should be able to enjoy your custom music while playing Animal Crossing: Wild World. Remember to respect copyright laws and only use music files that you have the legal right to use.
Sure! To put music on Animal Crossing Wild World, follow these steps: 1. Start the game and enter your character’s house. 2. Go to the CD player and interact with it. 3. Select “Register” and then choose a song from your inventory. 4. The music will be saved and can be played in your house.
No, you can only change the music in your own house. Each player in Animal Crossing Wild World has their own music selection.
You can put any music that you have in your inventory in Animal Crossing Wild World. This can include songs that you have purchased or songs that you have obtained through other means.
You can find music in Animal Crossing Wild World by buying it from Tom Nook’s store, finding it in trees, or receiving it as a gift from other villagers.
No, you cannot put your own custom music in Animal Crossing Wild World. You can only choose from the music that is available in the game.
There is no limit to how much music you can put in Animal Crossing Wild World. You can have as many songs as you want in your inventory, and you can switch between them at any time.
No, you cannot change the music that plays outside in Animal Crossing Wild World. The music that plays outside depends on the time of day and the season.
Mobile Legends How To Get Rare Skin Fragment? Mobile Legends is a popular mobile game that allows players to battle it out in a team of five against …
Read Article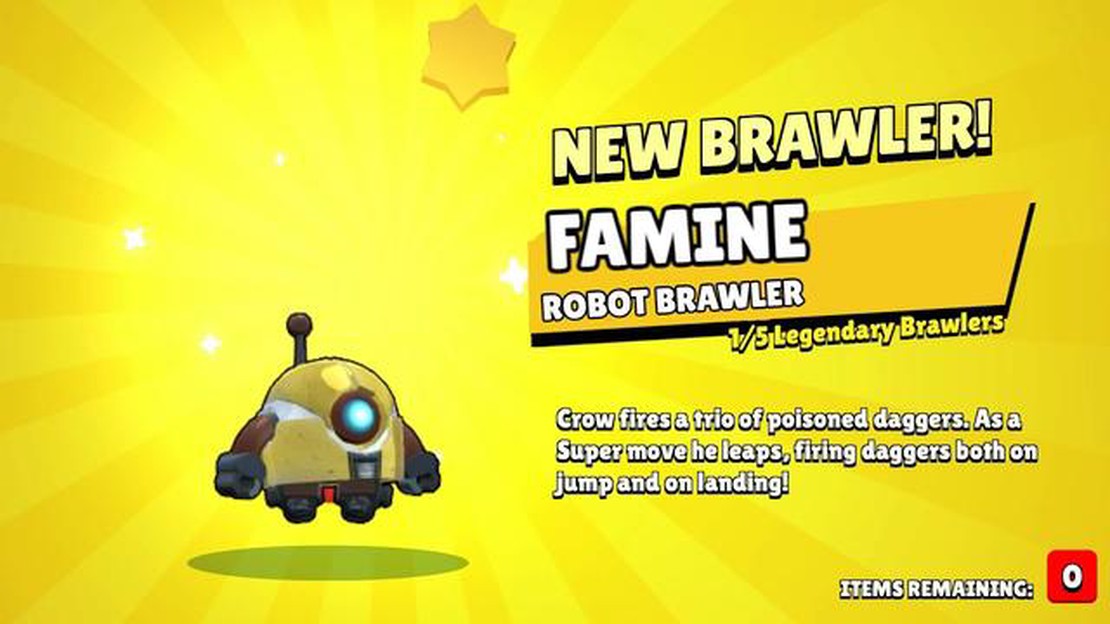
How To Get The Robot In Brawl Stars? Are you a fan of Brawl Stars and want to unlock the Robot? Look no further! In this step-by-step guide, we’ll …
Read Article
How To Play Call Of Duty Vanguard Alpha? Welcome to the ultimate guide on how to play Call of Duty Vanguard Alpha! Whether you’re a seasoned player or …
Read Article
How To Get Better At Call Of Duty Black Ops 3? Call of Duty Black Ops 3 is a fast-paced and intense first-person shooter game that requires both skill …
Read Article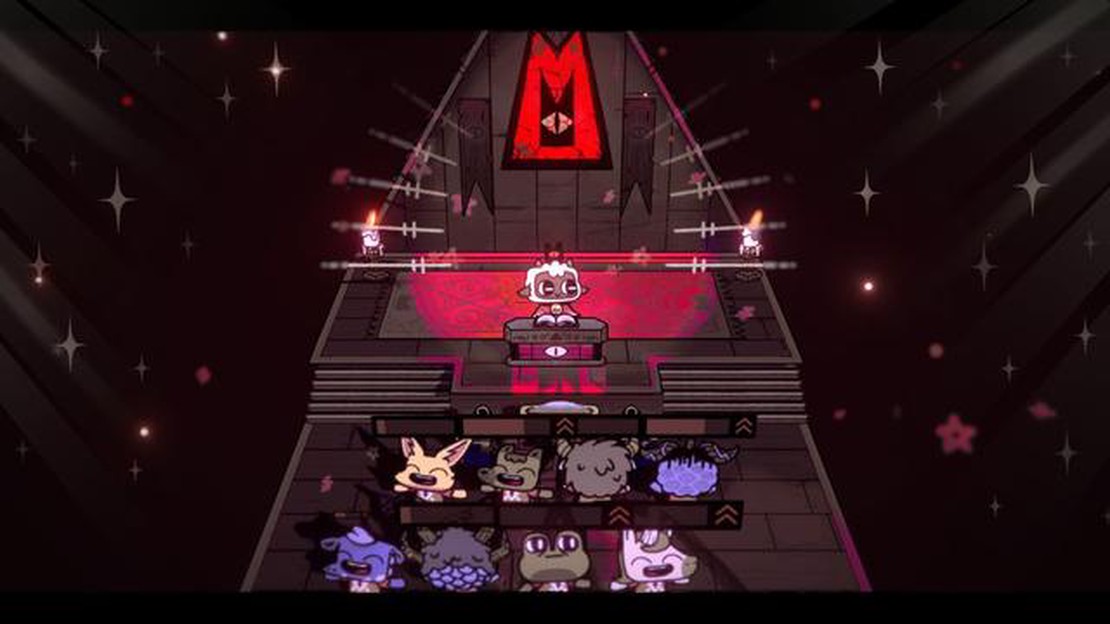
Here’s every doctrine you can unlock in Cult of the Lamb Cult of the Lamb is an upcoming simulation game developed by Massive Monster and published by …
Read Article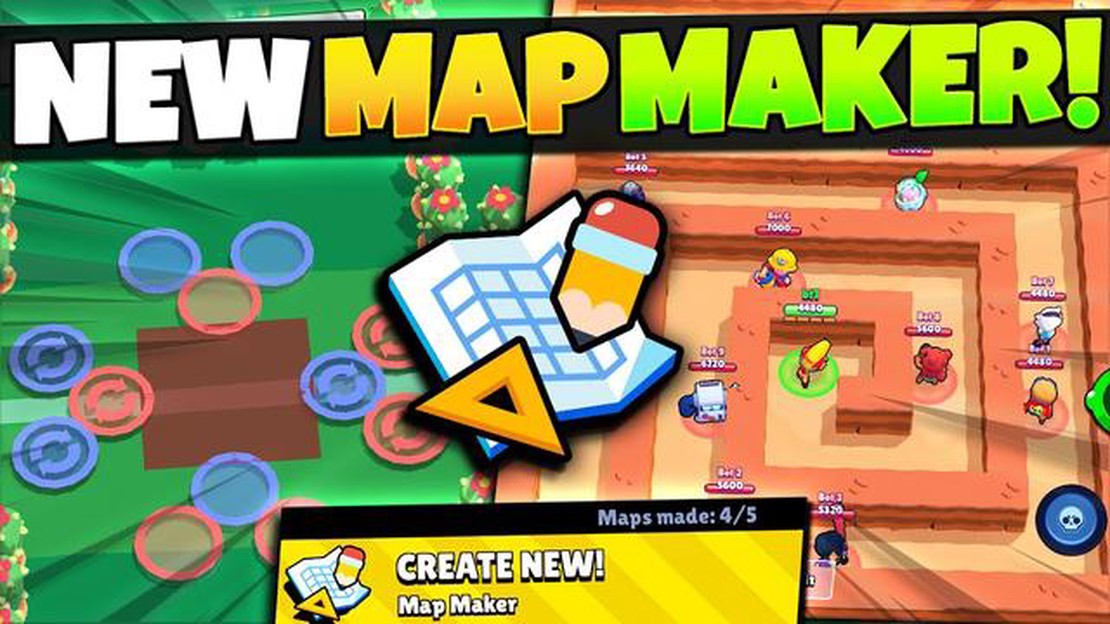
How To Make A Brawl Stars Map? Are you a fan of the popular mobile game Brawl Stars? Have you ever wanted to create your own map and have others play …
Read Article


