

Step-by-Step Guide: How to Make Carved Pumpkin Minecraft
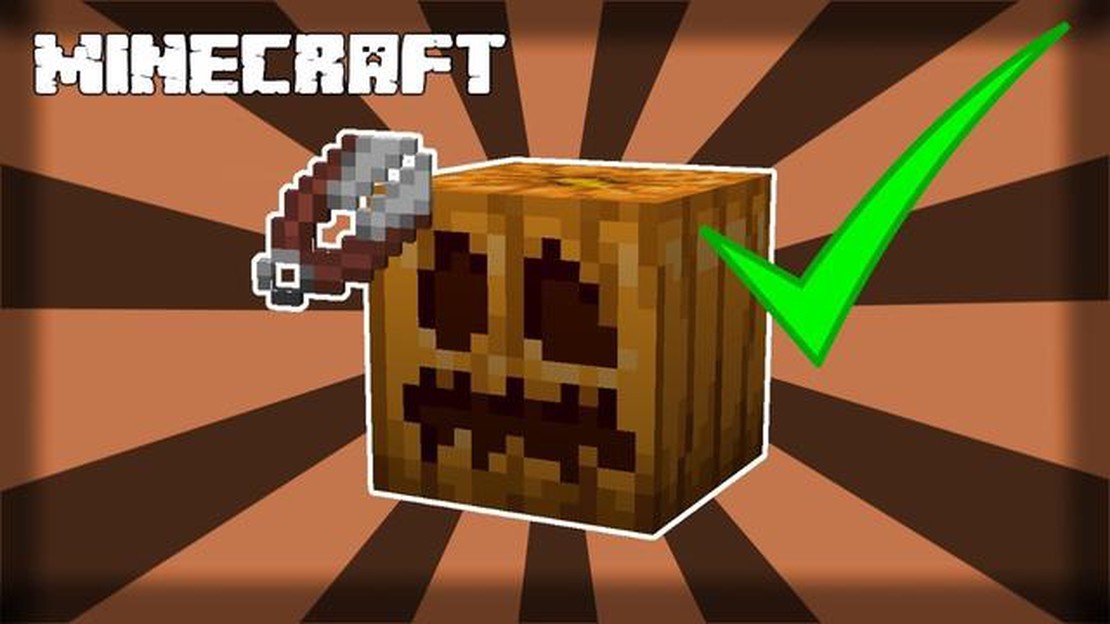
How To Make Carved Pumpkin Minecraft? Are you a fan of Minecraft? Do you want to add a touch of the game to your Halloween decorations? Then why not …
Read Article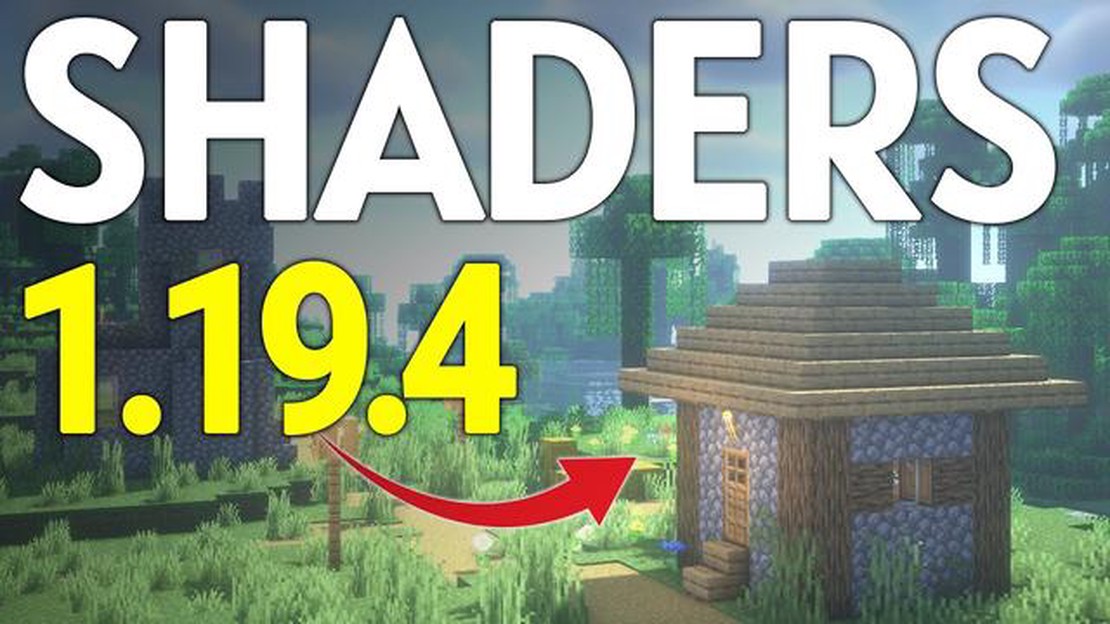
Minecraft has become a beloved game by millions around the world, known for its endless possibilities and unique visual style. However, if you’re looking to enhance your Minecraft experience even further, installing shaders can completely transform the game’s graphics. Shaders are mods that add realistic lighting effects, shadows, reflections, and more to Minecraft, making it look more like a high-end game.
Getting shaders in Minecraft may seem like a complicated process, but it’s actually quite straightforward. First, you’ll need to download and install a shaders mod, such as OptiFine, which is a popular choice among Minecraft players. Once you have the mod installed, you can find numerous shader packs available online. These packs vary in style and effects, so you can choose the one that suits your preferences.
After downloading a shader pack, you’ll need to locate your Minecraft installation folder, which can typically be found in the AppData or Roaming folder of your computer’s user directory. Within the Minecraft folder, look for a “shaderpacks” folder. Simply drag and drop the downloaded shader pack into this folder. Once the pack is in the folder, you can launch Minecraft and navigate to the shader options in the game’s settings menu. From there, you can select the shader pack you want to use and apply it to your game.
Once you have a shader pack applied, you’ll immediately notice a difference in the game’s visuals. Sunlight will cast realistic shadows, water will glisten and reflect the surrounding environment, and foliage will sway gently in the wind. It’s truly a sight to behold and can make Minecraft feel like an entirely new game.
So, if you’re ready to take your Minecraft experience to the next level, don’t hesitate to try out shaders. With just a few simple steps, you can transform the game’s graphics and immerse yourself in a stunning virtual world.
If you want to enhance your Minecraft experience with stunning visuals, installing shaders is the way to go. Shaders are modifications to the game’s graphics that add various effects, such as realistic lighting, shadows, and reflections. Here’s a step-by-step guide on how to install Minecraft shaders:
Move the downloaded shader pack zip file to the shader pack folder. Close the folder once you’ve moved the file.
Remember that different shader packs may have different combinations of effects and performance requirements. Experiment with different packs to find the one that suits your taste and computer’s capabilities the best. Have fun!
If you’re tired of the same old Minecraft graphics and want to give your gameplay a visual upgrade, installing shaders is the way to go. Shaders add realistic lighting and shadows, vibrant colors, and other visual effects to make your Minecraft world come to life. Here’s how you can easily enhance your Minecraft graphics:
Now that you know the easy steps to enhance your Minecraft graphics, you can start exploring the world of shaders and give your gameplay a whole new look. Happy gaming!
Now that you know how to install shaders in Minecraft, it’s time to consider which shaders are right for you. There are countless options available, each providing a unique visual experience. Here are some factors to consider when selecting shaders:
Ultimately, the choice of shaders comes down to personal preference. Experiment with different shaders to find the ones that suit your taste and enhance your Minecraft experience. Remember to always download shaders from trustworthy sources to ensure your computer’s safety.
Read Also: Learn how to breed cows in Minecraft
When it comes to Minecraft shaders, there are a wide variety of packs available, each with its own unique features and visual enhancements. Whether you’re looking for realistic lighting, improved water effects, or enhanced textures, there’s a shader pack out there for you. Here are some popular shader packs and their features:
Each shader pack may have different requirements in terms of your computer’s hardware and the version of Minecraft you’re using. Make sure to check the compatibility and system requirements before installing a shader pack.
Read Also: Step-by-Step Guide: How to Upgrade Troops in Clash of Clans
Additionally, shader packs are often updated and improved, so it’s a good idea to keep an eye on the Minecraft community and shader developers for the latest releases and updates.
List of popular shader packs and their features
| Shader Pack | Features |
|---|---|
| Sildur’s Vibrant Shaders | Improved lighting and shadows, realistic reflections, vibrant colors |
| SEUS (Sonic Ether’s Unbelievable Shaders) | Realistic lighting effects, dynamic shadows, beautiful water reflections, customizable options |
| Continuum Shaders | Realistic lighting, shadows, reflections, detailed textures, atmospheric effects |
After you have successfully installed shaders in Minecraft, you might want to customize and configure them to suit your preferences and computer’s capabilities. Configuring shaders is a simple process that allows you to adjust various settings to enhance your gaming experience.
To configure shaders in Minecraft, follow these steps:
A list of available shaders will be displayed. Choose the shader pack you want to configure and click on it. You will see a button called “Shader Options” or “Shaders Settings” depending on the shader pack you have installed. Click on this button to access the configuration options for the selected shader pack.
Once you have accessed the shader pack’s configuration options, you can make adjustments to various settings. These settings may include:
It is recommended to experiment with these settings to find the configuration that best suits your preferences and computer’s capabilities. Some shaders may have additional configuration options that are specific to that shader pack, so make sure to explore all the available settings.
Once you have made your desired adjustments, click on the “Done” button to save the changes. The configured shader pack will now be applied to your Minecraft game.
Remember that configuring shaders can be a resource-intensive process, and some settings may impact your computer’s performance. If you experience lag or decreased frame rates, consider lowering specific settings or using a less demanding shader pack.
Minecraft shaders are modifications that enhance the graphics and visual effects of the game. They can add realistic lighting, shadows, reflections, and other visual enhancements to create a more immersive gaming experience.
To install Minecraft shaders, you’ll need to download a shader pack and install it in the correct folder. First, make sure you have OptiFine installed. Then, download a shader pack of your choice from a reputable website. Open the Minecraft launcher, click on “Installations”, create a new installation, and make sure to select the OptiFine version. Launch the game and go to the Options menu. Choose “Video Settings”, then “Shaders”, and click on “Shaders Folder”. Open the folder where you downloaded the shader pack and move it to the Shaders folder. Restart the game, select the shader pack from the Shaders menu, and you’re ready to use Minecraft shaders!
Yes, you can use shaders in Minecraft Java Edition. However, you need to have OptiFine installed in order to use shaders. OptiFine is a mod that allows for advanced graphics settings and optimizations.
No, shaders are not officially supported on Minecraft Bedrock Edition. Bedrock Edition does not have the same level of modding support as Java Edition, so you cannot install shaders in the same way. However, Bedrock Edition does have its own graphics settings that can be adjusted to enhance the visuals of the game.
Yes, there are different types of shaders available for Minecraft. Some shaders focus on adding realistic lighting and shadows, while others may emphasize motion blur or other visual effects. There are also shaders that aim to recreate the art style of other games or add unique visual filters.
Yes, shaders can significantly affect game performance. Since shaders add additional graphical effects and calculations, they can put more strain on your computer’s hardware. Higher-end systems with dedicated graphics cards will generally have an easier time running shaders smoothly, while lower-end systems may experience frame rate drops or stuttering.
How To Make Carved Pumpkin Minecraft? Are you a fan of Minecraft? Do you want to add a touch of the game to your Halloween decorations? Then why not …
Read Article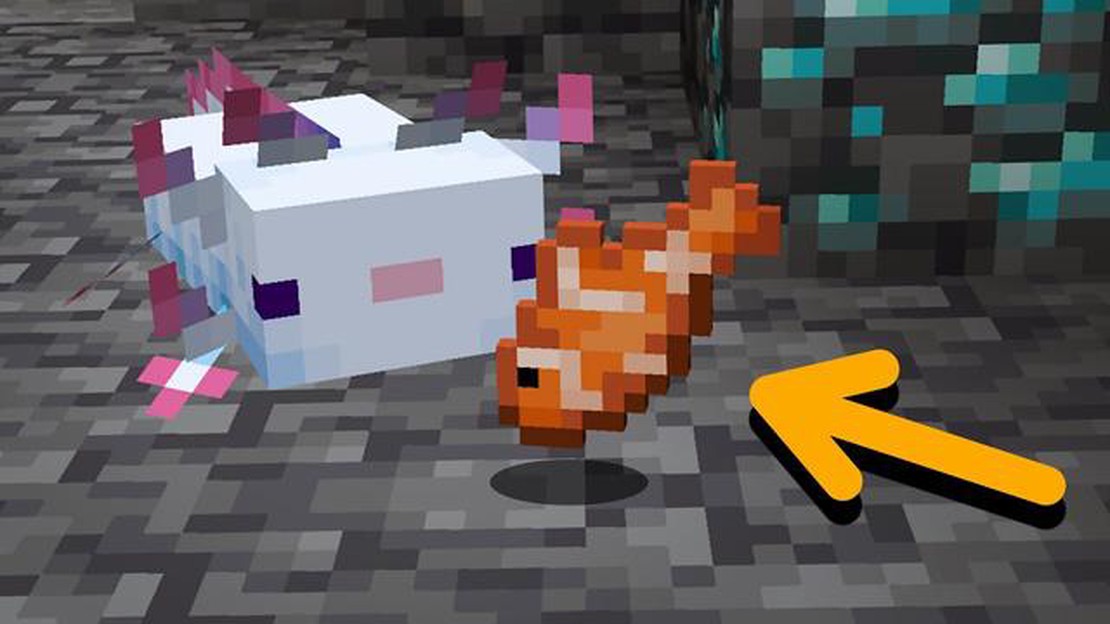
How to Tame an Axolotl in Minecraft If you’re an avid Minecraft player, you’ve probably come across the adorable aquatic creature known as the …
Read Article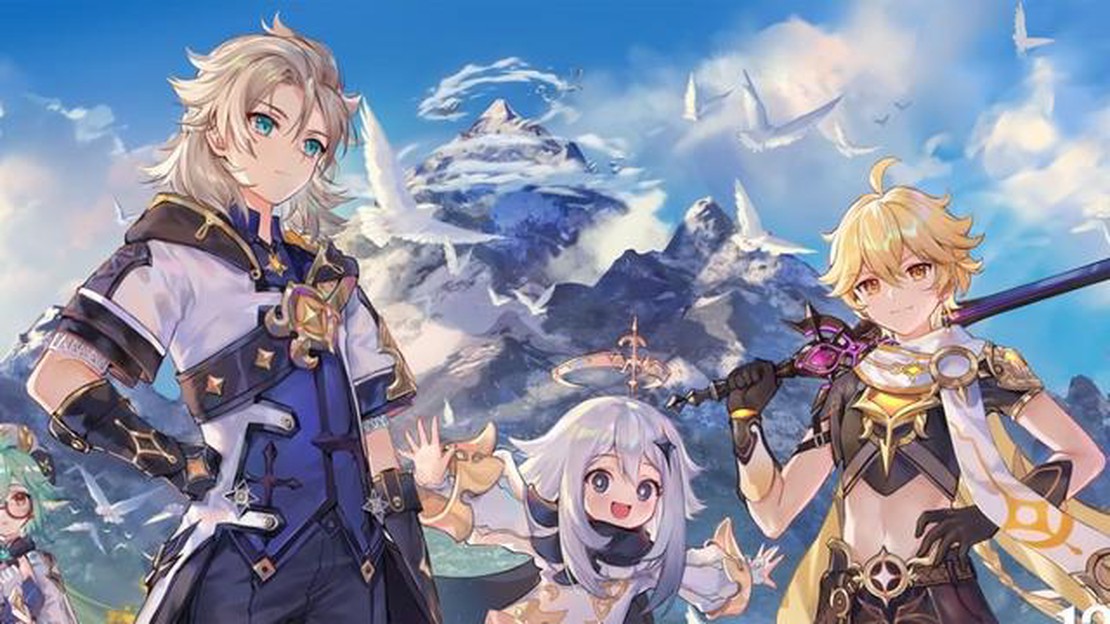
How to unlock Peak of Vindagnyr in Genshin Impact Genshin Impact, the popular action role-playing game developed by miHoYo, continues to captivate …
Read Article
All Resident Evil 4 Remake Clockwork Castellan locations Resident Evil 4 Remake is a highly anticipated action-packed game that takes you on a …
Read Article
How To Contact Coin Master? Are you a fan of the popular mobile game Coin Master? Do you need help or support with the game? There are several easy …
Read Article
Who Makes Clash Of Clans? Are you a fan of Clash of Clans and curious about the masterminds behind this addictive game? Well, your curiosity ends …
Read Article


