
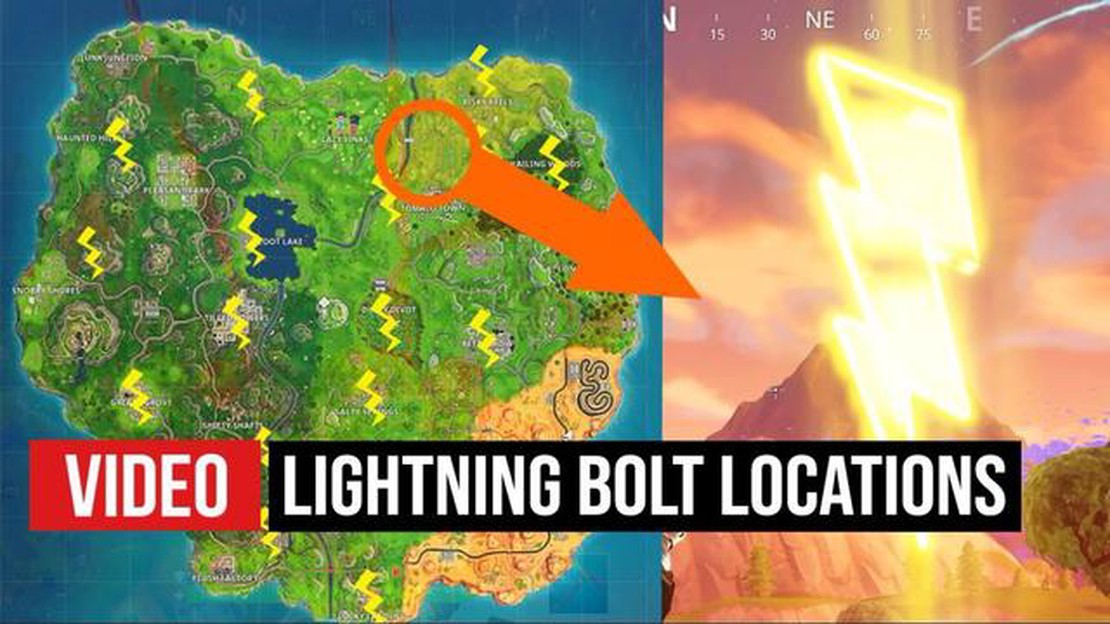

Discover the Locations of all 17 Lightning Bolts in Fortnite's Map
Where to find all 17 lightning bolts scattered around Fortnite’s map Fortnite’s recent update has added 17 lightning bolts to the map, and players are …
Read Article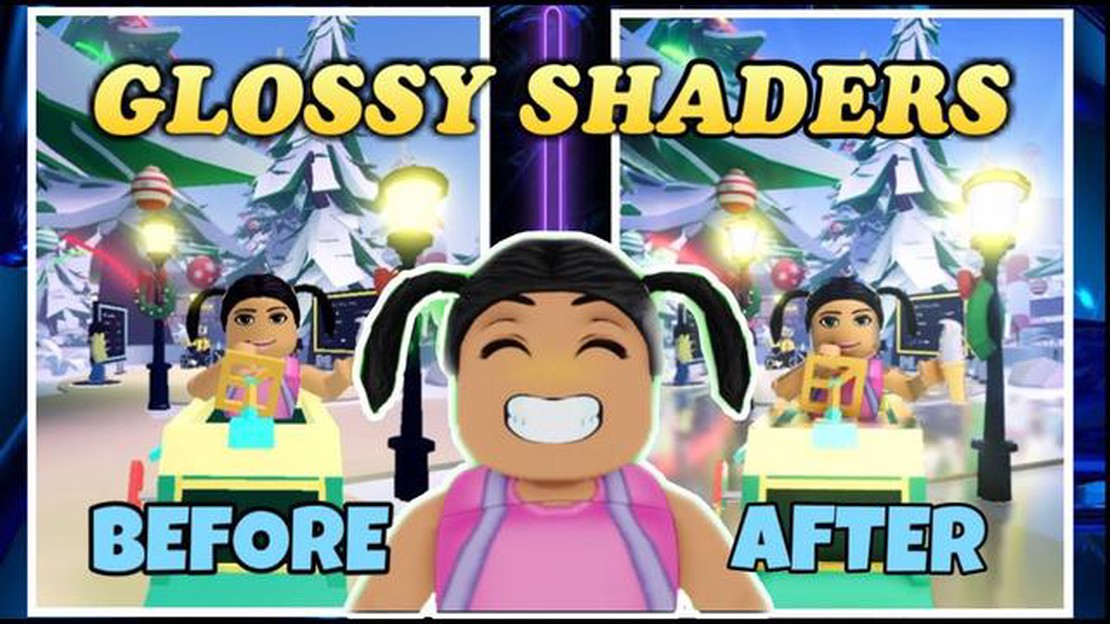
Roblox is a popular online game platform that allows users to create and play games created by other players. One of the ways to enhance the visual experience in Roblox is by using shaders. Shaders are graphic effects that can improve the lighting, texture, and overall aesthetics of a game. This guide will walk you through the steps of getting shaders in Roblox.
Before you can start using shaders in Roblox, you need to install a shader tool. There are several shader tools available online, but one of the most popular ones is the “Roblox Shaders by ChemicalCoder” tool. To install this tool, visit the official Roblox website and search for “Roblox Shaders by ChemicalCoder”. Click on the download link and follow the instructions to install the tool on your computer.
Once you have installed the shader tool, launch Roblox and log in to your account. Once you are in the game world, open the shader tool interface by pressing the designated hotkey or by clicking on the shader tool icon in the Roblox toolbar. In the shader tool interface, you will find various options and settings that allow you to customize the appearance of your game using shaders.
After enabling the shader tool, you can choose from a variety of shaders to apply to your game. These shaders can range from simple lighting enhancements to complex texture effects. Browse through the available shader options in the tool interface and select the ones you want to use. Once you have chosen the shaders, click on the “Apply” button to apply them to your game. You will be able to see the changes in real-time as you apply the shaders.
After applying the shaders, you can further customize and fine-tune their settings to achieve the desired look for your game. Experiment with different settings such as intensity, color, and blending options to create the perfect visual effects. The shader tool interface provides a range of options for customization, allowing you to create unique and immersive experiences in Roblox.
By following these steps, you can easily get shaders in Roblox and enhance the visual quality of your games. Shaders can bring a new level of depth and realism to your creations, making them more engaging and visually appealing to players. So, why wait? Start exploring the world of shaders in Roblox and take your games to the next level!
Shaders are a type of graphical effect that can enhance the visual quality of games. In Roblox, shaders are used to create realistic lighting, shadows, reflections, and other visual effects. They can greatly improve the overall look and feel of a game.
To get shaders in Roblox, you will need to follow these steps:
It’s important to note that using shaders in Roblox requires a basic understanding of scripting and game development. If you are new to Roblox, it may be helpful to follow tutorials and learn about scripting fundamentals before attempting to use shaders.
Furthermore, it’s crucial to respect the Roblox terms of service and community guidelines when using shaders or any other custom scripts. Make sure to only use shaders that are allowed within the Roblox ecosystem, and always give credit to the original creators if required.
Before diving into how to get shaders in Roblox, it’s important to understand what shaders are and how they work. Shaders are special programs that control the appearance of objects in video games. They are used to create visual effects like shadows, reflections, and lighting.
In Roblox, shaders are part of the rendering system that determines how surfaces and objects are displayed on the screen. They can be used to enhance the overall visual quality of a game and create a more immersive experience for players.
Shaders in Roblox are written in a language called Roblox Shader Language (RSL). RSL is similar to other shader languages like HLSL (High-Level Shading Language) or GLSL (OpenGL Shading Language), but it has its own syntax and features specific to the Roblox platform.
To use shaders in Roblox, you’ll need to have a good understanding of RSL and how to write shaders. There are many resources available online to help you learn RSL and understand how shaders work. It’s also a good idea to study and analyze existing shaders in Roblox games to see how they are implemented and how you can achieve similar effects in your own games.
Read Also: Simple Steps to Transfer Your Mobile Legends Account from Android to iPhone
Once you have a solid understanding of shaders and how they work in Roblox, you’ll be ready to move on to the next steps of getting shaders in Roblox.
Once you have a shader-enabled Roblox client, the next step is to find shaders that you can use in your game. Shaders in Roblox are typically created by other players and developers, and there are several ways to find them.
Read Also: Find Out How to Obtain Iron Nuggets in Animal Crossing
1. Roblox Catalog: The Roblox Catalog is a good place to start your search for shaders. You can browse through various categories or use the search bar to find specific shaders. To find shaders, enter keywords like “shader,” “graphics,” or “effects” in the search bar and see what comes up.
2. Roblox Developer Community: The Roblox Developer Community is a great resource for finding shaders. You can join Roblox developer forums, groups, or communities and ask for suggestions or recommendations. Many developers are willing to share their shaders or provide links to their creations.
3. Third-party Websites: There are also third-party websites that provide a wide range of shaders for Roblox. These websites may offer shaders created by other players or developers. You can search for “Roblox shaders” or “Roblox graphics effects” to find websites that offer shaders for download.
When searching for shaders, it’s important to consider factors such as compatibility with your Roblox client version, performance impact on your game, and any licensing restrictions imposed by the shader creator. Make sure to read the descriptions and reviews before downloading or using any shaders.
Once you find a shader that you like, you can download the shader file and import it into your game. The process of importing shaders may vary depending on the Roblox development environment you are using, so refer to the documentation or tutorials provided by Roblox for more information.
Remember to credit the shader creator if required, and consider leaving feedback or reviews to help other users discover high-quality shaders.
Once you have downloaded and set up the required tools in Step 2, you can proceed to install and use shaders in Roblox. Follow the steps below:
Congratulations! You have successfully installed and used shaders in Roblox. Experiment with different shaders and their settings to create stunning visual effects in your Roblox places.
Shaders in Roblox are graphical enhancements that can change the way the game looks and feels. They can add realistic lighting, shadows, reflections, and other visual effects to enhance the overall visual experience of the game.
To get shaders in Roblox, you will need to download and install a Roblox shader pack from a reliable source. Once you have the shader pack downloaded, you can install it by following the installation instructions provided with the pack. Usually, it involves placing the shader pack files in a specific folder in your Roblox game directory.
Yes, there are free shaders available for Roblox. You can find them on various Roblox community websites and forums. These free shaders are created by the Roblox community and are often shared for others to use and enjoy. They can be a great way to enhance the visual quality of your Roblox games without spending any money.
Yes, you can create your own shaders in Roblox. Roblox provides a flexible and powerful scripting language called Lua, which allows you to create custom shaders and other gameplay elements. By learning Lua scripting and studying the Roblox API, you can create your own unique shaders and share them with the Roblox community.
Using shaders in Roblox may require a more powerful computer than the minimum system requirements of Roblox. This is because shaders add additional graphical effects that can be demanding on your computer’s hardware. If your computer meets the minimum requirements for running Roblox, it should be able to handle most shaders. However, for more complex shaders, you may need a higher-end computer with a dedicated graphics card for optimal performance.
Where to find all 17 lightning bolts scattered around Fortnite’s map Fortnite’s recent update has added 17 lightning bolts to the map, and players are …
Read Article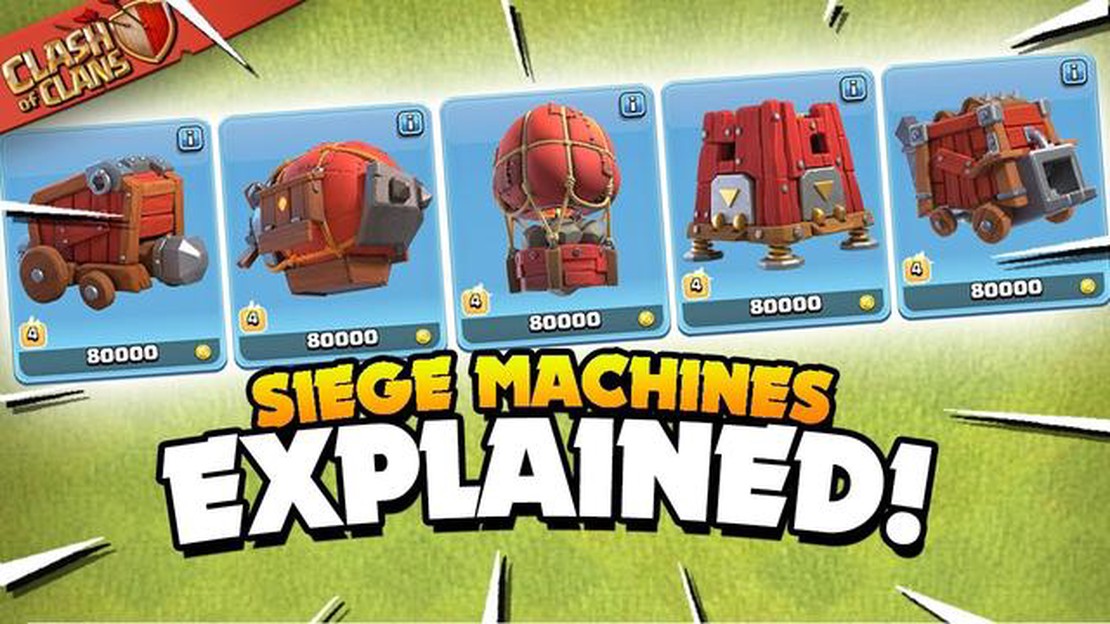
What are Siege Engines in Clash of Clans In the world of Clash of Clans, siege engines play a crucial role in helping players achieve victory in …
Read Article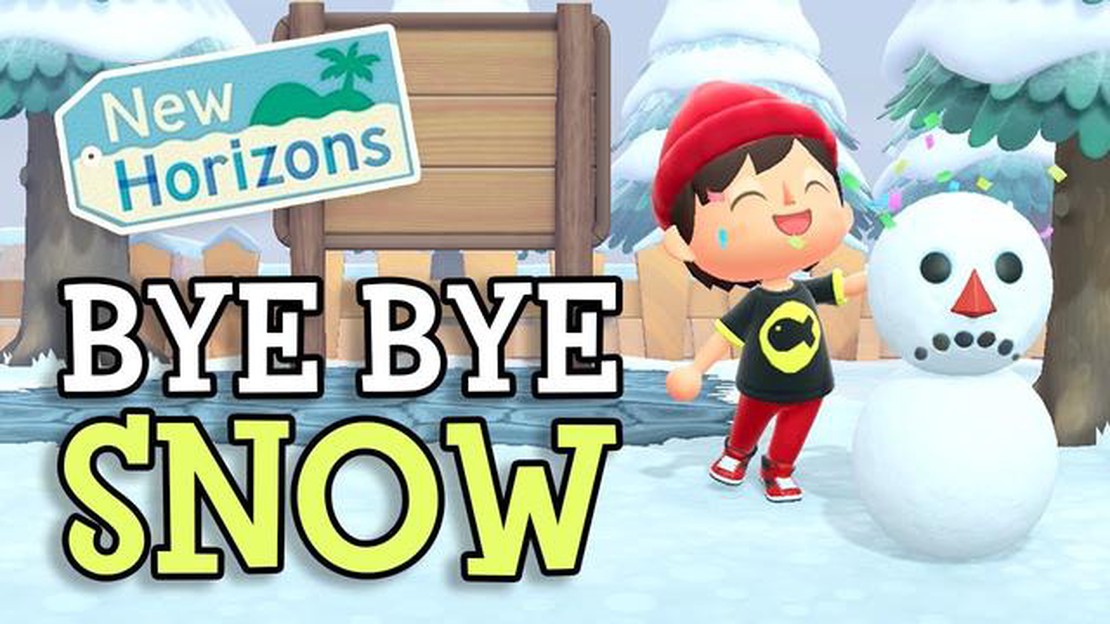
When Does It Stop Snowing In Animal Crossing? When Does Snow Stop Falling in Animal Crossing? Table Of Contents When Does Snow Stop Falling in Animal …
Read Article
What Does Btc Mean In Roblox? If you’ve ever played the popular online game Roblox, you might have come across the term BTC. But what exactly does BTC …
Read Article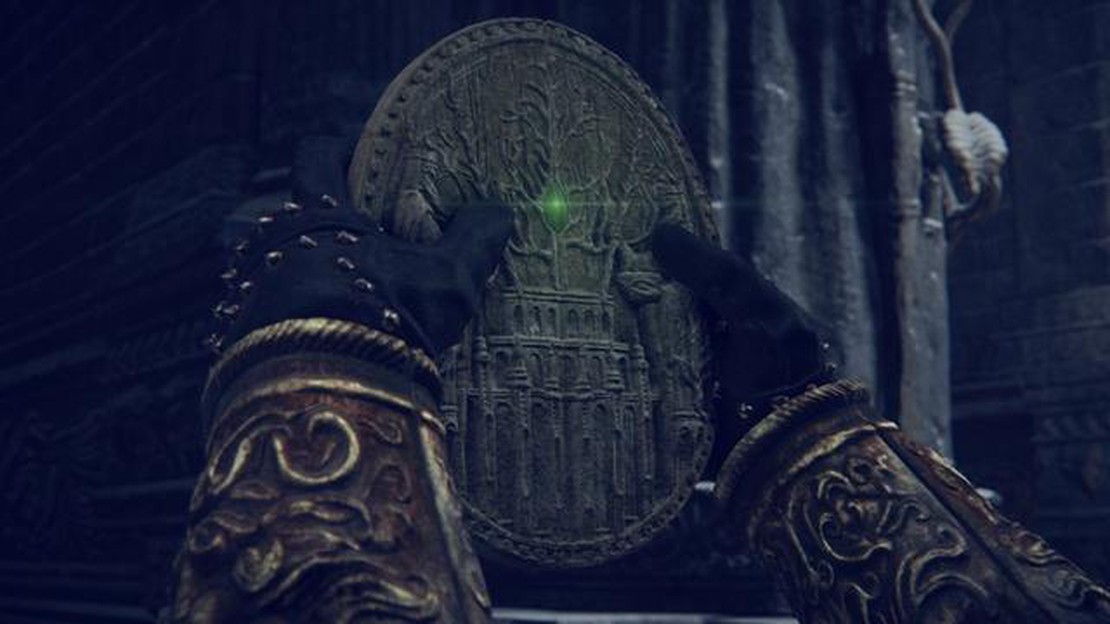
Where to find the Haligtree Medallion in Elden Ring The Haligtree Medallion is a highly sought-after item in the action role-playing game Elden Ring. …
Read Article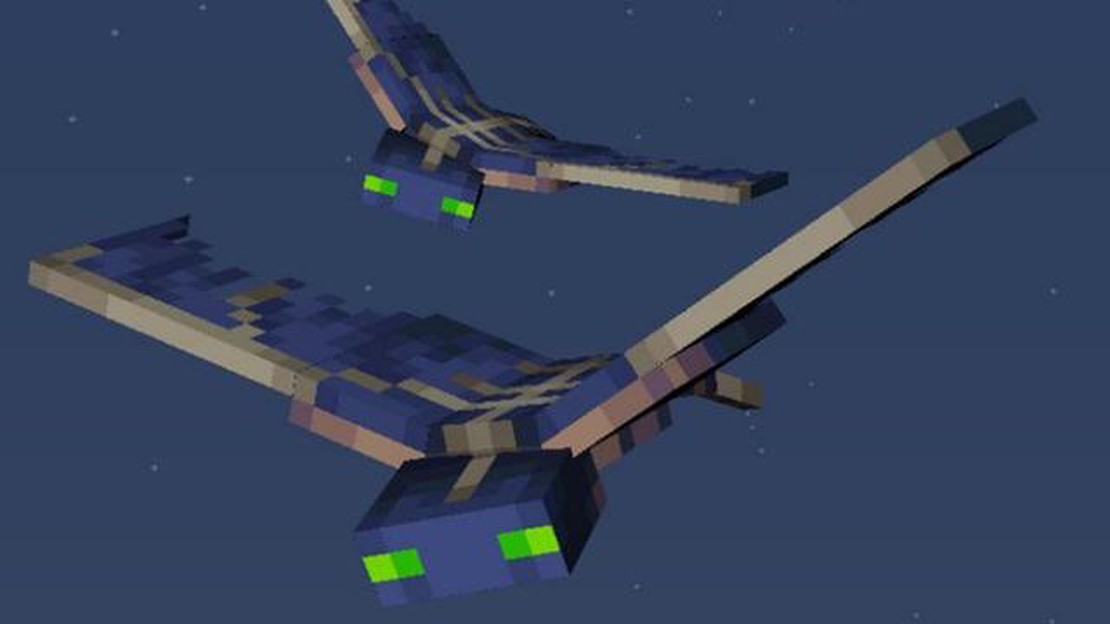
How to defeat a Minecraft phantom, and use their gross membranes Minecraft is a game that offers a variety of challenges and enemies for players to …
Read Article


