
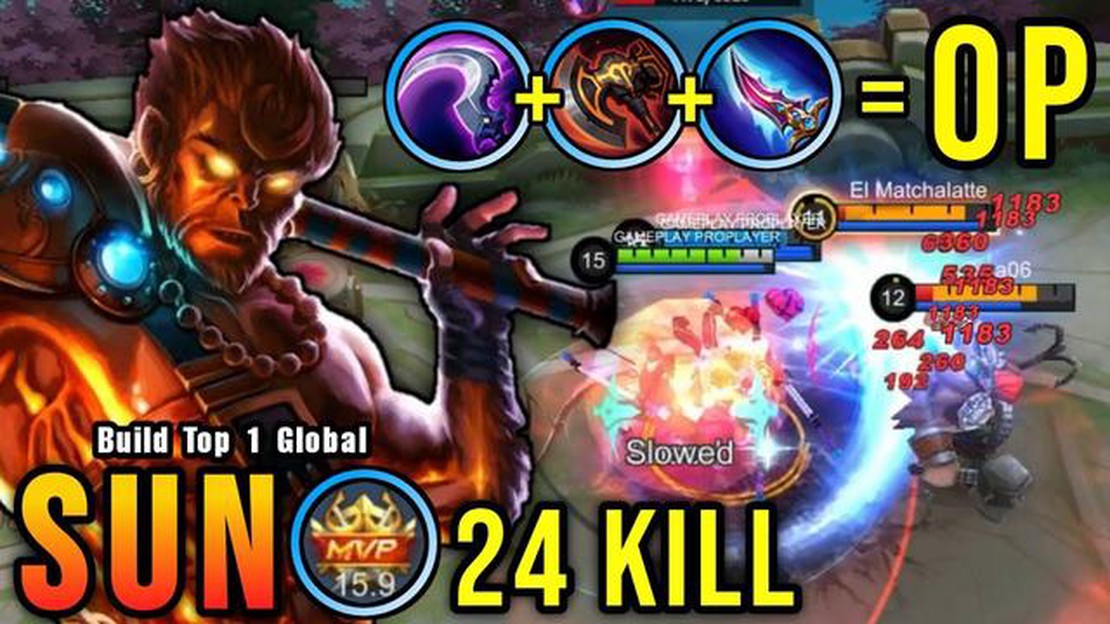

Learn How to Build Sun in Mobile Legends - Best Tips and Strategies
How To Build Sun In Mobile Legends? Mobile Legends is a popular multiplayer online battle arena (MOBA) game that offers a wide range of heroes for …
Read Article
If you’re a fan of Minecraft, you’ve probably heard about shaders. Shaders are a type of mod that can enhance the graphics and visuals of the game by adding realistic lighting effects, shadows, reflections, and more. Installing shaders can give your Minecraft experience a whole new level of immersion and beauty.
In this step-by-step guide, we’ll walk you through the process of installing shaders for Minecraft. Whether you’re a beginner or an experienced player, you’ll find this guide easy to follow and helpful.
Step 1: Install OptiFine
The first thing you’ll need to do is install OptiFine, a mod that is required for shaders to work. OptiFine is a mod that optimizes the performance of Minecraft, making it run smoother and faster.
To install OptiFine, go to the official OptiFine website and download the latest version of the mod that is compatible with your version of Minecraft. Once downloaded, open the OptiFine file and click on the “Install” button. OptiFine will automatically install and create a new profile for Minecraft with OptiFine enabled.
Step 2: Download Shaders
The next step is to download the shaders that you want to install. There are many different shaders available, each offering unique visual effects. You can find shaders on various Minecraft modding websites or in shader packs on popular modding platforms.
Once you’ve found the shaders you want to install, download the zip file. Make sure to save the file in a location that is easy to find.
Step 3: Install Shaders
To install the shaders, open Minecraft and go to the “Options” menu. In the options menu, click on “Video Settings” and then on “Shaders”.
In the shaders menu, click on “Open Shaders Folder” to open the folder where shaders are stored. This will open a new file explorer window.
Copy the downloaded shaders zip file into the shaders folder. Once the file is copied, you can close the file explorer window and go back to Minecraft.
Step 4: Enable Shaders
Read Also: Where To Find Fish In Genshin Impact? Ultimate Guide
To enable the shaders, go back to the shaders menu in Minecraft. You should now see the name of the shaders you downloaded in the list of shaders available.
Click on the name of the shaders to select them and then click on “Done” to apply the changes. Minecraft will reload with the shaders enabled.
That’s it! You’ve successfully installed and enabled shaders for Minecraft. Enjoy exploring the game with enhanced graphics and visuals!
Remember, installing shaders can have an impact on the performance of your game, especially if you’re playing on a lower-end machine. If you experience lag or decreased performance, you may need to adjust the shader settings or try using a different shader pack. Experiment with different settings and packs to find the best balance between visuals and performance.
If you love playing Minecraft and want to enhance your gameplay experience, installing shaders can greatly improve the graphics and visuals of the game. Shaders add realistic lighting, shadows, and effects to create a more immersive and visually stunning Minecraft world. Follow these step-by-step instructions to install Minecraft shaders and start enjoying a whole new level of graphics.
Remember, installing shaders can have an impact on your game’s performance, especially on lower-end hardware. If you experience any performance issues or graphical glitches, you may need to lower your game’s graphics settings or try a different shader pack that is less demanding on your system.
Read Also: Animal Crossing Guide: How To Get Roses in Your Game
With shaders installed, Minecraft can become an even more beautiful and immersive experience. Explore the various shader packs available to find the perfect one for your preferences and enjoy Minecraft like never before!
In order to install shaders in Minecraft, you will need to download shader packs. These packs modify the graphics and lighting effects within the game to enhance the visual experience. Here is how you can download shader packs:
Note: Some shader packs may come as .zip files. If this is the case, you will need to extract the contents of the .zip file before proceeding to the next step.
To install shaders in Minecraft, you will need to first install Optifine. Optifine is a mod that helps improve the performance and graphics of the game, as well as adds support for shaders. Follow the steps below to install Optifine:
Once Optifine is installed, you can proceed to install shaders in Minecraft. Be sure to follow the specific instructions for installing shaders, as it may vary depending on the shader pack you choose to use.
Once you have successfully installed shaders in Minecraft, you need to activate them in the game. Follow these steps to activate shaders:
Congratulations! You have successfully activated shaders in Minecraft. Now you can enjoy enhanced graphics and immerse yourself in a more realistic gaming experience.
Minecraft shaders are modifications to the game’s graphics that enhance the visual experience by adding realistic lighting, shadows, and other effects. Installing shaders can greatly improve the overall look and atmosphere of the game, making it more immersive and enjoyable.
Installing Minecraft shaders can be a bit tricky, especially for beginners. However, with the help of a step-by-step guide, like the one provided in the article, it becomes much easier to install them correctly.
The system requirements for running Minecraft shaders can vary depending on the complexity of the shaders and the capabilities of your computer. Generally, you will need a decent gaming PC or laptop with a dedicated graphics card and sufficient memory to handle the increased graphical demands.
While installing Minecraft shaders itself does not pose any major risks, there are a few potential issues that you may encounter. These include compatibility issues with other mods, performance issues on low-end systems, and occasional graphical glitches. It’s important to back up your game files and be prepared to troubleshoot any problems that may arise.
How To Build Sun In Mobile Legends? Mobile Legends is a popular multiplayer online battle arena (MOBA) game that offers a wide range of heroes for …
Read Article
Which Among Us Oc Are You? Are you an avid Among Us player? Do you ever wonder which Among Us OC character you would be? Table Of Contents Unveil Your …
Read Article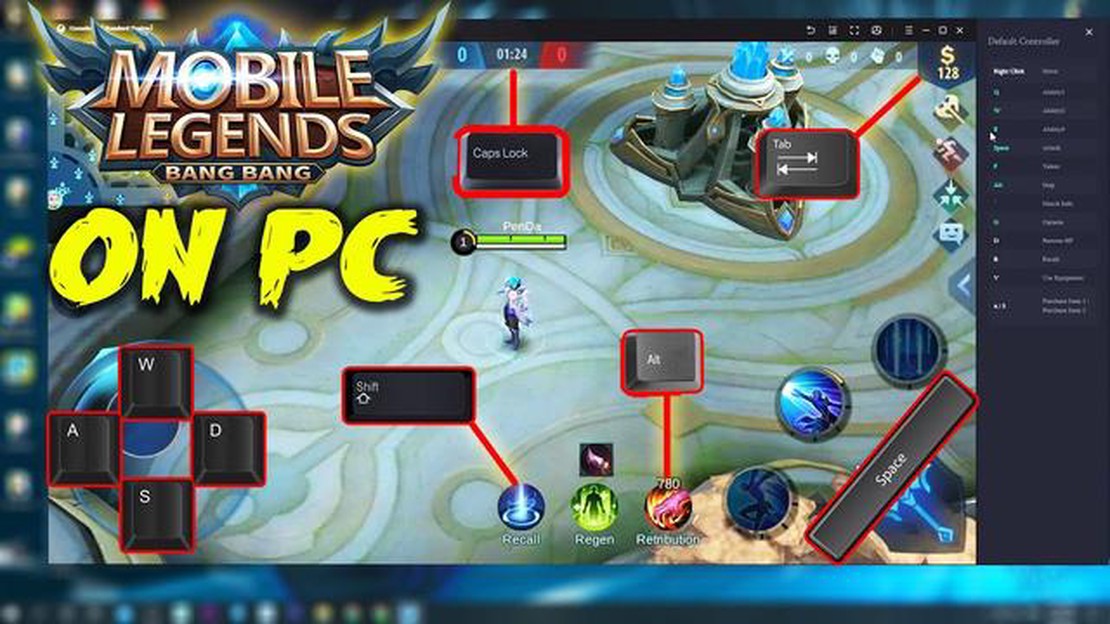
How To Play Mobile Legends On Windows Phone? Mobile Legends is one of the most popular mobile MOBA games, and it has captured the hearts of millions …
Read Article
How To Make Pancakes In Toca Boca World? Welcome to Toca Boca World, where the possibilities are endless! In this step-by-step guide, we will show you …
Read Article
How To Move House In Animal Crossing? Animal Crossing is a popular simulation game that allows players to create and customize their own virtual …
Read Article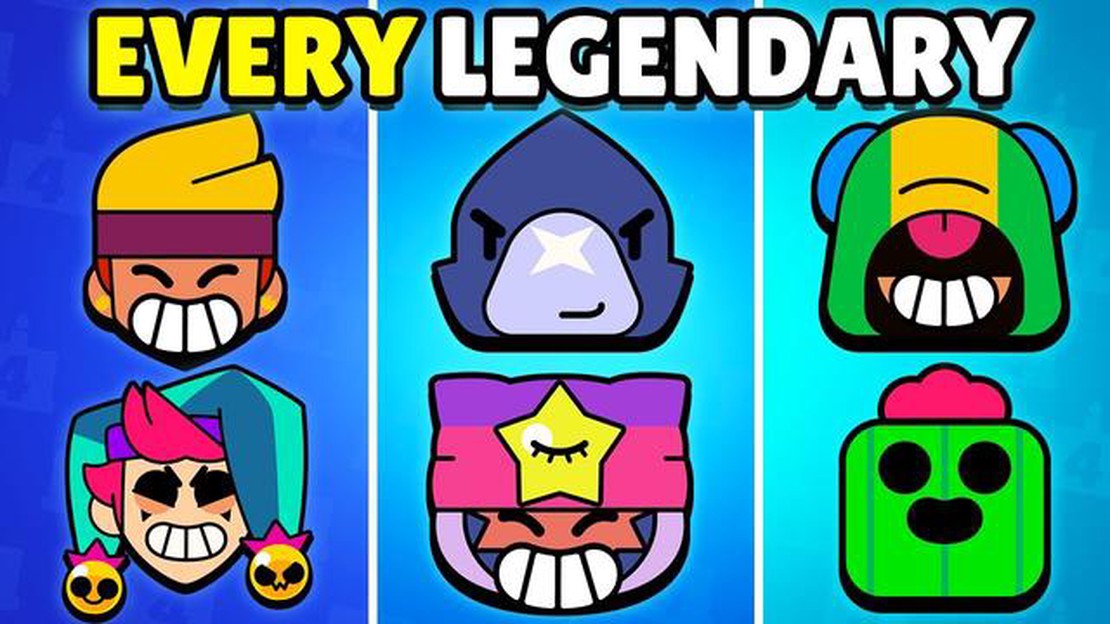
What Are All The Legendarys In Brawl Stars? Brawl Stars is a popular multiplayer online video game developed and published by Supercell. The game …
Read Article


