


Garry's Mod 2 is finally here with the name Teardown
Garry’s Mod 2 is here, and it’s called Teardown The long-awaited sequel to the popular sandbox game Garry’s Mod has finally arrived, and it comes with …
Read Article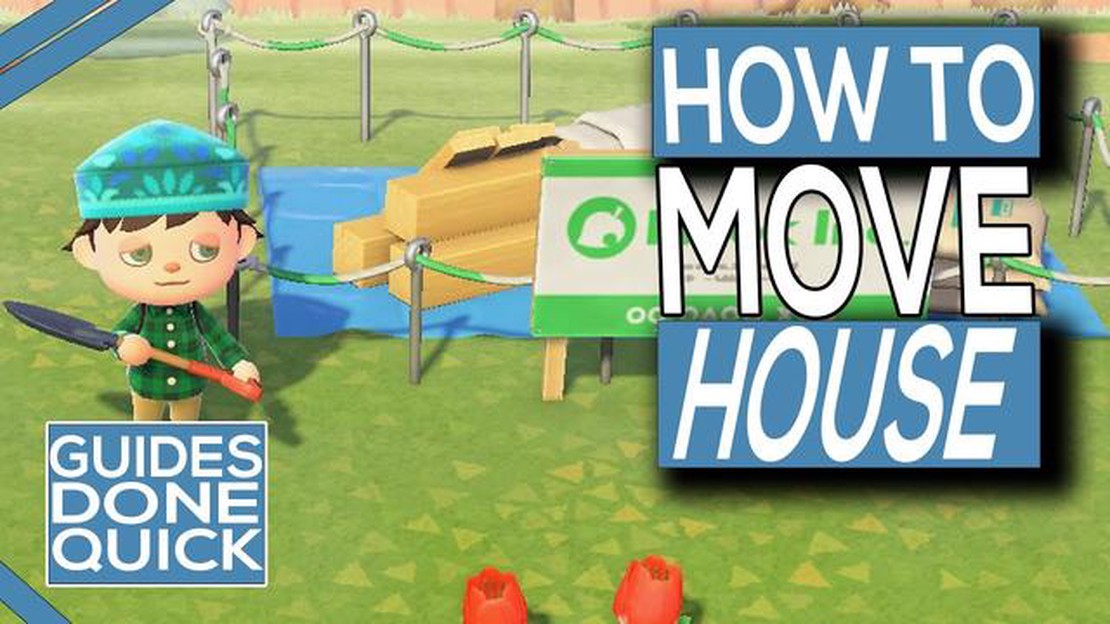
Animal Crossing is a popular simulation game that allows players to create and customize their own virtual world. One of the most exciting aspects of the game is the ability to move your house, allowing you to change the layout of your village and create a unique living space. In this step-by-step guide, we will walk you through the process of moving your house in Animal Crossing, from finding the perfect location to completing the move.
Step 1: Choose a new location
The first step in moving your house is to choose a new location for it. This can be a bit tricky, as you will need to find a spot that is both spacious enough to accommodate your house and aesthetically pleasing. Take your time exploring your village and looking for the perfect location. You can also consult with your fellow animal residents for their input. Once you have found the ideal spot, proceed to the next step.
Step 2: Talk to Tom Nook
After deciding on a new location for your house, you will need to speak to Tom Nook, the friendly raccoon who runs the town’s shop. He will be able to assist you with the process of moving your house and provide you with all the necessary information. Simply approach him and select the option to “Move House” from the dialogue menu.
Step 3: Pay the relocation fee
Moving your house in Animal Crossing does come at a cost. Tom Nook will inform you of the relocation fee, which you will need to pay in order to proceed with the move. The fee varies depending on the size of your house, so make sure you have enough Bells, the in-game currency, to cover the cost. Once you have paid the fee, your house will be ready to move.
Step 4: Choose the moving date
Before your house can be physically moved, you will need to select a moving date. This is simply the date on which the move will take place within the game. Tom Nook will present you with a calendar and you can choose a date that works best for you. Keep in mind that once you have chosen a moving date, it cannot be changed, so choose wisely.
Step 5: Pack up your belongings
Prior to the move, it is important to pack up your belongings to ensure they are safely transported to your new location. You can do this by accessing your house storage and selecting the items you wish to take with you. Take your time to carefully pack and organize your items, as they will be waiting for you in your new house once the move is complete.
Step 6: Enjoy your new home
Once all the preparations have been made, the date you selected for the move will arrive. On that day, your house will be magically transported to its new location. Take some time to explore your new surroundings and admire your new home. You can now decorate and personalize your house to make it truly your own. Congratulations on successfully moving your house in Animal Crossing!
Before you can move your house in Animal Crossing, there are a few things you need to do to prepare:
Once you’ve completed these steps, you’ll be ready to move your house to its new location in Animal Crossing. The next step is to talk to Tom Nook and start the house moving process.
Read Also: Discover the Locations of all the Murals in Genshin Impact
Before you can start moving your house, you will need to gather some necessary materials. Here is a list of items you will need:
Make sure you have enough bells to cover the cost of moving your house and any additional expenses. It’s also a good idea to check with your villagers and make sure they’re okay with the move, as it will affect their daily routines. Once you have all the necessary materials, you can move on to the next step.
Once you decide to move your house in Animal Crossing, you will need to select a new location for it. This step is crucial, as the placement of your house can greatly impact your gameplay experience. Here are the steps to follow to select a new location for your house:
Remember, moving your house in Animal Crossing is a big decision, so take your time to select a location that fits your preferences and enhances your gaming experience.
When you first start playing Animal Crossing, you will have a small, humble tent as your house. As you progress in the game, you may want to upgrade your house or move it to a different location on your island. Here is a step-by-step guide on how to relocate your house in Animal Crossing.
Relocating your house in Animal Crossing can be a convenient way to change up your island’s layout or upgrade to a larger house. Just remember to plan ahead, save up enough Bells, and choose a move-in date that works for you. Happy house moving!
Read Also: Discover All Cyberpsycho Sighting Locations in Cyberpunk 2077
Once you have decided to move your house in Animal Crossing, the first thing you need to do is speak to Tom Nook. Tom Nook is the raccoon character who is in charge of all the construction and real estate activities on the island.
To find Tom Nook, head over to the Resident Services building. This is the central hub for all your island activities and can be easily identified by its distinctive green roof. Once inside, look for Tom Nook, who will be sitting behind the front desk.
Approach Tom Nook and initiate a conversation. Let him know that you want to move your house, and he will explain the entire process to you. He will provide you with all the necessary information and ask you to choose a new location for your house.
Tom Nook will then present you with a map of the island, showing available plots of land where you can move your house. Take your time and carefully select a location that suits your preferences. Consider factors such as proximity to other villagers, accessibility, and aesthetic appeal.
Once you have made your decision, inform Tom Nook of your choice. He will confirm your selection and proceed with the necessary paperwork and construction arrangements.
During this conversation with Tom Nook, he will also inform you about the cost of moving your house. Moving your house in Animal Crossing requires a fee, which can vary depending on the size of your current house and the distance of the new location.
Make sure you have enough Bells (the in-game currency) to cover the moving cost. If you don’t, Tom Nook can offer you a loan to cover the expenses. Keep in mind that you will need to repay the loan later, so plan your finances accordingly.
Speaking to Tom Nook and starting the process is the first step towards moving your house. Once you have finalized the location and paid the necessary fees, the construction crew will begin moving your house to its new spot. Remember to be patient throughout the process, as the actual move may take some time to complete.
Moving house in Animal Crossing involves a few steps. First, you need to talk to Tom Nook and select the option to relocate. Then, you can choose a new location for your house on the island. After confirming the new spot, you need to wait until the next day for your house to be moved.
Yes, you have the freedom to choose any available spot on the island to move your house. However, keep in mind that some areas may be blocked off due to terrain or other buildings.
Once you have confirmed the new location for your house, it will take until the next day for the move to be completed. You will find your house in its new spot when you log in the following day.
Yes, there is a fee associated with moving your house in Animal Crossing. The amount of the fee depends on the current size of your house. Tom Nook will provide you with the cost when you talk to him about relocating.
All of your furniture and belongings will be moved with your house. You don’t have to worry about losing anything during the relocation process.
No, once you have confirmed the new spot for your house, the relocation process starts and you cannot change your mind. Make sure to choose the location carefully before confirming.
Garry’s Mod 2 is here, and it’s called Teardown The long-awaited sequel to the popular sandbox game Garry’s Mod has finally arrived, and it comes with …
Read Article
How To Get Music Discs In Minecraft? If you’re a fan of the popular sandbox game Minecraft, you might be aware that in addition to building and …
Read Article
How Many Players Play Clash Of Clans? Clash of Clans is a popular mobile strategy game developed and published by Supercell. Since its release in …
Read Article
How To Retrieve Coin Master Account? If you are a fan of the popular mobile game Coin Master, you might have encountered a situation where you need to …
Read Article
How Many People Play Call Of Duty Black Ops 3? If you’re a fan of the Call of Duty franchise, chances are you’ve heard of the wildly popular game, …
Read Article
Who Created Genshin Impact? If you’re a fan of open-world action role-playing games, chances are you’ve heard of Genshin Impact. This massively …
Read Article


