

Death Stranding Review: A Unique and Captivating Gaming Experience
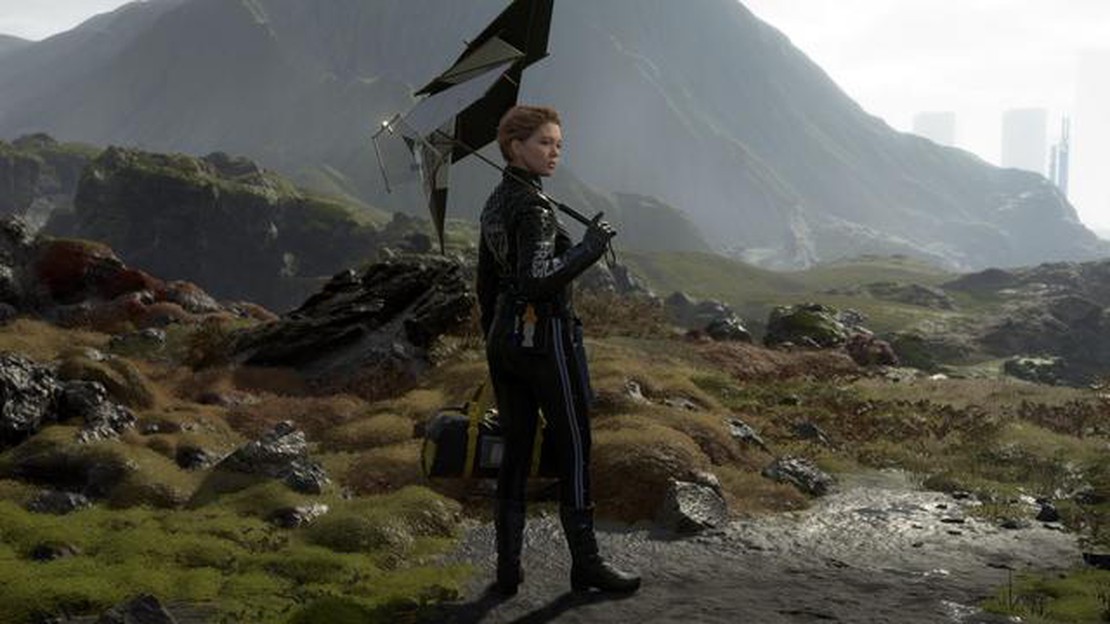
Death Stranding review Death Stranding is an action-packed and thought-provoking game, developed by legendary creator Hideo Kojima. Released in 2019, …
Read Article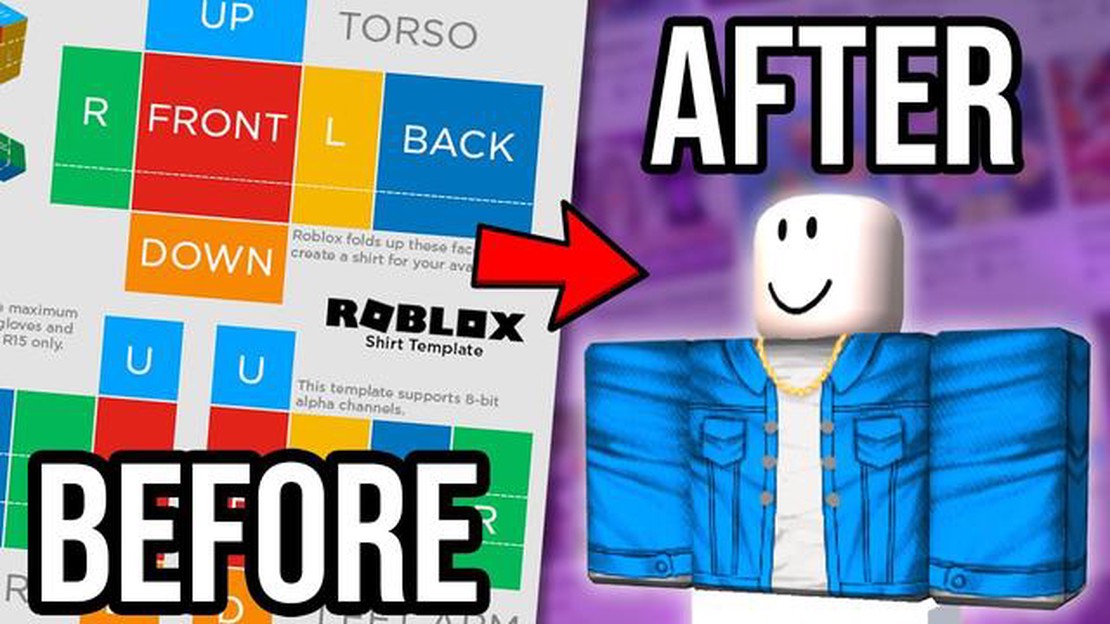
Roblox is a popular platform that allows users to create and play games. One of the most exciting features of Roblox is the ability to customize your avatar with unique clothing, including shirts. Making your own shirt in Roblox can be a fun and creative way to express yourself in the virtual world. Whether you want to showcase your artistic skills or simply want to stand out from the crowd, this step-by-step guide will walk you through the process of creating your own shirt in Roblox.
Step 1: Get Started
To begin, you’ll need to have a Roblox account and access to the Roblox Studio. If you don’t have an account, you can easily create one for free on the Roblox website. Once you have an account, download and install the Roblox Studio, which is a powerful tool that allows you to create and edit your own games, as well as customize your avatar’s clothing.
Step 2: Design Your Shirt
Now that you have access to the Roblox Studio, it’s time to start designing your shirt. Open the Roblox Studio and create a new project. From the toolbar, select the “Part” tool to create a base for your shirt. You can adjust the size and shape of the part to fit your desired shirt design. Next, use the “Texture” tool to apply an image or pattern to your shirt. You can either choose an image from your computer or use the default textures provided by Roblox. Experiment with different designs and colors until you’re satisfied with your creation.
Step 3: Upload Your Shirt
Once you’ve finished designing your shirt, it’s time to upload it to Roblox. To do this, go to the “File” menu in the Roblox Studio and click on “Publish to Roblox As.” Select “Shirt” from the options and give your shirt a name. Make sure to save your project before proceeding. Roblox will generate a unique ID for your shirt, which you’ll need to use to add it to your avatar’s inventory.
Step 4: Wear Your Shirt
Now that your shirt is uploaded, it’s time to wear it. Open Roblox and go to your avatar’s profile page. Click on the “Wardrobe” tab and scroll down to the “Shirts” section. Click on “Create” and enter the unique ID for your shirt. Once you’ve added it to your inventory, you can easily select and wear it. Congratulations! You’ve successfully made your own shirt in Roblox.
Remember, creating your own shirt in Roblox is just the beginning. You can also explore the Roblox marketplace for a wide range of unique and creative shirt designs made by other users. Don’t be afraid to experiment and let your imagination run wild. With Roblox, the possibilities are endless!
Roblox is a popular online platform that allows users to create and play games. One of the unique features of Roblox is the ability for users to design and create their own virtual clothing, including shirts. If you want to make your own shirt in Roblox, follow this step-by-step guide:
Congratulations! You have successfully made your own shirt in Roblox. You can now equip and wear your shirt in Roblox games or even sell it to other players.
Remember, creating and selling shirts on Roblox requires a premium membership, so make sure you have an active subscription before attempting to sell your creations.
Before you start creating your shirt in Roblox, it’s important to have a clear design concept in mind. This will help you stay focused and ensure that the final product meets your expectations. Here are some steps to help you create a design concept for your shirt:
Remember, the design concept is the foundation of your shirt creation process. Taking the time to plan and visualize your ideas before diving into the actual creation will lead to a more successful final product.
To create your own shirt in Roblox, you will need to use the Roblox Shirt Template. This template is a blank canvas that allows you to design your own shirt using any image editing software.
Step 1: Download the Roblox Shirt Template
First, you will need to download the Roblox Shirt Template. You can find it on the Roblox website or through a quick internet search. Save the template to your computer.
Read Also: Step-by-Step Guide on Using a Roblox Gift Card on iPhone
Step 2: Open the Roblox Shirt Template in an Image Editing Software
Next, open the Roblox Shirt Template in your preferred image editing software. Popular options include Adobe Photoshop, GIMP, or Paint.NET. The template should open as a transparent image with the front and back of the shirt displayed.
Step 3: Design Your Shirt
Now it’s time to unleash your creativity and design your shirt! Use the tools and features available in your image editing software to create the design you envision. You can add patterns, colors, text, and even your own logo or artwork.
Read Also: How to Get Champion in Clash Royale: Ultimate Guide
Step 4: Save Your Shirt Design
Once you are happy with your shirt design, save the file in an image format such as PNG or JPEG. Make sure to note the file name and location on your computer for easy access later.
Step 5: Upload Your Shirt Design to Roblox
The final step is to upload your shirt design to Roblox. Go to the Roblox website and log in to your account. From there, navigate to the “Create” section and select “Shirts.” Click on the “Choose File” button and locate the shirt design file on your computer. Once selected, click “Upload” to upload your design to Roblox.
Step 6: Customize Your Shirt
After uploading your shirt design, you will have the option to customize it further. You can adjust the position, size, and rotation of the design on the shirt template. Take your time to make any necessary adjustments to ensure your shirt looks just the way you want it.
Step 7: Save and Wear Your Shirt
Once you are satisfied with the customization, click “Save” to finalize your shirt design. After saving, your shirt will be available in your Roblox inventory. You can find it by navigating to the “Shirts” section and selecting your newly created shirt. Finally, click “Wear” to put on your custom-made shirt and show it off to the Roblox community!
Congratulations on creating your own shirt in Roblox! Now you can express your unique style and creativity through your avatar’s clothing. Have fun designing and wearing your custom shirts!
Once you have created your shirt design in a graphics editing software, you can customize it further in the Roblox website before uploading it. Follow these steps to customize and upload your shirt:
After following these steps, your customized shirt will be saved to your Roblox inventory. You can then wear it or sell it in the Roblox marketplace. Make sure to check the Roblox guidelines for shirt designs to ensure that your upload complies with their policies.
Yes, you can customize your shirt in Roblox by creating your own design or using the available templates.
To make your own shirt in Roblox, you will need an image editing software such as Adobe Photoshop or GIMP.
You can get the template for creating a shirt in Roblox by going to the Create section on the official Roblox website and selecting the Shirt option. The template will be available for download.
Yes, you can sell the shirts you create in Roblox. However, you will need a premium membership and must meet certain requirements set by Roblox before you can start selling them.
Yes, there are some design restrictions for shirts in Roblox. The designs must be appropriate and follow the community guidelines of Roblox. Any offensive or inappropriate designs will not be accepted.
Death Stranding review Death Stranding is an action-packed and thought-provoking game, developed by legendary creator Hideo Kojima. Released in 2019, …
Read Article
Dragon Quest Builders 2 review Dragon Quest Builders 2 is a delightful open-world adventure game that combines the best elements of RPG and sandbox …
Read Article
How To Make A Server In Minecraft Java? If you are a fan of Minecraft and want to play with your friends on your very own server, you’re in luck! …
Read Article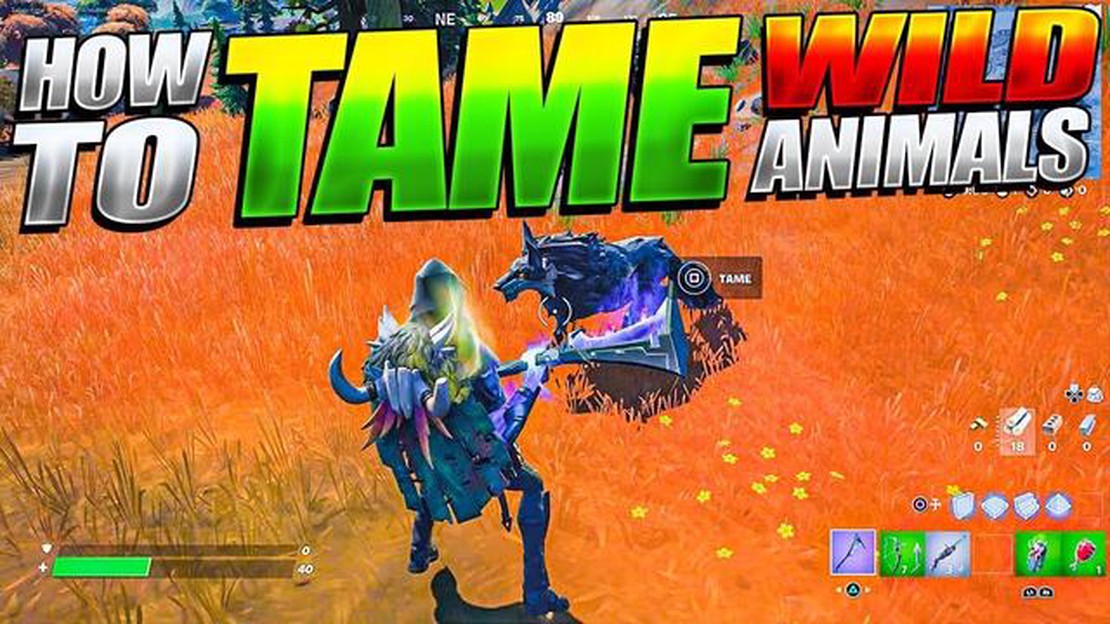
How To Tame Animals In Fortnite? Fortnite, the popular online multiplayer game, offers players a thrilling and action-packed experience. One unique …
Read Article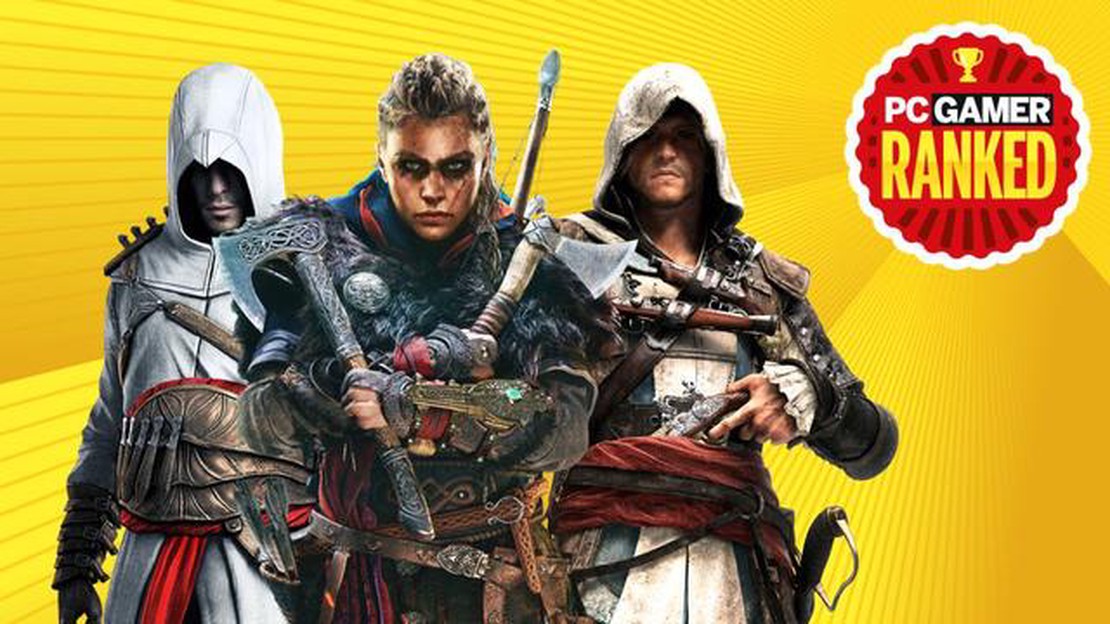
The assassins of Assassin’s Creed, ranked from worst to best Assassin’s Creed, the beloved action-adventure video game franchise, has captivated …
Read Article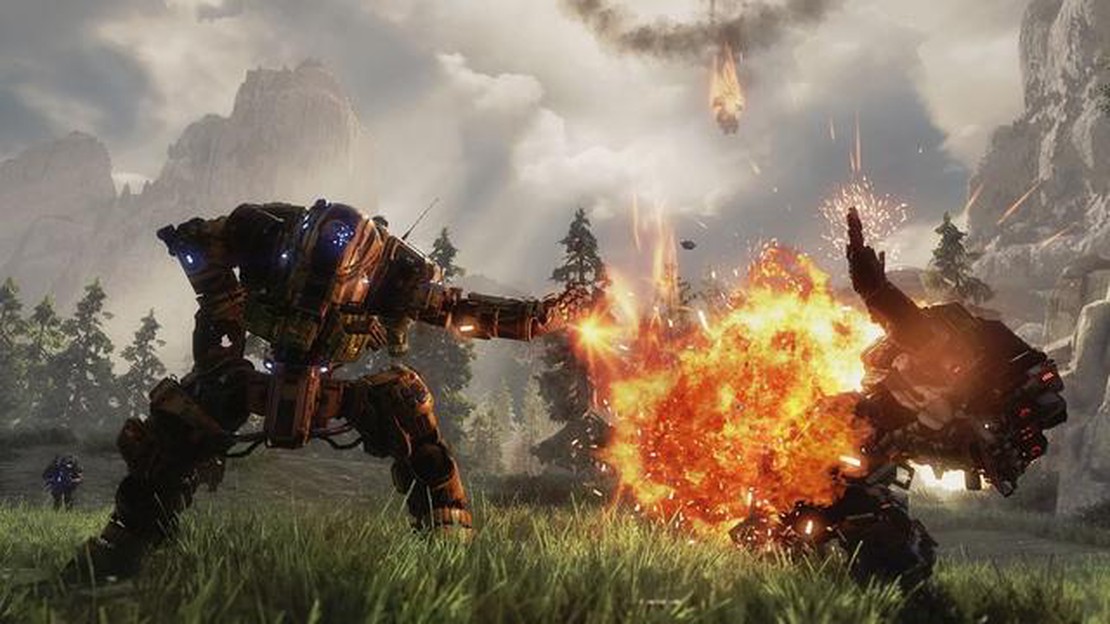
Titanfall 2 review Titanfall 2, developed by Respawn Entertainment, is a first-person shooter game that has taken the gaming community by storm. …
Read Article


