
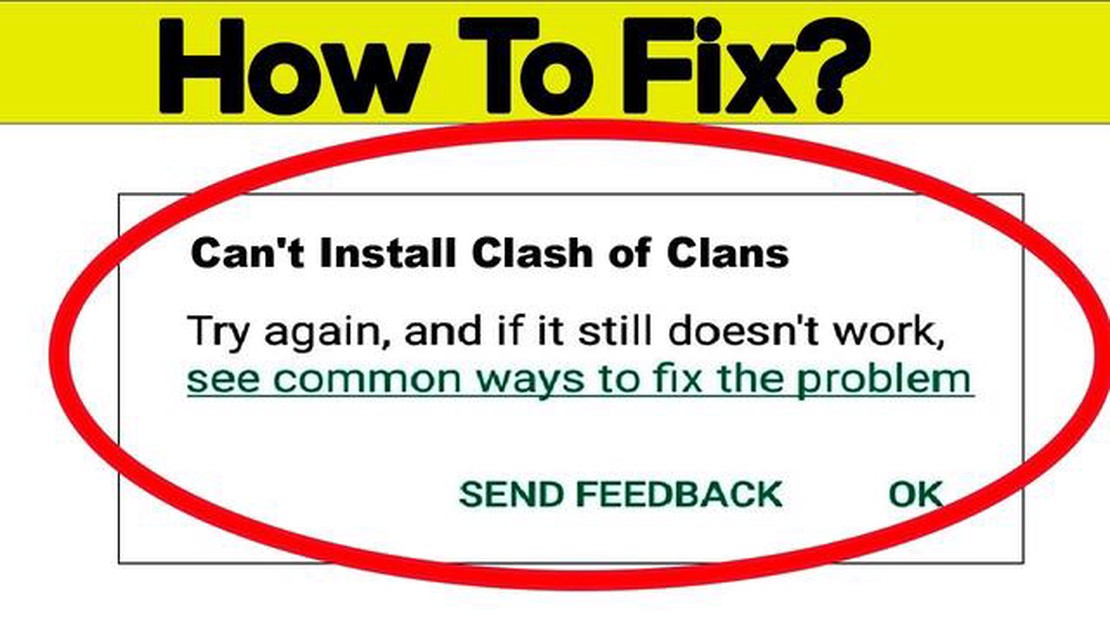

Why Can't I Download Clash Of Clans? | Troubleshooting Guide
Why Cant I Download Clash Of Clans? Clash of Clans is a popular mobile game developed by Supercell, but sometimes users may encounter issues while …
Read Article
If you are a fan of Minecraft and want to play with your friends on your very own server, you’re in luck! Creating a Minecraft Java Server is a straightforward process that allows you to have full control over your gaming experience. In this step-by-step guide, we will walk you through the process of setting up a Minecraft Java Server, so you can play with your friends anytime, anywhere.
Step 1: Install Java
The first step in creating a Minecraft Java Server is to make sure you have Java installed on your computer. Minecraft Java Edition requires Java to run, so if you don’t have it installed already, head to the official Java website and download the latest version of Java for your operating system. Once the download is complete, run the installer and follow the prompts to install Java on your computer.
Step 2: Download the Server Software
Next, you will need to download the Minecraft server software from the official Minecraft website. Go to the Minecraft download page and click on the “Minecraft Server” link. This will open a new page where you can select the version of the server software you want to download. Choose the latest version and click on the download link to save the server software to your computer.
Stay tuned for the rest of the steps in our Step-by-Step Guide: How to Make a Minecraft Java Server, where we will cover setting up the server, configuring the server properties, and inviting your friends to join you in the Minecraft world!
If you’re a fan of Minecraft and want to play with your friends or create your own community, setting up your own Minecraft Java server is a great option. Follow these step-by-step instructions to create your very own Minecraft Java server:
Setting up a Minecraft Java server may require some technical knowledge, but with these step-by-step instructions, you’ll be able to create and run your own server in no time. Have fun!
In order to create a Minecraft Java server, you will need to meet the following requirements:
Make sure you have all of these requirements met before proceeding to the next step. Having a stable internet connection and enough RAM is crucial for ensuring a smooth gameplay experience for you and your friends.
Setting up a Minecraft Java server is a relatively straightforward process. Follow the steps below to install and set up your own Minecraft server:
That’s it! You now have your own Minecraft Java server up and running. You can customize the server further by installing plugins or modifying the server configuration. Have fun exploring and building in your own Minecraft server!
Once you have your Minecraft Java server up and running, you can start customizing it to fit your preferences. Here are a few options for configuration and customization:
1. Server.properties file:
Read Also: Who Is The Creator Of Fortnite? Unveiling The Mastermind Behind The Popular Game
The server.properties file is where you can make changes to the basic settings of your server. This file can be found in the root folder of your server. Some of the settings you can customize include:
2. Plugins and Mods:
Read Also: How to Get a Minecraft Server: A Step-by-Step Guide
If you want to enhance your server with additional features, you can install plugins or mods. Plugins are add-ons created by the Minecraft community while mods are modifications to the Minecraft game itself. Plugins can add features like economy systems, custom commands, or minigames. Mods can introduce new blocks, items, creatures, or even completely change gameplay mechanics. You can find plugins and mods on various websites and forums dedicated to Minecraft server customization.
3. Server Admin Tools:
There are server admin tools available that can help you manage your server more efficiently. These tools offer features like server monitoring, player management, chat moderation, and automated backups. Some popular server admin tools include Multicraft, McMyAdmin, and Minehut.
4. Server Resource Packs:
You can also customize the look and feel of your server by using resource packs. Resource packs contain textures, sounds, and other assets that can change the visual and audio experience in the game. You can create your own resource pack or download pre-made ones from various Minecraft community websites.
By configuring and customizing your Minecraft Java server, you can create a unique gameplay experience for yourself and your friends. Enjoy exploring the vast possibilities of Minecraft server customization!
Minecraft Java Server is a server that allows multiple players to connect and play Minecraft together in the Java Edition of the game.
Yes, you can make your own Minecraft Java Server by following a step-by-step guide.
The system requirements for hosting a Minecraft Java Server are a decent CPU, enough RAM to handle the number of players, and a stable internet connection.
The cost of hosting a Minecraft Java Server depends on the hosting provider you choose. It can range from a few dollars per month to tens of dollars per month.
The steps to make a Minecraft Java Server include setting up a server on your computer or a hosting provider, configuring the server properties, opening the necessary ports on your router, and inviting friends to join your server.
Yes, it is possible to customize a Minecraft Java Server by installing plugins and resource packs that modify the gameplay and add new features.
Why Cant I Download Clash Of Clans? Clash of Clans is a popular mobile game developed by Supercell, but sometimes users may encounter issues while …
Read Article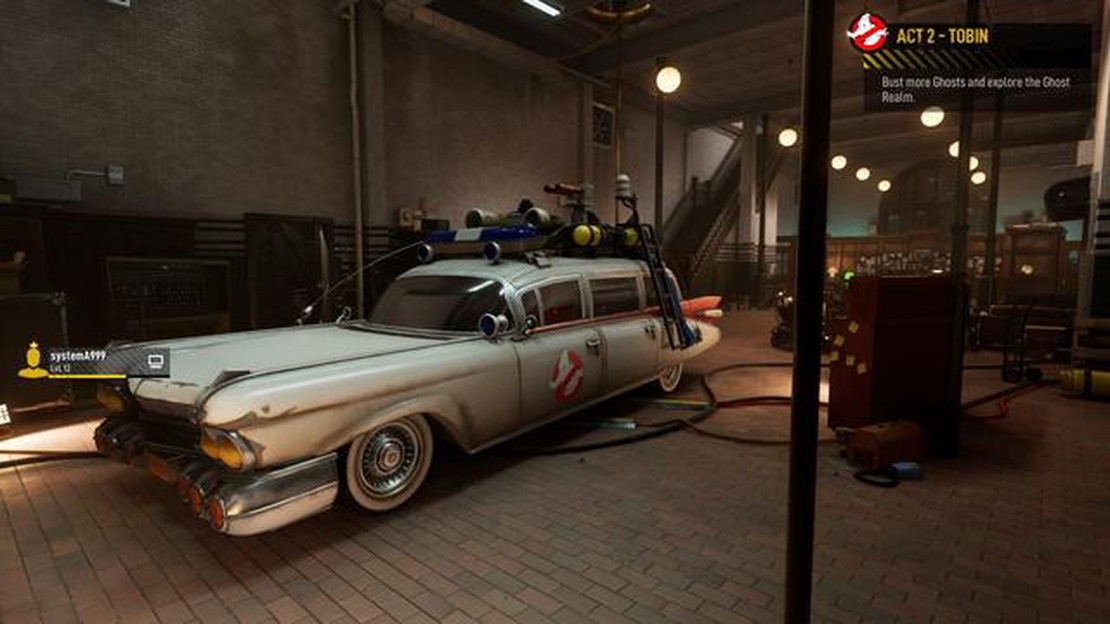
Ghostbusters: Spirits Unleashed review The Ghostbusters franchise has been entertaining audiences for decades, and now they are back with a new video …
Read Article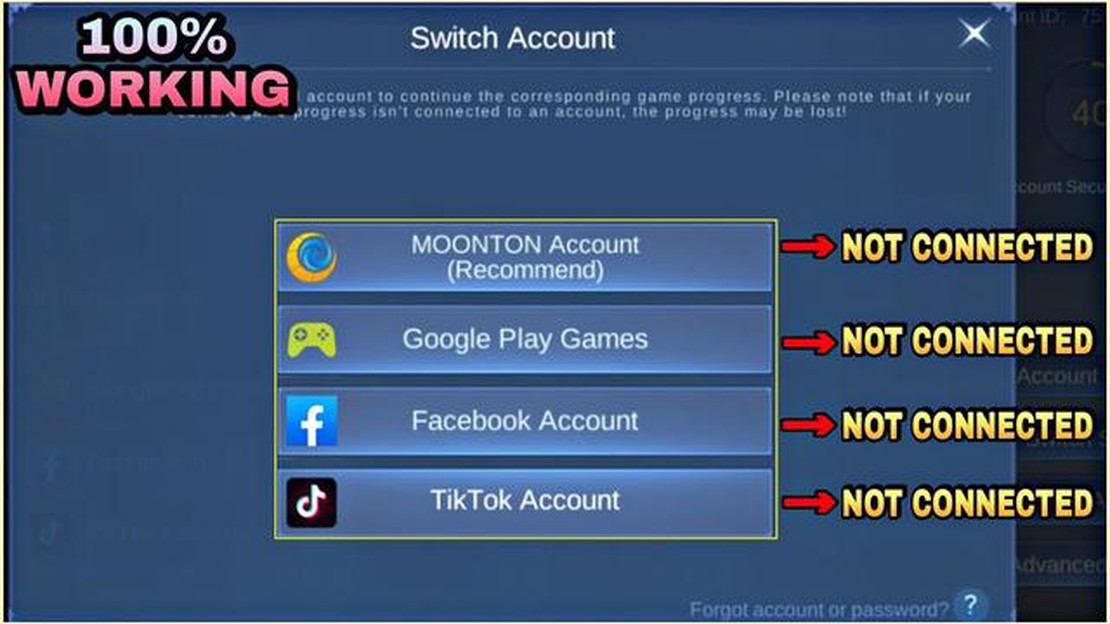
How Do I Recover My Mobile Legends Account? If you’re a Mobile Legends player who has lost access to your account, don’t worry - there are steps you …
Read Article
Krupp Genshin Impact Krupp Genshin Impact is a formidable boss that players encounter in the popular game Genshin Impact. This powerful creature …
Read Article
Compound Bow Genshin Impact Are you looking to dominate the battles in Genshin Impact? Then look no further than the Compound Bow! This powerful …
Read Article
Here are all the Resident Evil 3 Remake locker and safe codes If you’re playing the hit game Resident Evil 3 Remake, you’ve probably come across …
Read Article


