

What To Do In Animal Crossing After K.K. Slider | Tips and Ideas
What To Do In Animal Crossing After Kk Slider? Animal Crossing: New Horizons is a beloved simulation game that has captured the hearts of millions. …
Read Article
Texture packs are a great way to enhance your Minecraft experience by changing the look and feel of the game. With the release of Minecraft 1.14, installing texture packs has become easier than ever before.
In this step-by-step guide, we will walk you through the process of installing texture packs in Minecraft 1.14. Whether you want to give your world a more realistic or medieval look, or simply want to change the colors and textures of blocks and items, this guide will help you achieve the desired effect.
Before we begin, it’s important to note that texture packs are different from mods. Texture packs only change the appearance of the game, while mods can add new features and gameplay mechanics. Installing texture packs in Minecraft 1.14 does not require any mods, making it accessible to all players.
So, let’s dive into the step-by-step process of installing texture packs in Minecraft 1.14.
Installing texture packs in Minecraft can enhance your gaming experience by giving the game a fresh new look. If you’re playing Minecraft 1.14, follow these step-by-step instructions to install texture packs:
That’s it! You have successfully installed a texture pack in Minecraft 1.14. Enjoy your enhanced gaming experience with the new visuals!
In order to install a texture pack in Minecraft, you first need to download the texture pack files from a trusted source. Here’s how you can do it:
Now that you have downloaded the texture pack files, you can proceed to the next step, which is installing the texture pack in Minecraft.
Read Also: The Ultimate Guide to Finding the Best Clash Royale Deck
In order to install texture packs in Minecraft 1.14, you need to locate the resource pack folder within the game files. By default, Minecraft saves resource packs in a specific directory depending on your operating system:
Windows:
Mac:
Linux:
Read Also: Get Started with a New Gaming PC: A Quick Guide for Windows 10 Users
Once you have located the resource pack folder, you are ready to install texture packs in Minecraft 1.14.
Once you have downloaded the texture pack you want to install, follow these steps to add it to Minecraft:
Your selected texture pack will now be applied to Minecraft, giving the game a fresh new look and feel. Keep in mind that some texture packs may require additional steps or modifications, so always check the instructions provided with the pack.
A texture pack in Minecraft is a set of files that change the visual appearance of the game. It modifies the textures of blocks, items, and sometimes even the user interface, giving the game a whole new look.
You can find texture packs for Minecraft 1.14 on various websites, such as Minecraft CurseForge, Planet Minecraft, and ResourcePacks.net. These websites have a wide range of texture packs to choose from, catering to different preferences and themes.
Yes, you can use multiple texture packs at once in Minecraft 1.14. When you have multiple texture packs installed, you can prioritize their order in the “Selected Resource Packs” list. The packs higher on the list will overwrite the textures of packs lower on the list, allowing you to create your own customized visual experience.
What To Do In Animal Crossing After Kk Slider? Animal Crossing: New Horizons is a beloved simulation game that has captured the hearts of millions. …
Read Article
How To Use Freemyapps For Clash Royale? If you are an avid Clash Royale player, you know how important it is to have a steady supply of gems and other …
Read Article
How to find all the Cyberpunk 2077 Tarot cards Cyberpunk 2077 is an immersive role-playing game set in a futuristic world filled with technological …
Read Article
What Is Bad Omen In Minecraft? In the vast world of Minecraft, players can embark on exciting adventures, build incredible structures, and explore …
Read Article
How To Play Roblox Vr? Roblox VR is an immersive virtual reality experience that allows players to step into the world of Roblox and interact with …
Read Article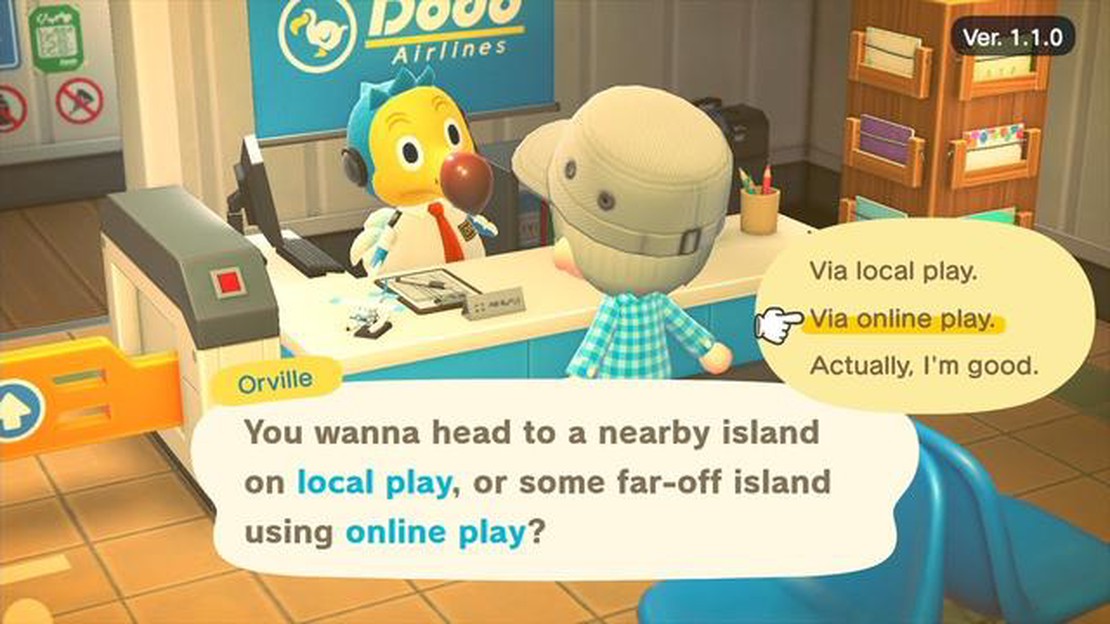
How To Visit Islands In Animal Crossing? Animal Crossing: New Horizons has become one of the most popular games of 2020, offering players a peaceful …
Read Article


