

Grounded Game Review: Exploring the Tiny World in Obsidian's New Survival Adventure
Grounded review Obsidian Entertainment, known for their work on critically acclaimed RPGs such as Fallout: New Vegas and The Outer Worlds, takes a …
Read Article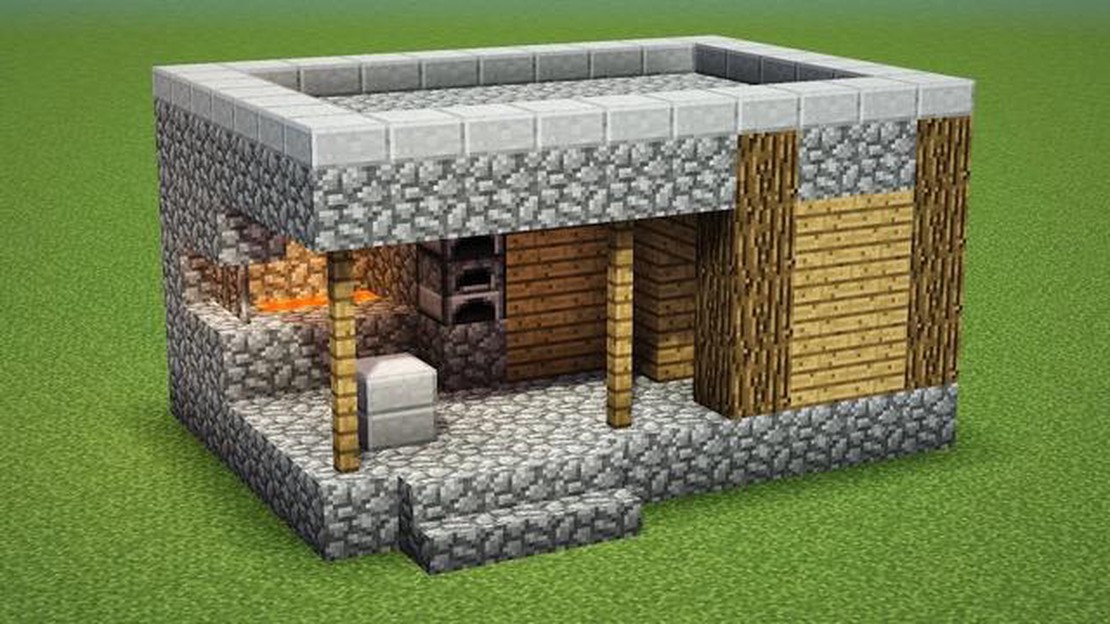
In Minecraft, a blacksmith is an essential character who can help you craft powerful weapons, armor, and tools. Whether you’re a beginner or an experienced player, learning how to make a blacksmith in Minecraft can greatly enhance your gameplay experience. In this step-by-step guide, we will walk you through the process of creating your very own blacksmith in Minecraft so you can start crafting like a pro.
To begin with, you’ll need to gather the necessary materials. You will need at least 4 blocks of cobblestone, 2 blocks of iron ore, 1 crafting table, and 1 furnace. Cobblestone can be easily obtained by mining stone blocks, while iron ore can be found deep underground. Once you have collected all the required materials, you’re ready to move on to the next step.
Next, you’ll need to find a suitable location to build your blacksmith. Choose a flat area preferably near your base, as you’ll be visiting it frequently. Use your cobblestone blocks to create the outline of your blacksmith building. You can make it any size you like, but make sure it’s big enough to fit a crafting table, furnace, and a few chests for storage.
Once you’ve built the structure, it’s time to furnish your blacksmith. Place the crafting table inside the building, as this will be the main tool for crafting items. The furnace should be placed adjacent to the crafting table, as you’ll need it for smelting ores and cooking food. You can also add some chests for extra storage space. It’s important to keep your blacksmith organized to easily access your materials and items.
Now that your blacksmith is complete, it’s time to start crafting! Use the crafting table to create weapons, armor, and tools using the materials you’ve gathered. The furnace can be used to smelt ores into ingots, which can then be used to craft more advanced items. Experiment with different recipes and combinations to unlock powerful equipment that will aid you in your adventures.
By following this step-by-step guide, you’ll be able to make a blacksmith in Minecraft and take your crafting skills to the next level. Remember to gather the necessary materials, choose a suitable location, and furnish your blacksmith with the crafting table, furnace, and storage chests. With your blacksmith up and running, you’ll be well-equipped to tackle any challenges that come your way in the vast world of Minecraft.
In Minecraft, a blacksmith is an important structure that can be found in villages. It serves as a valuable source of resources and items. If you want to learn how to make a blacksmith in Minecraft, follow these steps:
Now you know how to make a blacksmith in Minecraft! Creating this structure can enhance your gameplay experience and provide you with important resources. Use this knowledge to expand your village and improve your gameplay in Minecraft.
Before you can start building your blacksmith in Minecraft, you will need to gather all the necessary materials. Here’s a list of items you will need:
Read Also: How the Concept of Manifest Destiny Exacerbated Divisions among American Citizens
Make sure you have all the necessary materials before proceeding to the next step.
Now that you have gathered the necessary materials, it’s time to find a suitable location for your blacksmith in Minecraft. Here are some tips to help you choose the perfect spot:
Once you have found the perfect location, mark it with torches or blocks to make it easier to find later on. Remember to leave enough space for any additional structures or expansions you might want to add in the future.
Now that you have gathered all the necessary materials, it’s time to start building the foundation for your blacksmith in Minecraft. Follow these steps to build a sturdy foundation:
Once you have completed these steps, you will have a solid foundation for your blacksmith in Minecraft. You can now move on to the next step, which is building the walls and roof.
Next, you’ll need to add the forge and other essential furnishings to your blacksmith. These items are crucial for your blacksmith to function properly and perform various tasks.
Read Also: Is Broken Arrow a Convincing Attempt at a Modern Warfare RTS?
Here are the key elements you should include:
By adding these essential furnishings, your blacksmith will have all the necessary tools and equipment to become a fully functional workshop in your Minecraft world.
To make a blacksmith in Minecraft, you will need the following materials: 3 cobblestone blocks, 1 furnace, and 1 iron block.
Yes, you can make a blacksmith without using any cheats. All the materials required for making a blacksmith can be obtained through legitimate gameplay.
A blacksmith in Minecraft serves as a valuable crafting station where you can smelt ores, create tools, and repair damaged items.
No, the materials required to make a blacksmith in Minecraft are specific. You cannot use different materials to create a blacksmith.
The process of making a blacksmith in Minecraft should only take a few minutes, as long as you have gathered all the necessary materials.
No, the appearance of a blacksmith in Minecraft is fixed and cannot be customized. It has a unique design that is consistent across all Minecraft worlds.
Grounded review Obsidian Entertainment, known for their work on critically acclaimed RPGs such as Fallout: New Vegas and The Outer Worlds, takes a …
Read Article
Complete Guide to Finding All Gobstone Locations in Hogwarts Legacy Are you a fan of the Harry Potter universe and excited for the upcoming game, …
Read Article
Where Are The Waterfalls In Fortnite? Fortnite, the hugely popular battle royale game, offers players a vast and visually stunning world to explore. …
Read Article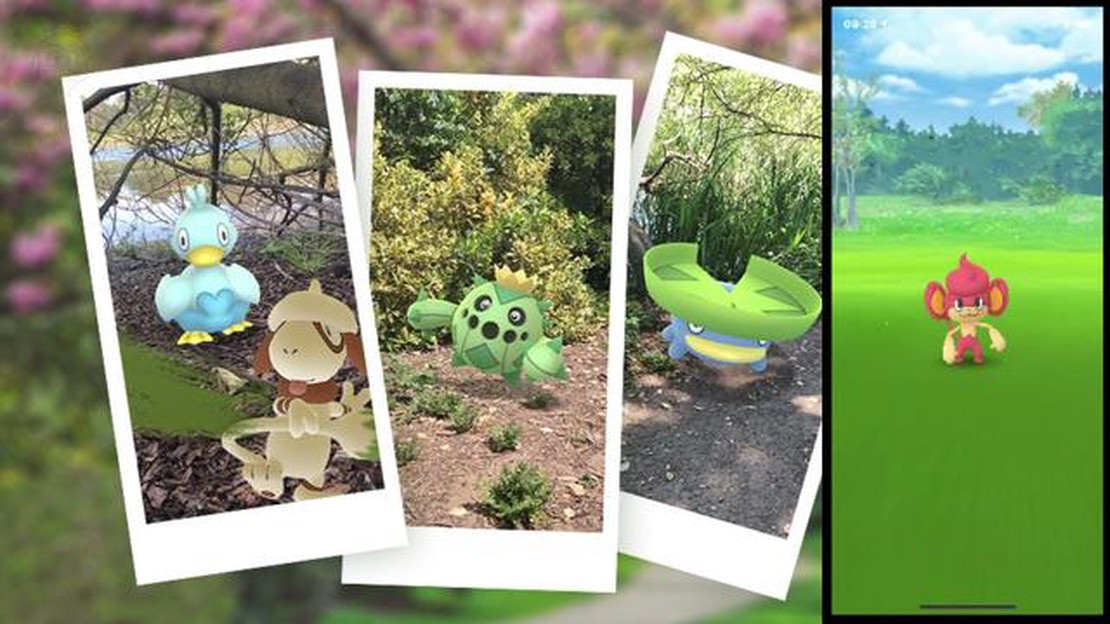
How To Take A Snapshot Of A Pokemon? Taking snapshots of Pokemon is not only a fun way to capture memorable moments in the game, but it’s also a great …
Read Article
How Big Is A Minecraft World? With its limitless possibilities and endless adventures, Minecraft has become one of the most popular and beloved video …
Read Article
How To Start Over On Animal Crossing? Animal Crossing is a beloved video game where players can create their own virtual world and live a peaceful …
Read Article


