
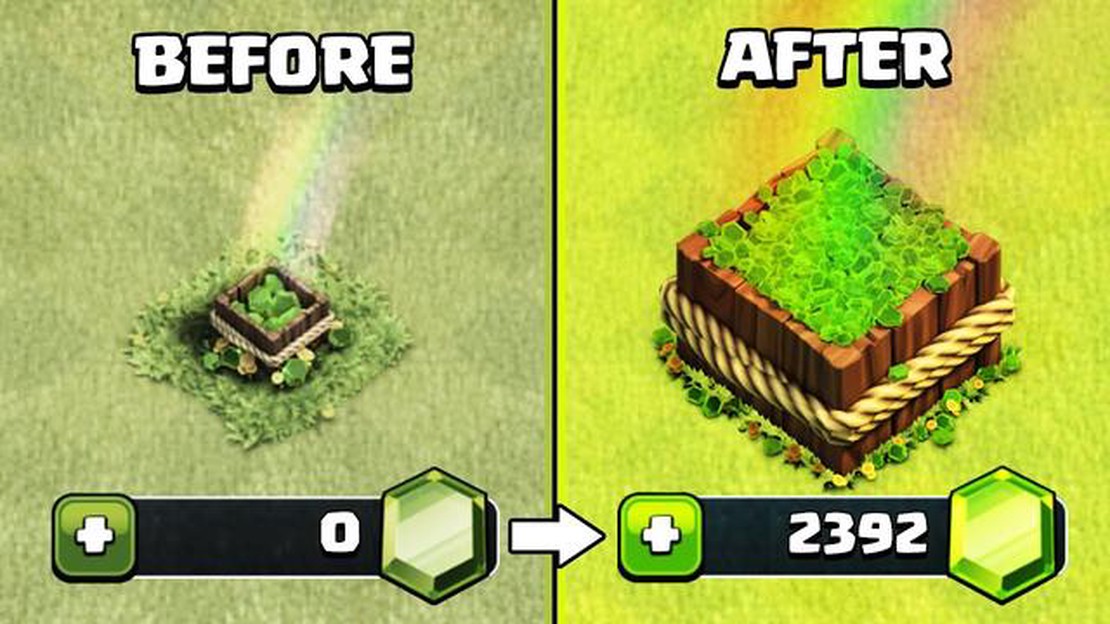

How to Get a Pile of Gems in Clash of Clans - Expert Tips and Tricks
How To Get Pile Of Gems In Clash Of Clans? Clash of Clans is a popular mobile strategy game where players build their own village, train troops, and …
Read Article
If you’re an avid Minecraft player and enjoy the peacefulness of fishing, creating a fishing zone in your world can enhance your gaming experience. Fishing can be a relaxing activity that helps you unwind and provides you with valuable resources. In this step-by-step guide, we will walk you through the process of creating a fishing zone in Minecraft, allowing you to optimize your fishing and make the most out of your time in the game.
Step 1: Finding a Suitable Location
First, you’ll need to find a suitable location for your fishing zone. Look for a spot near a body of water, such as a river or an ocean. Ideally, you should also have access to a fishing rod, as it will be essential for your fishing activities.
Step 2: Clearing the Area
Once you’ve found the perfect location, it’s time to clear the area to make space for your fishing zone. Use a shovel or any other suitable tool to remove any obstructing blocks, such as dirt or gravel. This will ensure that you have enough room to cast your fishing rod without any obstacles.
Tip: You can also create a small platform using slabs or other building materials to make it easier to fish without any blockage from the ground.
Step 3: Lighting the Area
Next, you’ll want to light up the area around your fishing zone to prevent hostile mobs from spawning and ruining your fishing experience. Placing torches or other light sources around the area will help keep the space safe and secure.
Step 4: Adding Decorative Elements
To make your fishing zone visually pleasing, consider adding decorative elements such as flowers or plants around the area. You can also create seating areas using stairs or slabs and surround the fishing zone with fences or other decorative blocks to give it a more appealing look.
Tip: Adding water features, such as a small pond or a waterfall, can also enhance the ambiance of your fishing zone.
Read Also: Learn How To Chat In Mobile Legends: A Step-by-Step Guide
By following these steps, you’ll be able to create a fishing zone in Minecraft that provides you with an enjoyable and productive fishing experience. Whether you’re looking to relax after a long day of exploring or want to gather valuable resources for your survival, having a dedicated fishing area in your world can add a new level of enjoyment to your Minecraft gameplay.
Minecraft is a popular sandbox game that allows players to create and explore their own virtual worlds. One of the many activities that players can enjoy in Minecraft is fishing. However, fishing in Minecraft can be more efficient and enjoyable if you create a dedicated fishing zone. In this step-by-step guide, we will show you how to create a fishing zone in Minecraft.
With these steps, you have successfully created a fishing zone in Minecraft. Now you can enjoy peaceful fishing sessions while reaping the rewards of your efforts!
In order to create a fishing zone in Minecraft, you will need to gather the necessary materials. Here is a list of what you will need:
Once you have gathered all of these materials, you will be ready to start creating your fishing zone in Minecraft.
When creating a fishing zone in Minecraft, it’s important to choose the perfect location to maximize your fishing experience. Here are some factors to consider when selecting a spot:
Read Also: How to Hack Clash of Clans with Cydia: Ultimate Guide
By taking these factors into account, you can select a location that will enhance your fishing experience and increase your chances of catching a variety of fish in Minecraft.
Creating a dedicated fishing zone in Minecraft requires a well-planned structure that will optimize your chances of catching fish. Follow these steps to build an efficient fishing zone:
By following these steps, you will have a well-structured fishing zone in Minecraft that is both functional and visually appealing. Enjoy your fishing adventures and may your catches be plentiful!
Creating a designated fishing area in Minecraft involves several steps. Follow these steps to set up your fishing zone:
Once you have set up your fishing area, it is ready for use. Equip a fishing rod, cast your line into the water, and wait patiently for fish to bite. Happy fishing!
Creating a fishing zone in Minecraft allows you to catch fish and other valuable items such as enchanted books, name tags, and saddles. It can also be a peaceful and relaxing activity to enjoy in the game.
To create a fishing zone, you will need water, a fishing rod, and a location that is suitable for fishing. You can also enhance your fishing zone by adding a fishing hut or dock.
Yes, you can automate fishing in Minecraft by using an AFK fishing farm. To create an AFK fishing farm, you will need to build a structure that allows you to fish automatically without actively playing the game. This requires more advanced knowledge of redstone and game mechanics.
Aside from fishing, you can also use your fishing zone as a place to relax and enjoy the peaceful surroundings. You can build a cozy fishing hut or dock where you can sit and watch the water, or even invite friends to join you for some fishing competitions or challenges. Additionally, you can use the area for other activities like boat racing or underwater exploration.
How To Get Pile Of Gems In Clash Of Clans? Clash of Clans is a popular mobile strategy game where players build their own village, train troops, and …
Read Article
What Pokemon Can Be Ditto In Pokemon Go? If you’re a Pokémon Go player, you’ve probably encountered Ditto at some point. Ditto is a unique Pokémon …
Read Article
How To Download Minecraft On Mac? Minecraft is a massively popular sandbox game that allows you to create and explore virtual worlds. If you’re a Mac …
Read Article
The best builds for Noelle in Genshin Impact Genshin Impact has taken the gaming world by storm with its immersive open-world gameplay and diverse …
Read Article
How Mobile Legends Gold Works? In the popular mobile game Mobile Legends, one of the most important resources to master is gold. Gold is the currency …
Read Article
The best Disney Dreamlight Valley recipes Welcome to the enchanting world of Disney Dreamlight Valley, where culinary delights and magic come …
Read Article


