


How to Get Barbara in Genshin Impact: Step-by-Step Guide
How Do You Get Barbara In Genshin Impact? Genshin Impact is an immensely popular action role-playing game developed and published by miHoYo. With its …
Read Article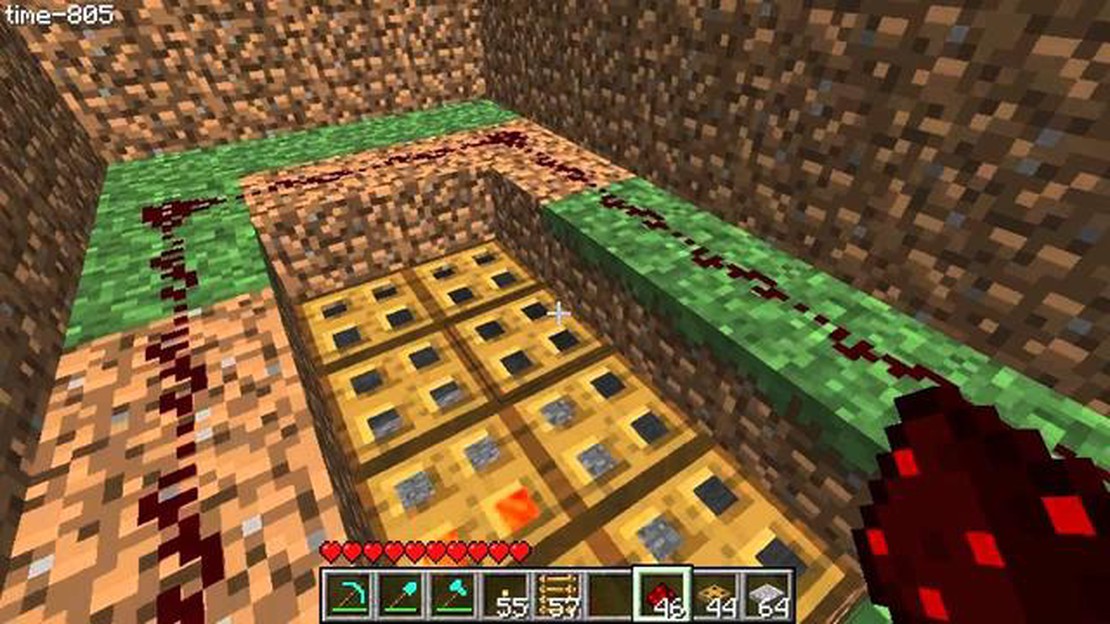
Minecraft is a popular sandbox game that allows players to build and explore their own virtual worlds. One of the key elements in Minecraft is creating and designing structures, and a hatch is an essential part of any well-designed building. A hatch not only adds functionality but also adds an aesthetic touch to your creations. In this step-by-step guide, we will show you how to make a hatch in Minecraft, so you can enhance your building skills and add more creativity to your gameplay.
Step 1: Gather the required materials. To create a hatch in Minecraft, you will need six wooden planks of the same type. You can use any type of wooden planks, such as oak, spruce, birch, jungle, acacia, or dark oak.
Step 2: Open the crafting table. You will need a 3x3 crafting grid, which can be accessed by right-clicking on the crafting table.
Step 3: Arrange the wooden planks. In the crafting grid, place three wooden planks in the bottom row and three wooden planks in the row above it. Make sure the wooden planks are placed in a vertical line in the middle column.
Minecraft is a popular sandbox game that allows players to explore and build in a virtual world. One essential aspect of building in Minecraft is creating functional structures, such as hatches. Hatches are useful for creating doors and entrances that can be opened and closed to protect your building or to create a hidden entrance. Follow this step-by-step guide to learn how to make a hatch in Minecraft.
Congratulations! You have successfully created a hatch in Minecraft. You can now use it to create doors, hidden entrances, and more to enhance your building projects. Experiment with different materials and designs to create unique and functional hatches that suit your needs. Happy crafting!
Once you have gathered all the necessary materials, follow these steps to build a hatch in Minecraft:
Read Also: How To Build Snowman Animal Crossing: A Step-By-Step Guide
That’s it! You have successfully built a hatch in Minecraft. Now you can use it to create secret entrances, secure your base, or just add a decorative element to your world.
Once you have successfully crafted a hatch in Minecraft, you can use it in a variety of ways. Here are some tips on how to effectively use the hatch:
Read Also: What Do Minecraft Horses Eat? Find Out Now!
Overall, hatches are a versatile block in Minecraft that can enhance both the functionality and aesthetics of your structures. Experiment with different designs and uses to fully utilize this useful block!
A hatch in Minecraft is a type of block that players can use to create easy access points to different levels of a structure. It allows players to move between floors without having to use stairs or ladders.
To make a hatch in Minecraft, you will need six wooden planks. Arrange the planks in a horizontal line in the bottom two rows of a crafting table. This will create three wooden trapdoor blocks, which can be used as a hatch.
The purpose of a hatch in Minecraft is to provide an easy way to navigate between different levels of a structure. It can be used to create hidden entrances, secret rooms, or even just to add a decorative element to a building.
No, hatches in Minecraft can only be made out of wooden planks. However, the type of wood you use will change the appearance of the hatch. Different types of wood planks have different textures and colors.
No, mobs cannot go through hatches in Minecraft. Hatches act as solid blocks and prevent mobs from passing through. However, players can still move freely through hatches, making them a useful tool for creating secure entrances and exits.
How Do You Get Barbara In Genshin Impact? Genshin Impact is an immensely popular action role-playing game developed and published by miHoYo. With its …
Read Article
How Much Ram Does Genshin Impact Take? Genshin Impact is a popular open-world action role-playing game developed and published by miHoYo. With its …
Read Article
Victoria 3 review Victoria 3, the long-awaited sequel to the popular strategy game series, has finally arrived, and fans of the franchise have been …
Read Article
Where Is The Mobile Version Of League Of Legends? If you’re a fan of the popular online multiplayer game League of Legends, then you’re in luck! Riot …
Read Article
How To Run 2 Clash Of Clans Accounts On 1 Device? Are you an avid Clash of Clans player? Do you wish you could easily manage multiple accounts without …
Read Article
Who Makes Fortnite? Fortnite who-makes-fortnite is a question that has been on the minds of millions of gamers. This iconic game has taken the world …
Read Article


