


How To Do Friendly Challenge In Clash Of Clans: Step-by-Step Guide
How To Do Friendly Challenge In Clash Of Clans? If you are an avid Clash of Clans player, you have probably heard about friendly challenges. Friendly …
Read Article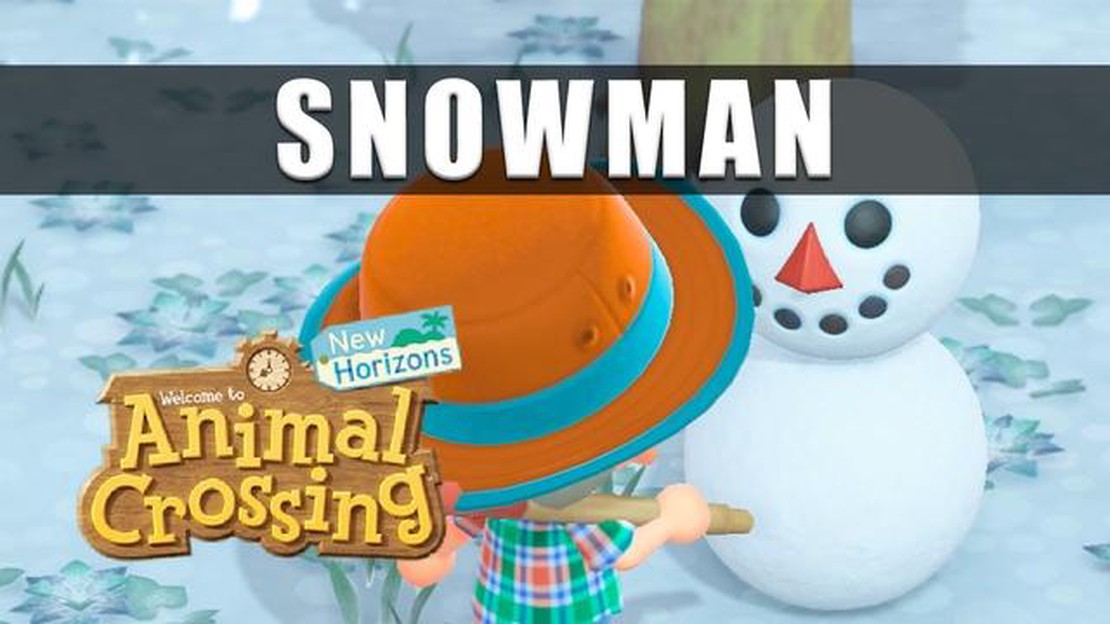
Winter is a magical time in the world of Animal Crossing, and what better way to embrace the season than by building a snowman? Creating a snowman in Animal Crossing is a fun and interactive activity that you can do to decorate your village and add a touch of winter charm. In this step-by-step guide, we will walk you through the process of building a snowman in Animal Crossing, so grab your snowballs and let’s get started!
Step 1: Find the Snowballs
The first step to building a snowman in Animal Crossing is to find the snowballs. These snowballs can be found scattered throughout your village during the winter season. They are typically located near trees or other obstacles, so keep an eye out for them as you explore your village. Once you find a snowball, simply walk up to it and push it around to make it bigger. You will need two snowballs to build a snowman, so make sure to find both of them before moving on to the next step.
Step 2: Roll and Stack the Snowballs
Now that you have your two snowballs, it’s time to start building your snowman. To do this, you will need to roll the snowballs on the ground to make them larger and then stack them on top of each other. Start by rolling one snowball until it reaches a size that you are happy with. Then, push it towards the other snowball and roll it into place. Make sure to position the snowballs one on top of the other to create the body and head of your snowman.
Step 3: Decorate your Snowman
Once you have your snowman built, it’s time to give him some personality! Animal Crossing provides a variety of options for decorating your snowman, including adding eyes, a nose, a mouth, and the all-important accessories like a hat or scarf. You can use materials found throughout your village to decorate your snowman, like twigs or acorns for arms, or even shells or flowers for added flair. Get creative and make your snowman truly one-of-a-kind!
Pro Tip: If you want your snowman to stay in your village for longer, make sure to avoid pushing or running into him. This can cause him to melt and disappear, so treat him gently!
Building a snowman in Animal Crossing is a fun and rewarding activity that adds a touch of winter magic to your village. So, grab your snowballs and get ready to create the perfect snowman! With this step-by-step guide, you’ll be building snowmen like a pro in no time.
When it comes to building a snowman in Animal Crossing, choosing the right spot is essential for a successful creation. Here are some tips to help you find the perfect location:
By following these tips, you will be able to choose the perfect spot for building your snowman in Animal Crossing. Remember to experiment and have fun while creating your winter wonderland!
When building a snowman in Animal Crossing, it is important to find a level ground that is away from trees and buildings. This will give your snowman enough space to be properly built and to avoid any obstacles that may hinder its formation.
Read Also: How To Get Revenge Attack On Coin Master - Ultimate Guideline
Here are some steps to help you find the perfect spot:
Once you have found the perfect level ground away from trees and buildings, you can start building your snowman. This ensures that your snowman will have enough space to grow and will not be obstructed by any surrounding objects. Happy snowman building!
Building a snowman in Animal Crossing is a fun and festive activity that you can do during the winter season. To start building your snowman, you’ll need to gather the necessary snowball materials. Here is a step-by-step guide on how to do it:
With these steps, you’ll be well on your way to building the perfect snowman in Animal Crossing. Enjoy the winter wonderland and have fun decorating your island!
Read Also: Learn How to Customize Your Clash Royale Name with Different Colors
Building a snowman in Animal Crossing is a fun and interactive activity that allows players to get into the winter spirit. To create a snowman, you need to gather two snowballs of different sizes and stack them on top of each other. Here’s a step-by-step guide on how to roll large and small snowballs.
Remember, each snowball has to be rolled to the correct size – not too big or too small – for the snowman to come out perfectly. Experiment with different sizes and have fun building snowmen in Animal Crossing!
Once you have collected the snowballs, it’s time to assemble the snowman in Animal Crossing. Follow these steps to create a perfect snowman:
Note: Make sure to avoid rolling the snowballs near rivers, trees, or other obstacles to prevent them from getting stuck or breaking.
Once you have built a snowman, you can interact with it daily to receive special winter-themed DIY recipes or snowflake-themed items. You can also talk to your snowman to receive hints or compliments.
Building a snowman in Animal Crossing is a fun and rewarding activity that adds to the winter atmosphere of your village. So get out there, gather some snowballs, and create your own unique snowman today!
To build a snowman in Animal Crossing, you will need two snowballs. These can be found by rolling snow around in the snow-covered areas of your island. Once you have both snowballs, you can stack them on top of each other to create your snowman.
To roll the snowballs in Animal Crossing, you will need to run into the snow-covered areas of your island. Press and hold the A button as you move to push the snowball in front of you. Keep pushing it until it reaches the desired size for the snowball. Repeat this process to create the second snowball.
Yes, you can customize your snowman in Animal Crossing. After you have created your snowman by stacking the two snowballs on top of each other, the snowman will ask you for a favor. It will request that you find a specific piece of winter furniture or clothing. Once you have found the requested item, bring it back to the snowman to receive a reward.
The snowman in Animal Crossing will last for a few days. After that, it will begin to melt and disappear. It is recommended to check on your snowman daily to make sure it is still intact. If you want to keep your snowman for longer, you can try covering it with an umbrella or building it in a shaded area to protect it from the sun.
How To Do Friendly Challenge In Clash Of Clans? If you are an avid Clash of Clans player, you have probably heard about friendly challenges. Friendly …
Read Article
How Many Games Does Roblox Have? Roblox is a popular online platform that offers a massive collection of games for players of all ages. With a user …
Read Article
What is the maximum Adventure Rank possible to achieve in Genshin Impact game? Genshin Impact is an open-world action role-playing game developed and …
Read Article
How To Record On Roblox? Roblox is a popular gaming platform that allows users to create their own virtual worlds and games. With millions of players, …
Read Article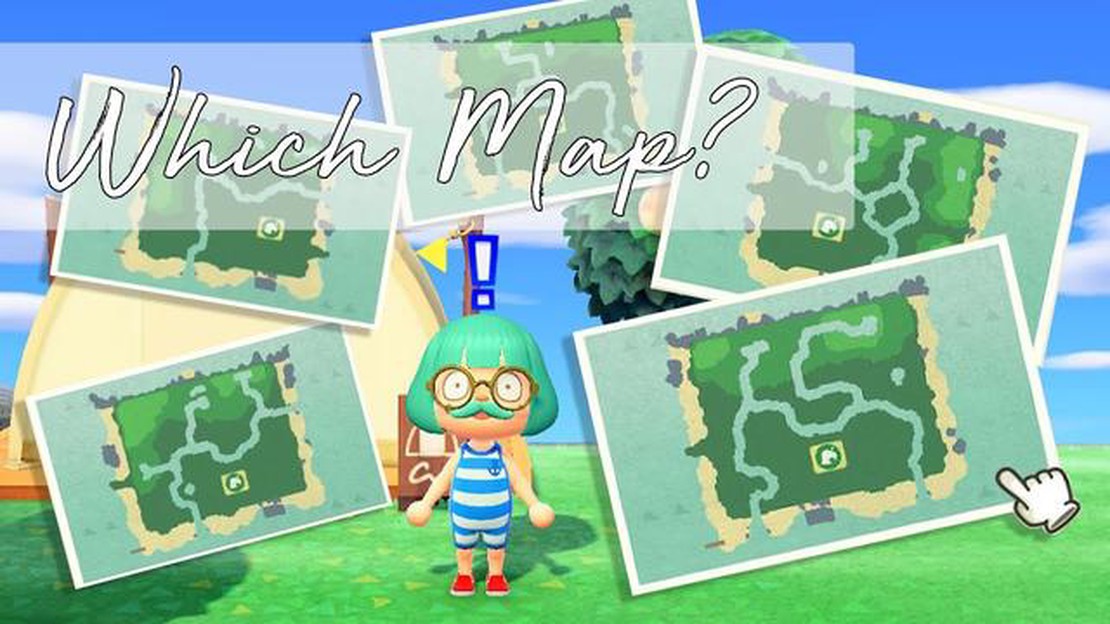
How To Change Your Island Layout In Animal Crossing? Are you tired of the same old island layout in Animal Crossing? Do you want to give your island a …
Read Article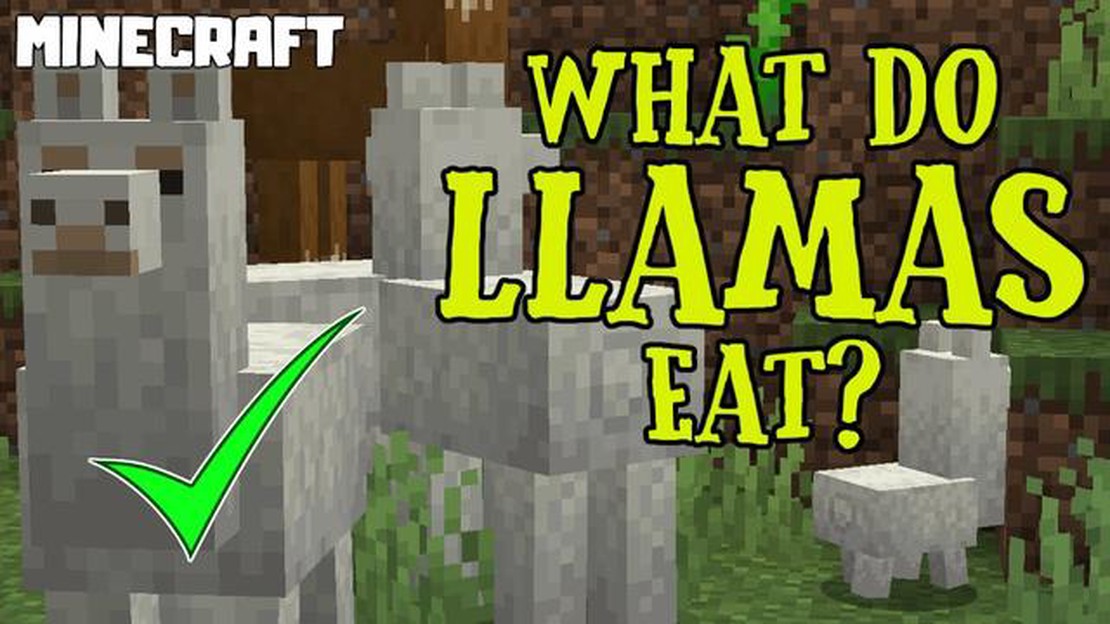
What Do Llamas Eat In Minecraft? Minecraft is a popular open-world game where players can explore and build their own virtual worlds. One of the many …
Read Article


