

How to Get the Greenie in Coin Master: Tips and Tricks
How Do You Get The Greenie In Coin Master? Are you a fan of Coin Master and looking for ways to get the Greenie? The Greenie is one of the rarest and …
Read Article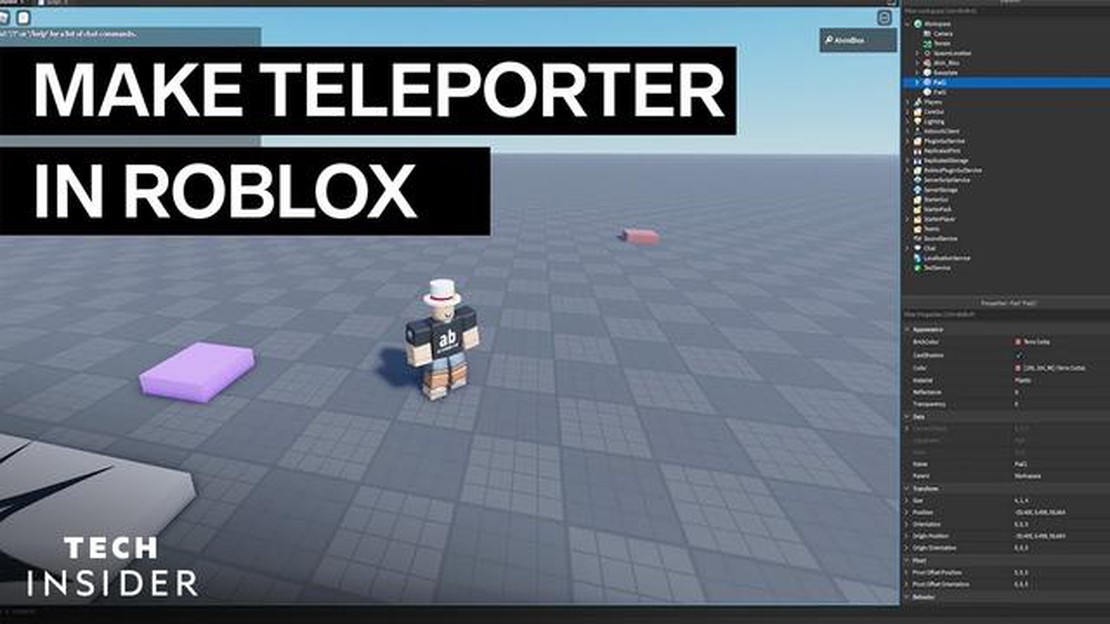
If you’re a fan of Roblox and want to enhance your game creation skills, creating a teleporter can add a new level of excitement and interactivity to your games. A teleporter allows players to instantly travel from one location to another within the virtual world, providing endless possibilities for gameplay.
In this step-by-step guide, we will walk you through the process of creating a teleporter in Roblox. Whether you’re a beginner or an experienced developer, our instructions will help you bring your teleportation dreams to life.
To get started, you’ll need to have a basic understanding of Roblox Studio, the platform’s development environment. If you’re new to Roblox Studio, don’t worry! We’ll provide explanations and tips along the way to help you navigate the tools and features.
So, let’s dive in and learn how to create a teleporter in Roblox! Get ready to teleport your players to exciting new worlds and levels within your games, making your creations even more immersive and engaging.
Creating a teleporter in Roblox can enhance the gameplay experience for players and add a unique element to your game. Follow this step-by-step guide to learn how to create a teleporter in Roblox:
Creating a teleporter in Roblox can add depth and excitement to your game. By following this step-by-step guide, you can create a teleporter that enhances the gameplay experience for your players. Have fun experimenting with different teleportation effects and customizations to make your teleporter stand out!
In order to create a teleporter in Roblox, you will need to gather a few necessary resources. These resources include:
Once you have gathered these resources, you will be ready to start creating your teleporter in Roblox.
In this section, we will create the model for the teleporter. The teleporter consists of a base and a platform that the players will stand on.
Once you have finished building the teleporter model, you can proceed to the next section to add the teleportation functionality to the button parts.
Now that we have created the teleporter model and set up the user interface, it’s time to write the code for the teleporter. The telepoter script will handle all the logic and functionality of the teleporter.
To start coding the teleporter script, follow these steps:
Now, we will write the code for the teleporter script in the script editor. Here is an example of how the code should look:
– Define variables
local teleportPart = script.Parent
local teleportDestination = game.Workspace.TeleportDestination
– Function to teleport players
Read Also: Sapphire Radeon R9 380 4GB Review: Unveiling the Powerhouse of Graphics
local function teleportPlayer(player)
– Check if the player is touching the teleporter
Read Also: Learn How to Build In Fortnite: Essential Tips and Techniques
if teleportPart:IsTouching(part) then
– Teleport the player to the destination
player.Character:MoveTo(teleportDestination.Position)
end
end
– Connect the function to the teleportPart’s TouchStarted event
teleportPart.Touched:Connect(teleportPlayer)
Let’s break down the code:
Once you have finished writing the code, save the script and close the script editor. You can now test your teleporter by running the game and touching the teleporter in the game world.
Roblox is a popular online platform where users can create and play games. It allows users to create their own virtual worlds and interact with others.
Yes, you can create a teleporter in Roblox. With the use of scripting and the Roblox Studio, you can add teleportation functionality to your game.
The Roblox Studio is a program provided by Roblox that allows users to create and edit games. It provides a variety of tools for building and scripting, making it the primary tool for game development on the platform.
To create a teleporter in Roblox, you will need to use scripting in the Roblox Studio. The first step is to place two parts in your game, one representing the teleporter’s entrance and the other representing the exit. Then, you can use a script to detect when a player enters the entrance part and teleport them to the exit part.
Yes, you can customize the teleporter in Roblox. Once you have created the basic functionality of the teleporter, you can modify its appearance by adding different parts, decals, and materials. You can also add effects or sounds to make the teleportation experience more immersive.
While you can create a teleporter in Roblox, there are some limitations to keep in mind. For example, you may need to consider how teleportation affects gameplay and whether it introduces any unbalanced mechanics. Additionally, teleportation scripts can sometimes be resource-intensive, so optimizing your script is important for a smooth gameplay experience.
How Do You Get The Greenie In Coin Master? Are you a fan of Coin Master and looking for ways to get the Greenie? The Greenie is one of the rarest and …
Read Article
How to complete the Innovating the Engine quest in WoW: Dragonflight Are you ready to embark on an exciting adventure in the world of World of …
Read Article
Where To Sell Pokemon Cards? If you’re a Pokemon card collector or just have some extra cards lying around, you might be wondering where you can sell …
Read Article
Why Doesn�t Toca Boca City Life Have The Theatre Kindle? When it comes to creating a bustling and vibrant digital city, Toca Boca has always been at …
Read Article
What Beats Rock Type Pokemon? In the world of Pokemon battles, understanding the strengths and weaknesses of different types is key to becoming a …
Read Article
How to enable Subnautica’s developer console Subnautica is a popular indie game that takes players on an underwater adventure on an alien planet. The …
Read Article


