

What Is The Rarest Thing In Minecraft? Discover The Most Elusive Items
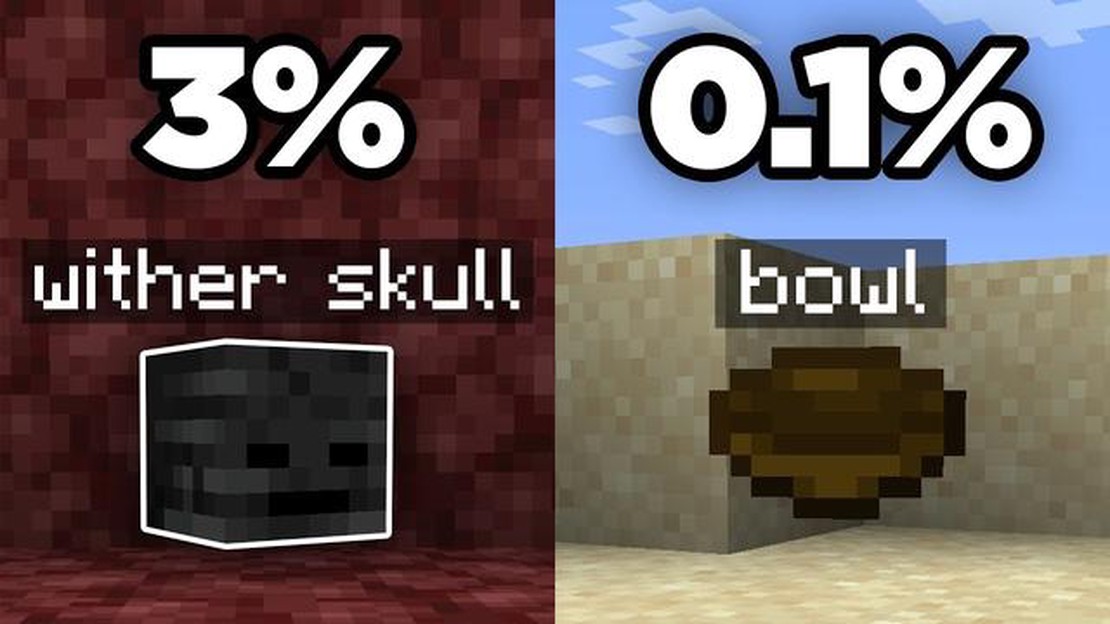
What Is The Rarest Thing In Minecraft? Minecraft, the popular sandbox game, offers players a vast world to explore and conquer. Along the way, players …
Read Article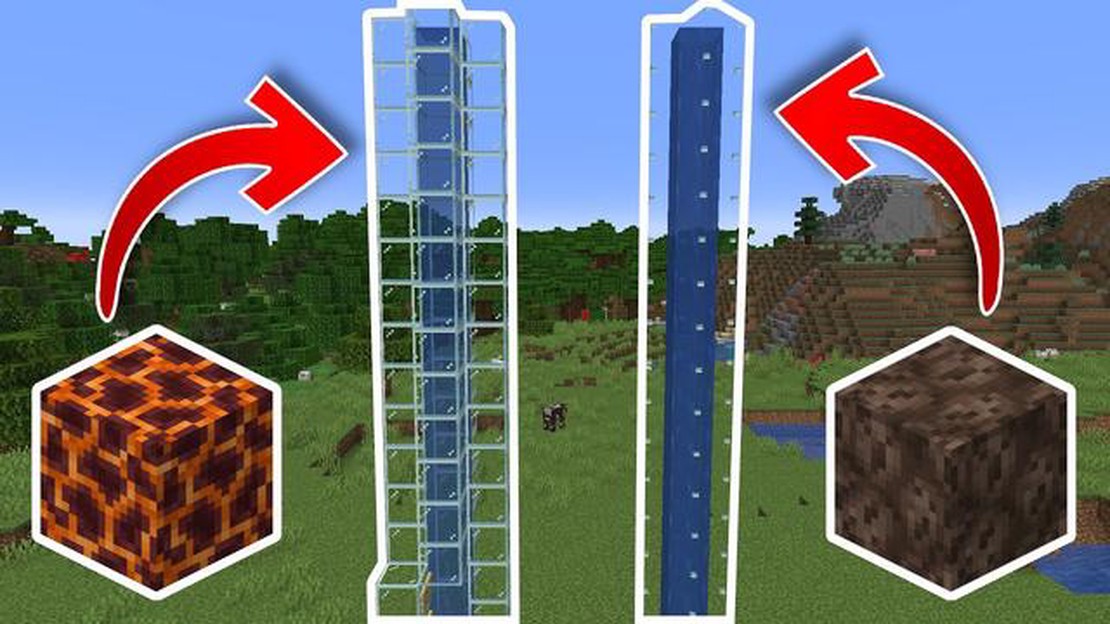
If you’re an avid Minecraft player, you may have encountered situations where you need to quickly travel vertically in the game. While ladders and stairs are common solutions, building a water elevator can be a more fun and efficient way to move between levels. In this tutorial, we’ll show you step-by-step how to build a water elevator in Minecraft.
To build a water elevator, you’ll need a few key materials. Firstly, you’ll need signs, as they are essential for creating the elevator’s shaft. Signs can be crafted using six planks of wood and one stick. Additionally, you’ll need some water source blocks to fill the shaft. If you don’t have a bucket of water, you can create a quick infinite water source by placing two water blocks diagonally from each other and breaking the block in between.
Once you have your materials ready, you can start building the water elevator. Begin by digging a hole that is two blocks wide and three blocks deep. This will be the first section of the elevator shaft. Next, place two signs on the inside walls of the shaft, one at the bottom and one at the top of the three-block depth. These signs will create a barrier that prevents the water from flowing out of the shaft.
Now it’s time to start filling the shaft with water. Start at the bottom of the shaft and place a water source block on one side of the sign, allowing the water to flow down into the shaft. Repeat this step on the other side of the sign to fill the entire bottom section of the shaft with water. Then, move to the top of the shaft and remove the block above the upper sign to allow water to flow into the top section.
Once the water is flowing smoothly, you can start testing out your water elevator. To ride the elevator, simply swim into the water and hold the jump button to move upward. When you reach the top, exit the water by swimming to the side. If you want to go back down, just swim back down into the water stream and the elevator will take you back to the bottom.
Building a water elevator in Minecraft can be a great way to save time and effort when traveling vertically. It’s a simple yet effective mechanism that can be easily incorporated into your Minecraft builds. So give it a try and see how this water elevator can elevate your Minecraft experience!
A water elevator in Minecraft is a transportation system that uses water currents to move players vertically. It is a simple and efficient way to travel from one level to another in the game without the need for stairs or ladders.
To create a water elevator, you need to build a vertical shaft consisting of blocks and water source blocks. When water source blocks are placed in the shaft, they create water currents that push players upwards or downwards, depending on the direction of the current. By strategically placing signs or blocks in the shaft, you can control the flow of water and create an elevator-like effect.
Water elevators are particularly useful in situations where players need to quickly move between different levels of a structure. They can also be used as a fun and efficient way to explore underwater environments, as swimming upwards through the water currents is much faster than regular swimming.
It’s important to note that water elevators only work in vertical shafts and cannot transport players horizontally. Additionally, players need to be mindful of the direction of the water currents to ensure they are moving in the desired direction.
In summary, a water elevator is a simple and effective transportation system in Minecraft that uses water currents to move players vertically. It provides a convenient way to traverse multiple levels of a structure or explore underwater environments in the game.
A water elevator is a useful and efficient transportation method in Minecraft, allowing players to quickly and easily move between different levels or areas of their world. There are several benefits to building a water elevator:
Whether you’re exploring caves, building massive structures, or simply looking for a convenient way to move around your Minecraft world, building a water elevator can greatly enhance your gameplay experience.
Read Also: Best Places to Sell Pokemon Cards | Where Can You Sell Pokemon Cards?
To build a water elevator in Minecraft, follow these steps:
7. Dig a Shaft: Dig a vertical shaft that is at least 3 blocks deep. This will be the main structure of your water elevator. 8. Create Water Source Blocks: Place water source blocks in the shaft, starting from the top and going down. To create a water source block, right-click on a block with a water bucket. 9. Add Signs or Glass Blocks: Place signs or glass blocks inside the shaft, between the water source blocks. These will prevent the water from flowing out of the elevator. 10. Create a Platform: At the bottom of the elevator, create a platform using the building blocks. This is where players will step onto the elevator. 11. Add a Water Source Block to the Platform: Place a water source block on the platform, creating a stream of water that flows down into the shaft. This will transport players upwards. 12. Test the Water Elevator: Step onto the platform and make sure the water is carrying you up the shaft. If not, adjust the placement of the water source blocks or signs/glass blocks as needed. 13. Optional: Add Redstone Activators: If you want your water elevator to have a button or lever to activate it, you can add a redstone circuit using redstone dust and a redstone torch or repeater. This will create a more advanced elevator that can be controlled with a redstone signal.
With these steps, you should now have a functional water elevator in Minecraft. Enjoy using it to quickly travel up and down in your world!
Read Also: Step-by-Step Guide: How to Port Forward a Minecraft Server
Before you can start building a water elevator in Minecraft, you will need to gather the following materials:
Once you have gathered all the necessary materials, you will be ready to start building your water elevator in Minecraft!
To begin building a water elevator in Minecraft, you will need to gather the following materials:
Once you have acquired these materials, follow these steps to build the base of the water elevator:
Once you have completed these steps, you will have successfully built the base of your water elevator. In the next section, we will discuss how to build the platforms and call buttons for your elevator.
A water elevator in Minecraft is a vertical transportation system that uses water to move players or mobs up and down.
To build a water elevator in Minecraft, you will need a water source, signs, and a soul sand or magma block. Place the water source at the bottom of the elevator shaft, then place signs above it to create a column of water. Finally, place a soul sand or magma block at the bottom to create bubble columns that will push players or mobs upwards.
To build a water elevator in Minecraft, you will need a water source, signs, and a soul sand or magma block. You can easily find these materials in the game.
No, you cannot build a water elevator without soul sand or magma block. These blocks create bubble columns that push players or mobs upwards, which is crucial for the functionality of the water elevator.
A water elevator in Minecraft can be used as a vertical transportation system. It allows players or mobs to quickly move up or down in a game without the need for stairs or ladders.
Yes, there are other methods of vertical transportation in Minecraft, such as using ladders, stairs, or minecart tracks. However, a water elevator is a simple and efficient way to move vertically in the game.
What Is The Rarest Thing In Minecraft? Minecraft, the popular sandbox game, offers players a vast world to explore and conquer. Along the way, players …
Read Article
All recent AMD CPUs are affected by the ‘Inception’ vulnerability A new vulnerability known as ‘Inception’ has been discovered, affecting all recent …
Read Article
How To Get Lucario In Pokemon Go? If you’re a fan of Pokemon Go, then you’re probably always on the lookout for rare and powerful Pokemon to add to …
Read Article
How Many Missions Are In Call Of Duty: World At War? Call Of Duty: World At War is a first-person shooter video game developed by Treyarch and …
Read Article
What Division Is Champion League Fortnite? Fortnite is one of the most popular battle royale games in the world, with millions of players competing …
Read Article
What Are The Mythic Brawlers In Brawl Stars? Are you ready to embark on an epic journey in the world of Brawl Stars? Brace yourself, because the …
Read Article


