


What Are Visual Tasks In Among Us? | A Comprehensive Guide
What Are Visual Tasks In Among Us? Among Us is a popular online multiplayer game that has gained immense popularity among gamers worldwide. The game …
Read Article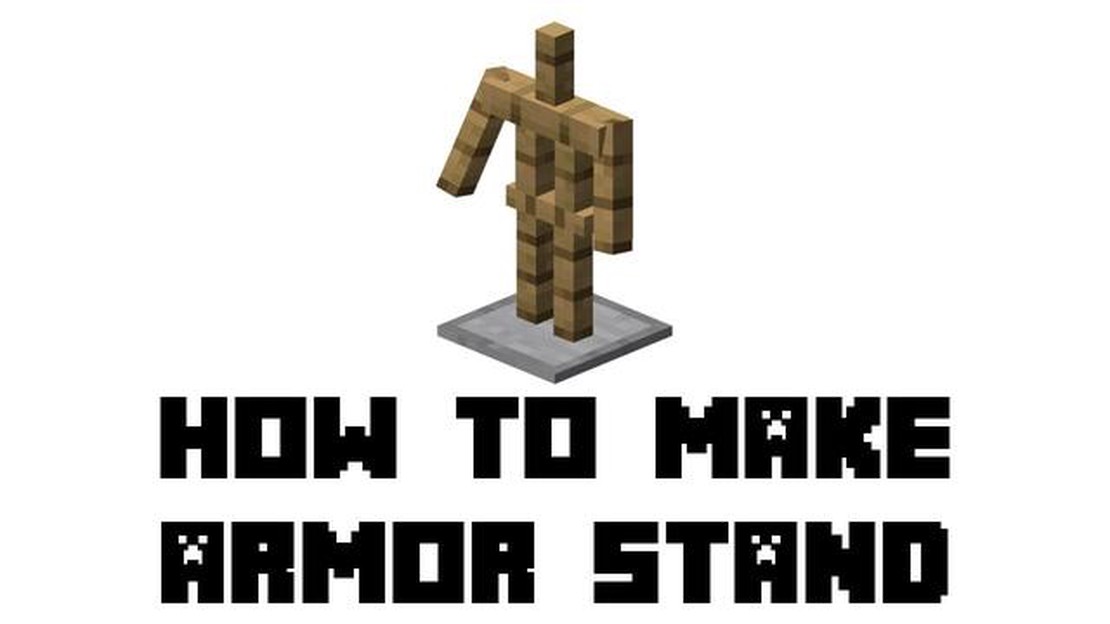
Minecraft is a popular sandbox game that allows players to explore and create their own virtual worlds. One of the key features of the game is the ability to construct various structures and objects. One such object is the armor stand, which can be used to display and store armor sets in a stylish and organized manner.
To make an armor stand in Minecraft, you will need the following materials:
Once you have gathered these materials, follow these steps to create an armor stand:
s s s
s
s s s
s
s
Once the armor stand has been crafted, it will appear in the result box of the crafting menu. Simply drag and drop the armor stand into your inventory to take it.
To use the armor stand, simply place it on the ground by right-clicking on the desired location. Once placed, you can right-click on the armor stand to open its inventory. From here, you can equip armor pieces onto the stand by using the drag and drop function.
Overall, creating an armor stand in Minecraft is a relatively simple process that can enhance the organization and aesthetics of your virtual world. Whether you are looking to display your prized armor sets or simply want to add a decorative touch to your builds, the armor stand is a useful and versatile tool in the game.
Before you can make an armor stand in Minecraft, you will need to gather the following materials:
Read Also: Quick and Efficient Ways to Level Up Fast in Genshin Impact
Once you have gathered all the necessary materials, you are ready to start creating an armor stand in Minecraft.
Note: The armor stand in Minecraft is used to display armor and other items. Once you have crafted the armor stand, you can place it in your world and customize it with different armor and items.
| Material | Quantity |
| Smooth Stone Slab | 6 |
| Stick | 1 |
Read Also: How To Get Stardust In Pokemon Go? Tips and Tricks
Now that you have successfully crafted an armor stand, you can use it to display and organize your armor collection in Minecraft.
An armor stand is a useful item in Minecraft that allows you to display and store your armor. It can be crafted using a specific combination of materials. Here’s a step-by-step guide on how to make an armor stand in Minecraft:
Once you have crafted the armor stand, you can place it in the world by right-clicking on a block. To equip armor on the stand, simply right-click on it and place the armor pieces in the appropriate slots. You can also rotate the armor stand by right-clicking on it with an empty hand.
Now you know how to craft and use an armor stand in Minecraft! It’s a great way to showcase your armor collection or prepare your armor for battle.
The armor stand in Minecraft is a useful tool for displaying and organizing your armor and other items. Here are some ways you can use and customize the armor stand:
With these tips and tricks, you can make the most out of the armor stand in Minecraft and create unique displays, showcases, or functional structures for your world.
To make an armor stand in Minecraft, you will need six sticks and one smooth stone slab.
To craft an armor stand in Minecraft, you need to arrange six sticks and one smooth stone slab in the crafting table in the following pattern: place the smooth stone slab in the middle box of the first row, and then place three sticks in the top and bottom rows on either side of the slab. Finally, place one stick in the middle box of the second row.
An armor stand in Minecraft serves as a decorative item and a way to display and store armor sets. It can also be used as a base for building statues or other structures in the game.
Yes, you can customize the armor stand in Minecraft by adding armor and weapons to it. Simply right-click on the armor stand with the item you want to add, and it will equip it. You can also use commands to modify its pose or display name.
What Are Visual Tasks In Among Us? Among Us is a popular online multiplayer game that has gained immense popularity among gamers worldwide. The game …
Read Article
Lead your realm to glory with these crucial Crusader Kings 3 tips Crusader Kings 3 is a highly complex and immersive strategy game that lets you …
Read Article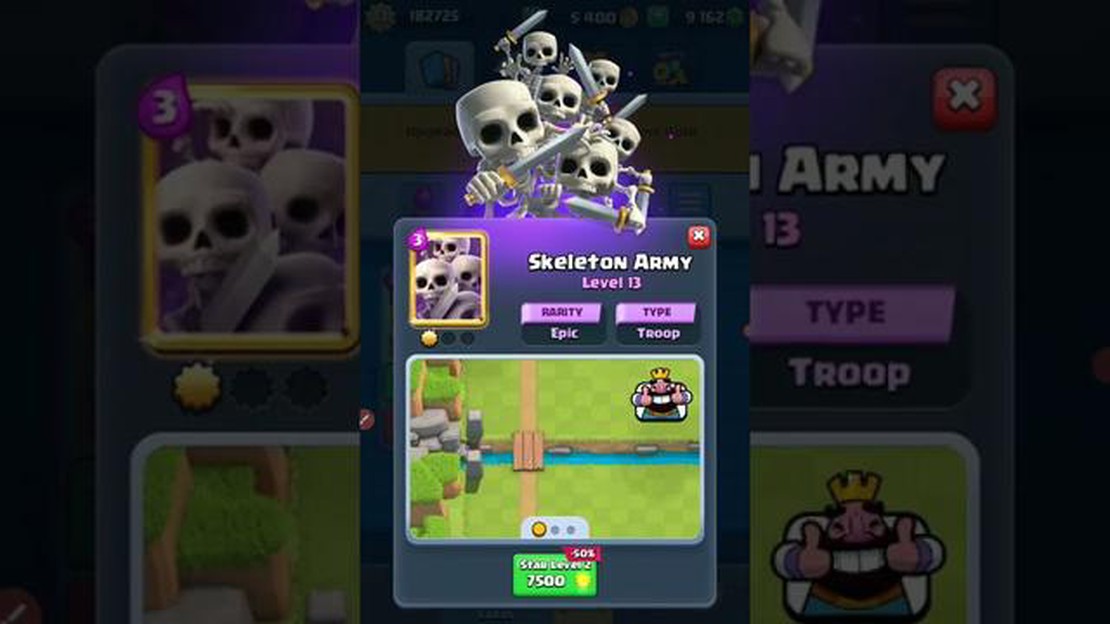
How To Get Skeleton Army Clash Royale? In Clash Royale, the Skeleton Army is an extremely effective card that can turn the tide of battle in your …
Read Article
How To Use Vpn For Mobile Legends? Mobile Legends is a popular mobile game that allows players to engage in online multiplayer battles with players …
Read Article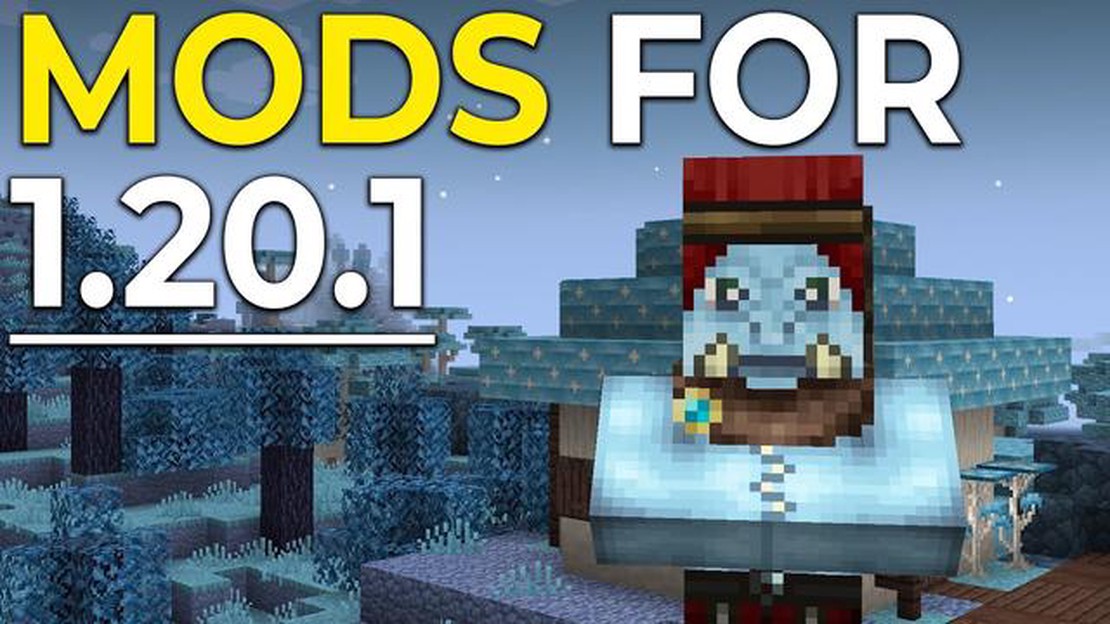
How To Install Mods On Minecraft Java? If you’re a Minecraft player looking to enhance your gaming experience, you’ll want to consider installing …
Read Article
What Is The Fortnite Item Shop? Fortnite, the immensely popular battle royale game developed by Epic Games, features a unique in-game feature called …
Read Article


