

Find Out the Release Date for Nickelodeon All Stars Brawl
When Is Nickelodeon All Stars Brawl Coming Out? Nickelodeon fans have been eagerly awaiting the release date for the highly anticipated game, …
Read Article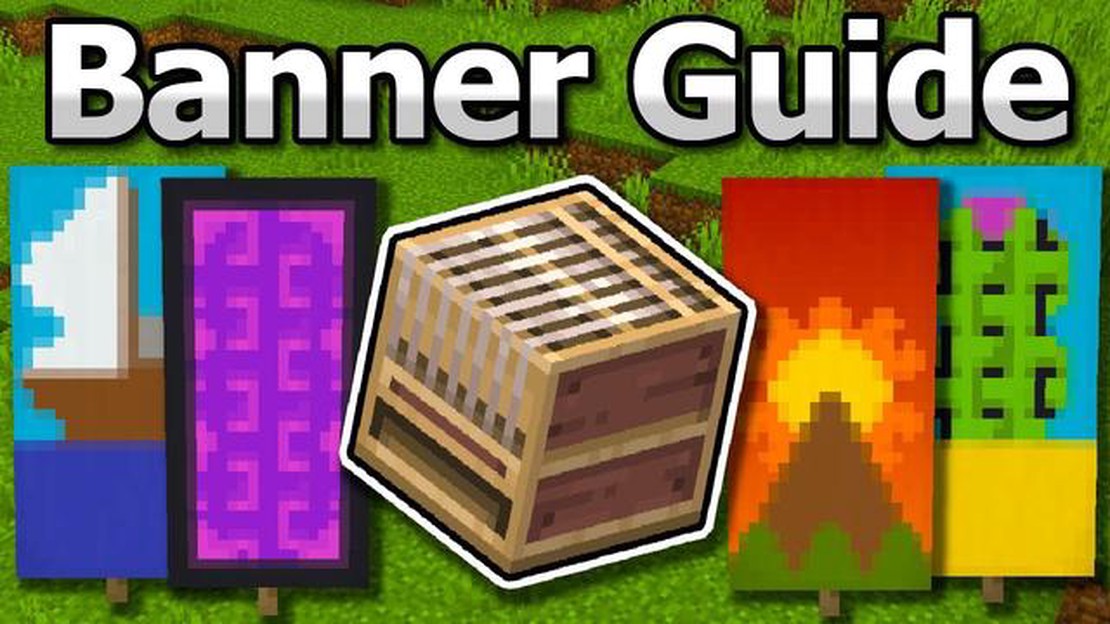
Minecraft is a popular sandbox game that allows players to explore and create their own virtual worlds. One of the many ways players can express their creativity is through the use of banners. Banners in Minecraft are decorative blocks that can be customized with different patterns and colors, making them a fun and unique way to personalize your in-game experience.
In this step-by-step guide, we will walk you through the process of creating banners in Minecraft. Whether you want to display your favorite design, represent your faction, or simply add some flair to your buildings, this guide will teach you everything you need to know to create your own custom banners.
To start, you will need a crafting table and a variety of materials, including sticks, wool, and dyes. These materials can be easily obtained by exploring the Minecraft world and gathering resources. Once you have gathered the necessary materials, you can begin the process of crafting your banner.
Step 1: Open your crafting table and place a stick in the center square. This will serve as the base for your banner.
Step 2: Surround the stick with wool in the colors and patterns of your choice. Different combinations of wool will create different designs on your banner.
Step 3: Once you have created the desired pattern, you can add additional decorative elements to your banner. This can be done by combining the banner with dyes, adding different patterns, or even enchanted books.
By following these simple steps, you can create unique and personalized banners in Minecraft. Whether you want to showcase your favorite design or display your Minecraft prowess, banners are a great way to express your creativity and make your mark in the virtual world.
Banners are a great way to customize your Minecraft world and add a personal touch to your creations. They can be used to decorate buildings, create flags, or even showcase your favorite designs. With a few simple steps, you can learn how to create banners in Minecraft and unleash your creativity.
Before you begin creating banners, you will need the necessary materials. In Minecraft, you will need six wool and one stick to create a basic banner. The wool can be any color, allowing you to customize your banner’s appearance.
To craft a basic banner, open your crafting table and place the six wool in the top two rows, leaving the bottom row empty. In the middle slot of the bottom row, place the stick. Once you have arranged the materials correctly, your banner will appear in the result box of the crafting table.
Now that you have your banner, it’s time to choose a design. Minecraft offers a wide range of pre-set designs that you can apply to your banner. These designs include various patterns, symbols, and icons. To access the designs, right-click on the banner in your inventory or on a crafting table.
Once you have chosen a design, right-click on the banner and a new window will open. In this window, you can see the different layers of your banner. Each layer represents a color and design element. To apply a design to a specific layer, drag and drop the desired design onto the layer. You can also change the color of individual layers by placing a dye in the corresponding slot.
If you want to add more personalization to your banner, you can use additional tools and materials. For example, you can add dye to create custom colors, use patterns to add depth and texture, or even combine multiple banners to create more complex designs.
Once you are satisfied with your banner, you can display it in your Minecraft world. Simply place the banner on a solid block, such as a wall or a fence. Right-click on the banner to view it in its full glory!
Read Also: Learn how to summon imposters in Among Us and gain the upper hand | Article name
Now that you know how to create banners in Minecraft, the possibilities are endless. Experiment with different designs, colors, and patterns to create unique banners that reflect your style and personality.
In Minecraft, you can create banners to customize your buildings, shields, or even use them as decorative items. Follow these steps to learn how to make banners in Minecraft:
That’s it! You have now learned how to create and customize banners in Minecraft. Have fun experimenting with different patterns and designs to make your own unique banners!
If you’re a Minecraft player looking to add a personal touch to your gameplay, creating custom banners is a great way to do it. Banners allow you to design your own unique patterns and display them in your world. Whether you want to show off your creativity or create a distinct look for your base, banners offer endless possibilities for customization.
Read Also: Mastering Cashzine in Mobile Legends: A Comprehensive Guide
Creating banners in Minecraft is a simple process that requires a few basic materials and a crafting table. Once you’ve gathered the necessary resources, follow these steps to make your own banner:
Once you have your banner, you can begin customizing it. Right-click on the banner in your inventory to open the banner editor. Here, you can choose from various patterns, colors, and designs to create your desired look.
If you’re feeling adventurous, you can also use dyes to change the color of your banner. Just add a piece of dye to the banner editor and experiment with different combinations to find the perfect color palette.
Additionally, you can add special patterns or symbols to your banner by using various crafting materials, such as flowers, banners, or enchanted books. These items can be placed in specific patterns in the banner editor to create unique designs.
Once you’re satisfied with your banner design, you can place it in your world by right-clicking on the ground or wall. Banners can be used to decorate your base, mark territories, or simply add some flair to your world.
Remember, creativity is key when it comes to creating banners in Minecraft. Don’t be afraid to experiment with different designs and colors to make your banner truly stand out. The possibilities are endless, and the only limit is your imagination.
So, go ahead and start customizing your world with Minecraft banners. Let your creativity shine and create a unique and personalized experience for your gameplay.
The purpose of creating banners in Minecraft is to decorate your buildings and add a personal touch to your world.
To create banners in Minecraft, you will need a crafting table, wool, sticks, and dyes.
To make a crafting table in Minecraft, you will need four wooden planks. Place the planks in a 2x2 pattern in your crafting grid.
Yes, you can create custom designs for your banners in Minecraft. The game offers a wide range of patterns and colors to choose from.
No, there is no limit to the number of banners you can create in Minecraft. You can create as many banners as you like to decorate your world.
When Is Nickelodeon All Stars Brawl Coming Out? Nickelodeon fans have been eagerly awaiting the release date for the highly anticipated game, …
Read Article
When Does The New Battle Pass Come Out Call Of Duty? Call of Duty is one of the most popular first-person shooter games in the world, known for its …
Read Article
What Should I Do In Animal Crossing? If you’ve recently started playing Animal Crossing, you may be wondering what you should do first to make the …
Read Article
All the Exciting Announcements and Thrilling Trailers From Opening Night Live 2022 at Gamescom This year’s Gamescom event kicked off with a bang …
Read Article
How To Transfer Mobile Legends Account From Android To Iphone? If you’re an avid Mobile Legends player and you’ve recently switched from an Android …
Read Article
How To Restart Genshin Impact Ps4? If you’re experiencing issues with Genshin Impact on your PS4 and need to restart the game, don’t worry! This quick …
Read Article


