

Genshin Impact: How to Get More Characters | Unlock New Characters Guide
Genshin Impact How To Get More Characters? Genshin Impact is a popular action role-playing game developed by miHoYo. In this game, players can explore …
Read Article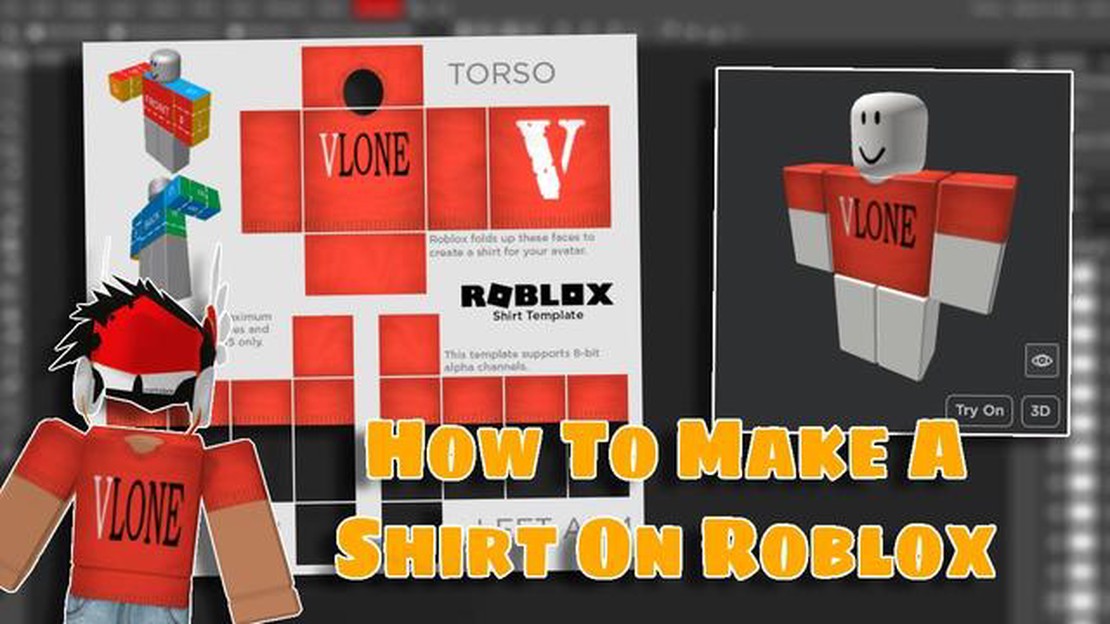
Are you a fan of Roblox and want to express your creativity by designing your own clothing? Look no further! In this step-by-step guide, we will walk you through the process of making clothing on Roblox. Whether you’re a beginner or an experienced designer, this guide will provide you with all the information you need to create your very own stylish outfits.
First, you’ll need to have a basic understanding of how Roblox works. If you’re new to the platform, don’t worry! Roblox is a user-generated online gaming platform where players can create their own games and virtual worlds using the Roblox Studio. To get started, you’ll need to create an account and download the Roblox Studio software onto your computer.
Once you have the Roblox Studio installed, you can start designing your clothing. Roblox offers various templates and presets that you can use as a starting point for your designs. You can choose from shirts, pants, t-shirts, and accessories. If you have a specific design in mind, you can create your own template using image editing software such as Photoshop or GIMP.
Next, you’ll need to use the Roblox Studio to upload your designs onto the platform. You can customize the colors, patterns, and placement of your designs to create unique and personalized clothing items. Once you’re happy with your design, you can save it and upload it to Roblox. It will then be available for other players to purchase and wear in their virtual worlds.
In conclusion, making clothing on Roblox is a fun and creative way to express yourself and share your designs with the Roblox community. With the help of this step-by-step guide, you’ll be able to create your own stylish outfits in no time. So, what are you waiting for? Start designing and let your imagination run wild!
Creating your own clothing on Roblox is a fun and creative way to personalize your avatar and stand out from the crowd. Whether you want to design a shirt, pants, or accessories, here’s a step-by-step guide to help you get started:
Remember, making clothing on Roblox takes practice and experimentation. Don’t be afraid to try different designs and learn from your mistakes. With time, you’ll become a pro at creating unique and stylish clothing for your avatar!
Before you can start making clothes on Roblox, you need to create an account. Follow these steps to create your Roblox account:
Read Also: Why Were Guests Removed From Roblox? | The Reason Behind the Removal Explained
Congratulations! You have now created a Roblox account. You can now start making clothing designs and express your creativity on the Roblox platform.
Roblox Studio is a powerful tool that allows you to create your own clothing items on Roblox. To get started, you’ll need to download and install Roblox Studio on your computer. Follow the steps below to do so:
Read Also: How to Roll Genshin Impact: Tips and Tricks for Getting the Characters You Want
Congratulations! You have successfully downloaded and installed Roblox Studio on your computer. Now you can start creating your own clothing items on Roblox.
The process of creating and uploading clothing on Roblox involves several steps. Follow the guide below to learn how to design and upload your own clothing items on Roblox:
That’s it! You have successfully designed and uploaded your clothing item on Roblox. Remember to follow Roblox’s guidelines and rules regarding clothing design and content to ensure your creations are compliant and enjoyable for other players.
Roblox is an online platform where users can create and play games. It allows users to design their own virtual worlds and games using a programming language called Lua.
Yes, you can create your own clothing on Roblox. There are several ways to create clothing, including using the Roblox Studio to design and upload clothing templates, or using third-party software to create custom designs.
To create clothing using Roblox Studio, you first need to open the software and navigate to the “Library” tab. Then, select the “My Creations” option and click on the “Create” button. From there, you can choose the type of clothing you want to create (e.g., shirts, pants, accessories) and customize the design using the available tools.
Genshin Impact How To Get More Characters? Genshin Impact is a popular action role-playing game developed by miHoYo. In this game, players can explore …
Read Article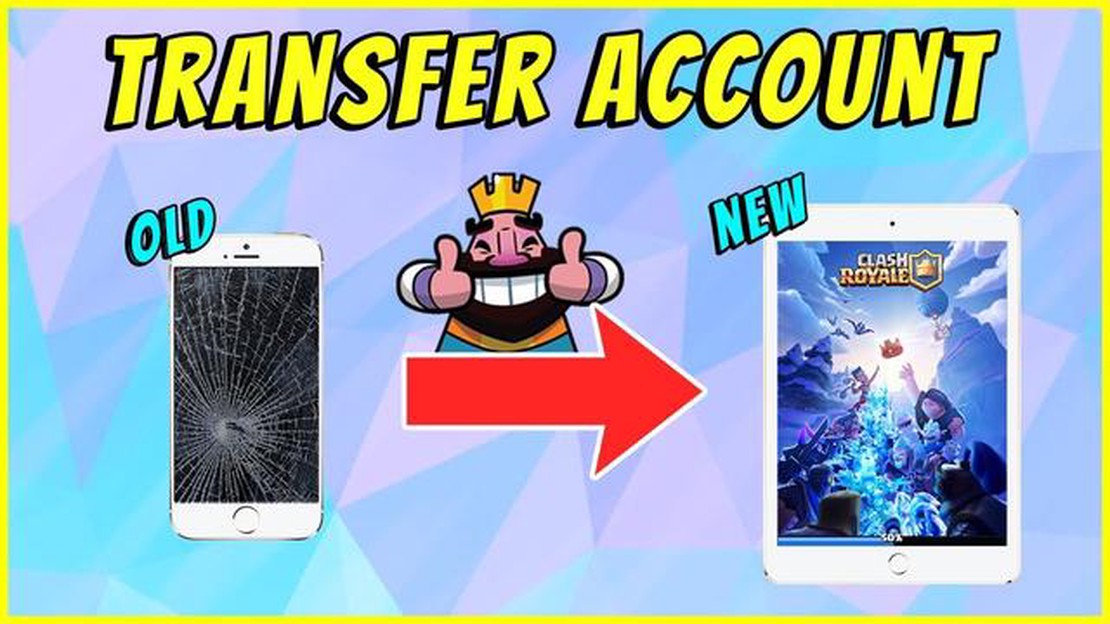
How To Transfer Clash Royale From Iphone To Iphone? In the world of mobile gaming, Clash Royale has become a sensation. The popular multiplayer …
Read Article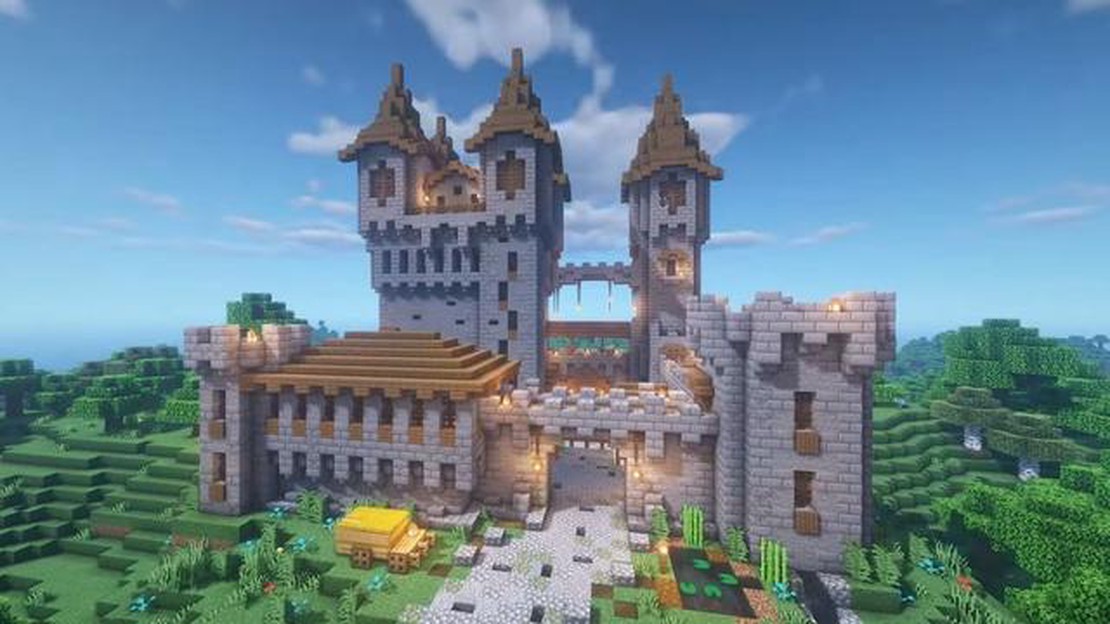
The best Minecraft castle ideas Minecraft, the popular sandbox game, offers players a world of endless possibilities. Whether you’re a creative …
Read Article
How To Get 1000 Gems In Clash Of Clans?? Are you tired of being defeated in Clash of Clans? Do you want to level up your game and dominate your …
Read Article
How To Sign Into Game Center On Clash Royale? If you are an avid Clash Royale player, you probably already know the importance of signing into Game …
Read Article
How To Unlock Poltergeist In Call Of Duty Mobile? Call of Duty Mobile is a popular first-person shooter game that offers a variety of playable …
Read Article


