

How to Make an Elevator in Minecraft: Step-by-Step Guide
How to make an elevator in Minecraft Minecraft is a popular sandbox game that allows players to build and explore virtual worlds. One of the most …
Read Article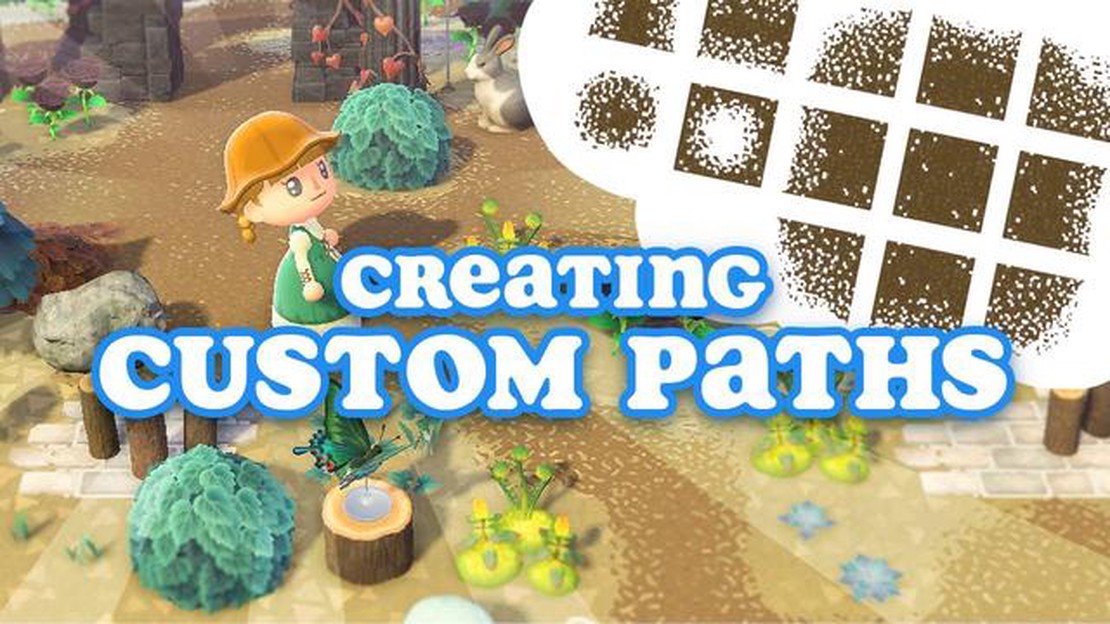
Animal Crossing: New Horizons has captured the hearts of players all over the world with its charming gameplay and adorable characters. One of the most popular features in the game is the ability to create custom designs, allowing players to personalize their in-game clothing, furniture, and even their entire island.
Creating custom designs in Animal Crossing is a fun and creative way to express yourself and make your island truly unique. Whether you’re a seasoned player or new to the game, this step-by-step guide will walk you through the process of creating custom designs and applying them to your favorite objects.
To start creating custom designs, you’ll need to unlock the Able Sisters’ shop on your island. Once the shop is open, head inside and talk to Mabel, who will give you the option to customize your own designs. Choose “Custom Designs” and then select “Start from Scratch” to begin creating your own design.
Next, use the on-screen grid to place pixels and create your desired design. You can choose from a variety of colors and patterns to bring your vision to life. Don’t be afraid to experiment and get creative with your designs! You can create anything from simple patterns to intricate works of art.
Once you’re happy with your design, save it and give it a name. You can then apply your design to a variety of in-game items, including clothing, furniture, and even your island’s flag. To apply your design to an item, simply interact with it and select the “Custom Designs” option. From there, choose the design you want to apply and watch as your creation comes to life.
With these simple steps, you’ll be well on your way to creating custom designs in Animal Crossing. So gather your creativity and start designing your own unique creations to share with your friends and fellow players in the ever-charming world of Animal Crossing: New Horizons.
Creating custom designs in Animal Crossing allows you to personalize your island and clothing with unique patterns. Follow this step-by-step guide to learn how to make custom designs in Animal Crossing:
Now that you know how to make custom designs in Animal Crossing, let your creativity flow and create unique patterns and designs that reflect your personal style.
The Custom Design Tool is a powerful feature in Animal Crossing that allows players to create and customize their own designs for clothing, patterns, and even furniture. Here is a step-by-step guide on understanding how to use this tool effectively:
1. Accessing the Custom Design Tool
To access the Custom Design Tool, players need to have a Nintendo Switch Online subscription and a valid online membership. Once inside the game, you can find the Custom Design Pro Editor app on your in-game NookPhone. Open the app to begin creating your custom designs.
2. Design Slots
The Custom Design Tool provides players with 50 design slots to save their creations. Each design slot can hold a different design, allowing for a wide range of customization options. To switch between design slots, use the left and right arrows at the bottom of the screen.
3. Canvas Size and Grid
The canvas size determines the dimensions of your design. You can choose from small, medium, or large canvas sizes, depending on your preference. The grid overlay helps you align and position your design elements accurately. It can be toggled on or off using the A button.
4. Drawing Tools
The Custom Design Tool offers a variety of drawing tools to create your designs. These tools include a pen, brush, paint bucket, eraser, and color options. Experiment with different tools to achieve the desired effects in your designs.
5. Using Layers
Read Also: How To Check MMR in Mobile Legends: A Complete Guide
Layers allow you to create complex designs by stacking different elements on top of each other. By using layers, you can easily edit or remove specific parts of your design without affecting the rest of it. Toggle between layers using the L and R buttons.
6. Sharing and Downloading Designs
Once you have finished creating your custom design, you can share it with other players or download designs created by the community. To share your designs, visit the Able Sisters clothing shop or use the Custom Designs Portal on your NookPhone. To download designs from other players, visit the Able Sisters’ shop or use the in-game QR code scanner.
7. Recycling and Replacing Designs
If you run out of design slots or want to replace an existing design, you can recycle or overwrite your designs. Simply select the design slot you want to replace and choose the recycling or overwriting option. This allows you to continuously create and update your custom designs.
By understanding the features and functions of the Custom Design Tool, you can unleash your creativity and customize every aspect of your Animal Crossing experience.
Read Also: The Top Alternative Team Fortress 2 HUDs for a Unique Gaming Experience
When creating custom designs in Animal Crossing, it’s important to gather inspiration to help you come up with unique and creative ideas. Here are some ways to find inspiration for your designs:
Gathering inspiration is an important part of the design process. By exploring, observing, and experimenting, you can create custom designs that truly reflect your personal style and creativity in Animal Crossing.
If you want to express your creativity in Animal Crossing, you can create your own custom designs to use as patterns for clothing, furniture, and even the ground. Follow these steps to create your own custom designs:
With these steps, you can unleash your creativity and create unique custom designs to personalize your Animal Crossing experience. Have fun designing!
Animal Crossing is a popular life simulation video game series developed and published by Nintendo. It allows players to create and customize their own virtual world inhabited by anthropomorphic animals.
To create custom designs in Animal Crossing, you need to use the in-game design editor. This editor allows you to create designs pixel by pixel, using a variety of tools such as color selection, pattern copying, and design placement. You can create designs for clothing, patterns for furniture, or even custom paths for your town.
The design editor in Animal Crossing provides several tools for creating custom designs. Some of the available tools include a pencil for drawing, a fill tool for filling in shapes, a gradient tool for creating smooth color transitions, an eraser for removing unwanted pixels, and a text tool for adding text to your designs. There are also additional tools for rotating and flipping your design.
No, you cannot directly import images into Animal Crossing for custom designs. The design editor only allows you to create designs pixel by pixel using the available tools. However, some players have found creative ways to recreate images by hand, using careful placement of pixels and color selection.
Yes, you can share your custom designs with other players in Animal Crossing. The game provides an online platform called the Able Sisters’ Shop, where you can upload your designs for other players to download. You can also share your designs through social media platforms or online forums dedicated to Animal Crossing.
While there are many possibilities for custom designs in Animal Crossing, there are also some limitations to keep in mind. The design editor has a limited number of colors available, so creating complex designs with shading or intricate details can be challenging. Additionally, some items or furniture may have design placement restrictions, limiting where you can place your custom designs.
How to make an elevator in Minecraft Minecraft is a popular sandbox game that allows players to build and explore virtual worlds. One of the most …
Read Article
How to Capture a Ditto in Pokémon GO Catching a Ditto in Pokémon GO can be a challenging task for trainers, but with the right strategies and tips, it …
Read Article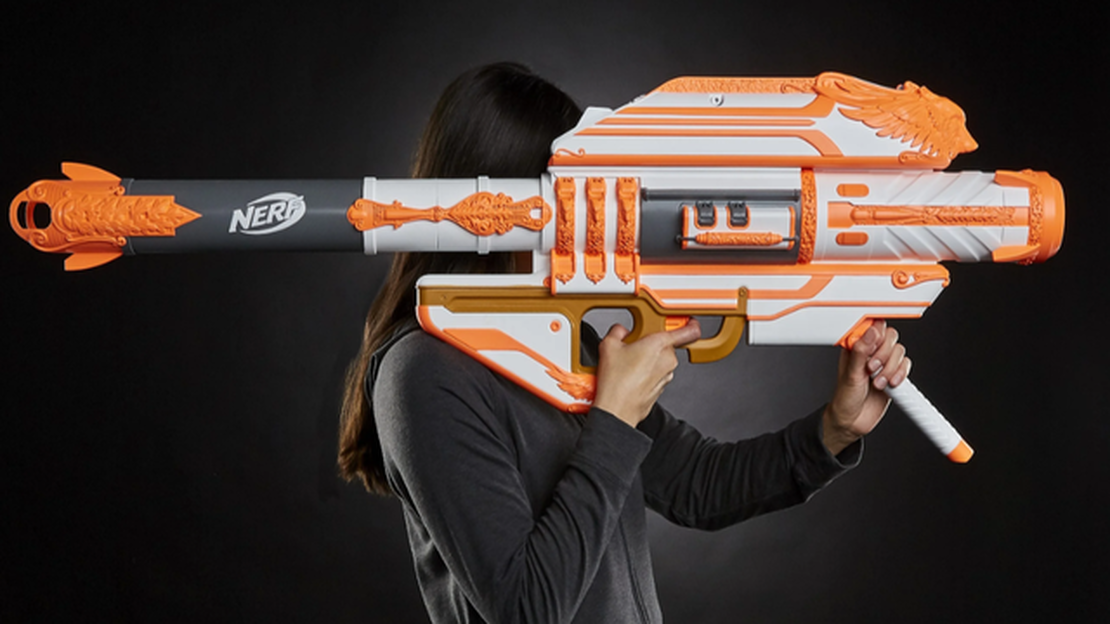
Bungie’s absurd $185 Nerf Gjallarhorn reloads like the in-game weapon In a surprising move, Bungie, the developer of the popular FPS game Destiny 2, …
Read Article
How To Get Strength In Pokemon Diamond? In Pokemon Diamond, Strength is a very useful move that allows your Pokemon to move large boulders blocking …
Read Article
How To Become A Farmer In Clash Of Clans? Are you tired of constantly struggling to gather resources in Clash of Clans? Do you want to learn the …
Read Article
Acer Nitro 50 The Acer Nitro 50 is a gaming PC that is designed to provide an unmatched gaming experience. With its powerful hardware and sleek …
Read Article

