


Learn How to Obtain Limited Time Event Skins in Mobile Legends
How To Get Limited Time Event Skin In Mobile Legends? Mobile Legends is a popular multiplayer online battle arena (MOBA) game that offers a wide …
Read Article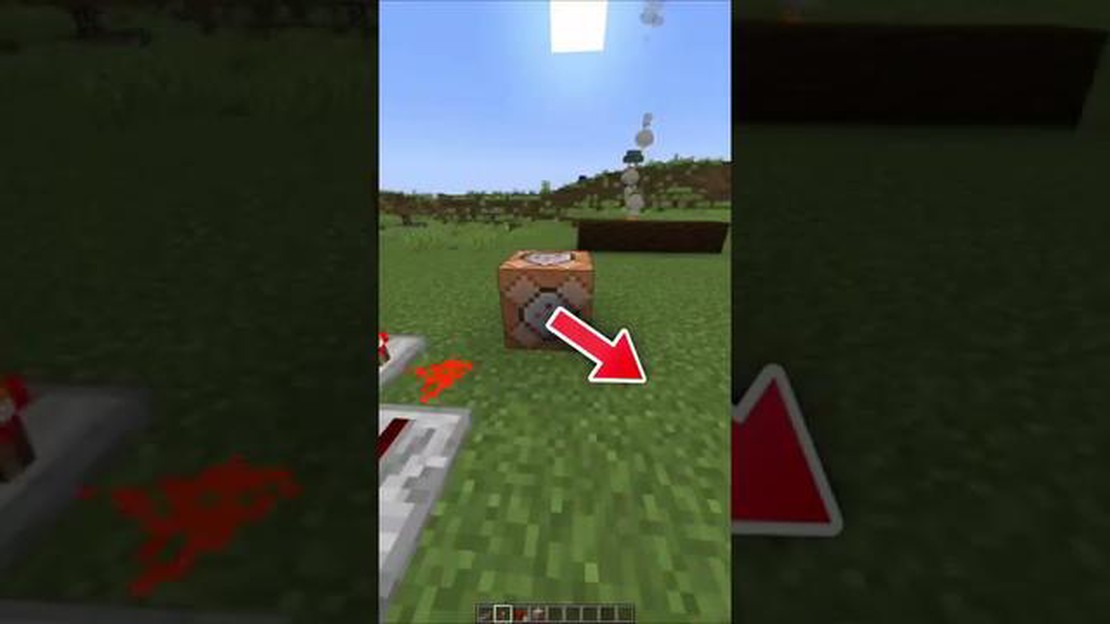
Are you tired of the sunny weather in Minecraft? Do you want to add a touch of winter to your virtual world? Well, you’re in luck! In this guide, we will show you how to make it snow in Minecraft. Whether you’re looking to create a winter wonderland or just enjoy a snowy landscape, this tutorial will help you bring the magic of snowfall to your game.
Step 1: Prepare the Environment
The first thing you need to do is find a suitable location for your snowfall. Look for an open area where snow can gather and cover the ground. You can choose a flat area or even a mountain top for a more dramatic effect. Once you have found the perfect spot, clear any trees or structures that might obstruct the snowfall.
Step 2: Obtain Snow Blocks
To make it snow, you will need snow blocks. Snow blocks are crafted using snowballs, which can be obtained by breaking snow layers. First, find an area with snow (usually found in snowy biomes) and collect snowballs by breaking the snow layers with a shovel. Once you have enough snowballs, craft them into snow blocks by placing four snowballs in a 2x2 crafting grid.
Step 3: Place the Snow Blocks
Now that you have your snow blocks, it’s time to place them in the desired location. Simply right-click with the snow blocks in your hand to place them on the ground. You can stack the snow blocks on top of each other to create different heights of snow. Experiment with different arrangements to achieve your desired snowfall effect.
Step 4: Enjoy the Snowfall!
Once you have placed the snow blocks, you can sit back and let it snow! Snow will begin to fall in the area where you placed the snow blocks, creating a beautiful wintry landscape. You can also adjust the weather settings in the game to make it snow continuously. Just open the chat window and type “/weather snow”.
So there you have it - a simple guide on how to make it snow in Minecraft. Whether you’re looking to create a cozy winter cabin or a festive holiday scene, adding snow to your Minecraft world is a fun and easy way to change up the weather. So grab your snow blocks and get ready to experience the magic of a snowy paradise!
If you want to create a snow-covered landscape in Minecraft, you’ll need to know how to make it snow. Here are the steps to make snow in Minecraft:
Once you have snow in your Minecraft world, you can use it for various purposes. Snow can be used to create snowy landscapes, build snow structures, or create snowball projectiles.
Note: Snow only accumulates in certain biomes, so it won’t cover other biomes in a thick layer of snow. However, snow can still fall and melt in non-Snow Biomes.
Here are a few ways you can use snow in Minecraft:
Whether you want to create a snowy landscape or use snow as a building material or projectile, knowing how to make snow in Minecraft is essential. Enjoy the winter wonderland!
Do you want to transform your Minecraft world into a magical winter wonderland? Follow this step-by-step guide to create a beautiful snowy landscape!
Creating a winter wonderland in Minecraft can be a fun and rewarding experience. Follow these steps, let your imagination soar, and enjoy the beauty of your snowy creation!
Are you ready to explore the wonders of the snowy landscape in Minecraft? In this guide, we will show you how to make it snow in Minecraft and discover the hidden secrets of this frosty world. Whether you want to build a winter wonderland or just enjoy a snowball fight with your friends, understanding how snow works in Minecraft is essential. Let’s dive in and uncover the secrets of snow!
Read Also: Play Clash Of Clans On Kindle Fire - Step-by-Step Guide | Kindle Fire Tips
To make it snow in Minecraft, you need to create the right conditions. Here’s how:
With these simple steps, you can transform any Minecraft world into a snowy paradise.
Snowy biomes offer unique terrain features that you can explore and utilize in your Minecraft adventures. Here are some highlights:
Don’t forget to bundle up and bring your favorite winter gear before venturing into the snowy lands of Minecraft!
Read Also: How To Unlock Arenas In Clash Royale - Quick Guide
Once you’ve made it snow in Minecraft, you can enjoy a variety of winter-themed activities. Here are a few ideas:
The possibilities are endless when it comes to winter activities in Minecraft. Unleash your creativity and have fun exploring the snowy universe!
| Tip | Did You Know? |
|---|---|
| Snow Golems: | You can create your very own snow golem by stacking two snow blocks vertically and placing a pumpkin on top. Snow golems are friendly creatures that throw snowballs at hostile mobs. |
| Frozen Biomes: | Certain biomes, such as the Ice Plains and Ice Spikes biomes, offer even colder and more challenging snowy landscapes. These frozen biomes are perfect for players seeking a true winter survival experience. |
Now that you know how to make it snow in Minecraft and have discovered the secrets of the snowy universe, it’s time to embrace the winter wonderland and embark on new adventures. Wrap up warm and let the snowflakes guide you on your journey!
If you are tired of the same sunny and warm weather in Minecraft, why not bring some cold and snowy conditions to your world? Snow can add a beautiful touch to your landscapes and create a cozy atmosphere. In this guide, we will show you how to make it snow in Minecraft!
There are several ways to bring snow to your Minecraft world. Here are a few methods you can try:
Experiment with these methods and combine them to create your own winter wonderland!
Now that you’ve brought snow to your Minecraft world, you can enjoy the winter wonderland you’ve created. Build snowmen, have snowball fights, and explore the beautiful snowy landscapes. You can also use snow to create unique builds or decorate your existing structures.
Remember to dress warmly in your in-game adventures to stay comfortable in the snowy conditions. You can create warm clothing using materials like wool and leather.
If you ever want to remove the snow from your world, you can simply break the snow blocks or melt the ice blocks using a heat source like fire or lava. This will transform the snowy areas back to their original state.
Bringing snow to your Minecraft world can add a touch of cold and beauty. Whether you choose to create snow blocks, use ice blocks, summon snow golems, or freeze water, the snowy landscapes will surely enhance your gameplay experience. So gather your materials and start creating your own winter wonderland in Minecraft!
In order to make it snow in Minecraft, you need to change the biome of the area where you want it to snow. You can do this using a cheat code or a command block. You can also use the /weather command to change the weather to snow.
Yes, you can make it snow in specific areas only by changing the biome of those areas. You can use the “/setbiome” command to change the biome of a specific location to a snowy biome, and it will start snowing in that area.
The cheat code to make it snow in Minecraft is “/weather snow”, which will change the weather to snow. You can enter this cheat code in the chat box while playing the game.
Yes, you can control the duration of the snowfall in Minecraft using the “/gamerule” command. By changing the “randomTickSpeed” gamerule, you can speed up or slow down the passage of time in the game, which will affect the duration of the snowfall.
Yes, there are several mods and plugins available that allow you to make it snow in Minecraft. Some popular options include the “Weather and Tornadoes” mod, the “Snowfall” mod, and the “Seasons” plugin. These mods and plugins add more realistic weather effects to the game, including snowfall.
How To Get Limited Time Event Skin In Mobile Legends? Mobile Legends is a popular multiplayer online battle arena (MOBA) game that offers a wide …
Read Article
What Is The Daily Star Bonus In Clash Of Clans? Clash of Clans is a highly popular mobile game that has captured the attention of millions of players …
Read Article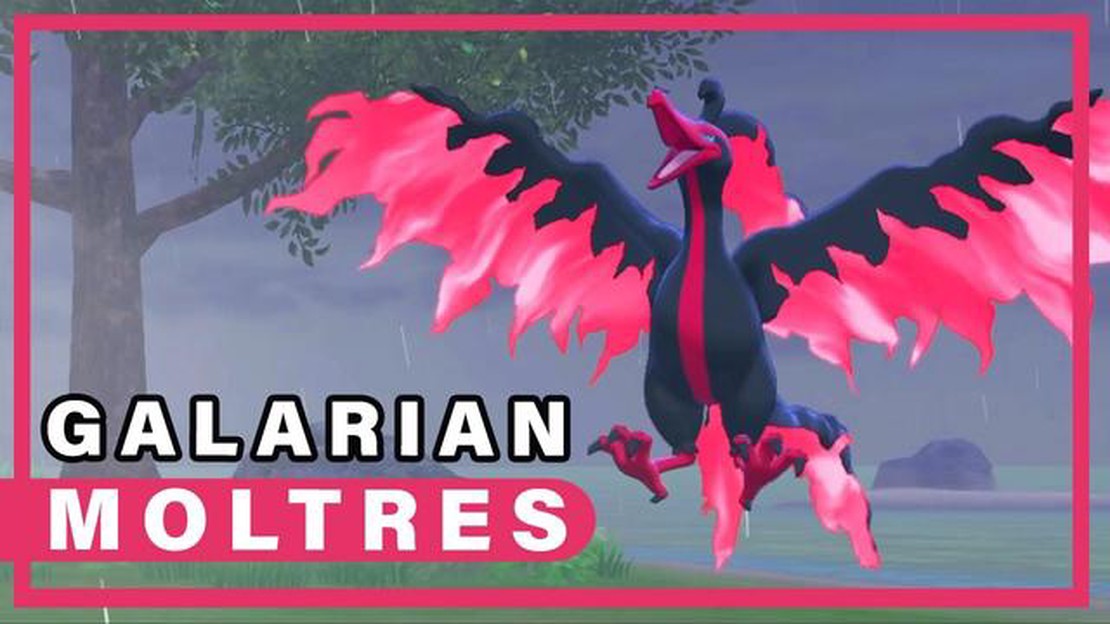
Where To Find Moltres In Pokemon Sword? If you’re playing Pokemon Sword and hoping to catch Moltres, the legendary fire-type bird Pokemon, you’re in …
Read Article
What Are The Among Us Characters? Among Us has taken the gaming world by storm with its unique blend of mystery, strategy, and colorful characters. …
Read Article
How to Make Super Troops in Clash of Clans Clash of Clans is a popular mobile strategy game where players build and defend their own villages. One of …
Read Article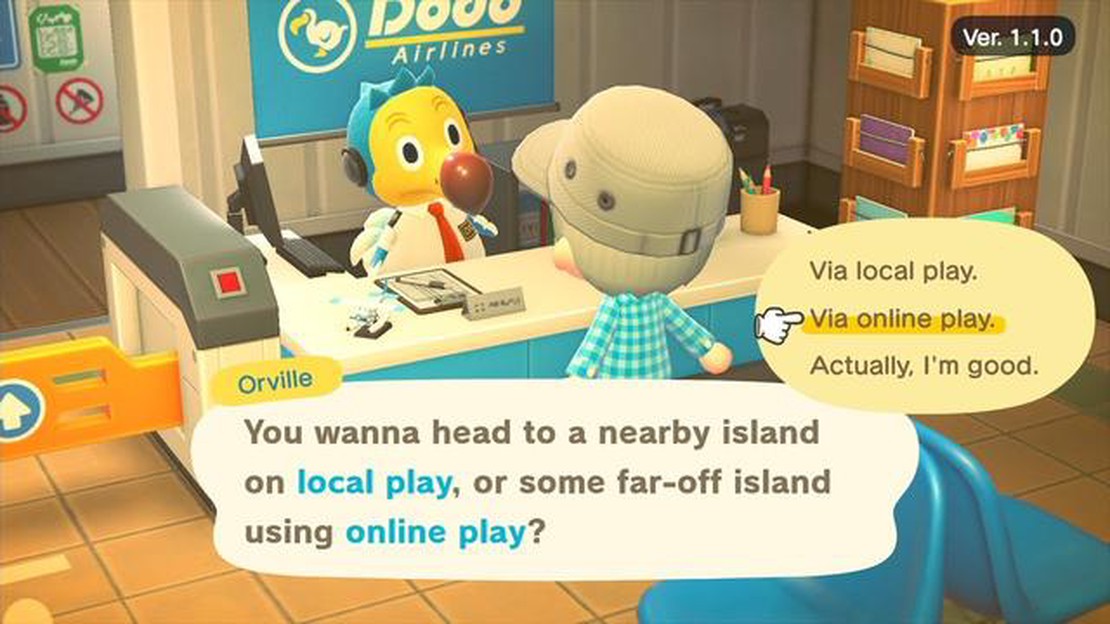
How To Travel In Animal Crossing? Animal Crossing is a beloved and widely popular video game franchise that allows players to immerse themselves in a …
Read Article


