

Elden Ring: Discover the Location of Hoarfrost Stomp Ash of War
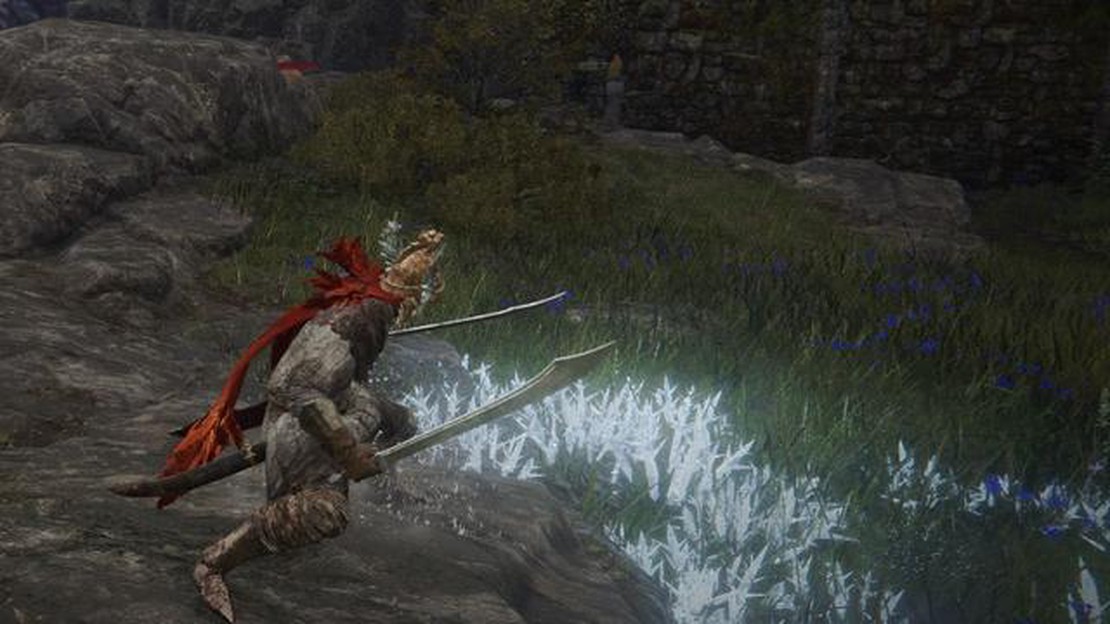
Elden Ring: Where to find the Hoarfrost Stomp Ash of War Welcome to our guide to finding the Hoarfrost Stomp Ash of War in the highly anticipated …
Read Article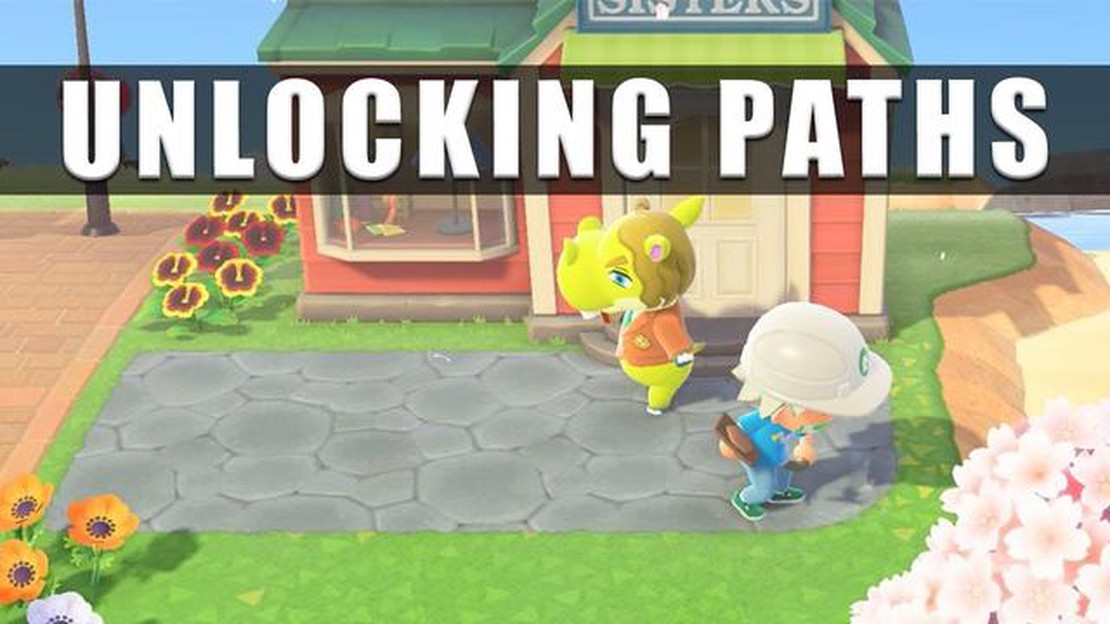
If you’re a fan of the popular video game series, Animal Crossing, you know that one of the most exciting aspects of the game is designing and customizing your own virtual island. One way to make your island truly unique is by creating paths for your villagers and visitors to walk on. In this step-by-step guide, we’ll show you how to create paths in Animal Crossing so you can add a personal touch to your island.
Step 1: Plan Your Path
The first step in creating paths in Animal Crossing is to plan out the design of your path. Think about the style and shape you want your path to have. Do you want a straight, narrow path or a curved, wider path? Consider the theme of your island and how the path will fit into the overall aesthetic.
Pro tip: Use a piece of graph paper or an online design tool to sketch out your path before you start creating it in the game.
Step 2: Gather Materials
Once you have a clear vision of your path, it’s time to gather the materials you’ll need to create it. In Animal Crossing, there are several options for path materials, including dirt, stone, wood, and custom designs. Decide which materials you want to use and make sure you have enough of them to complete your path.
Pro tip: If you’re short on materials, you can always trade or buy them from other players.
Step 3: Start Creating
Now it’s time to start creating your path in Animal Crossing! Use your shovel or terraforming tool to dig and shape the ground according to your planned path design. If you’re using custom designs, use the “Custom Design Pro Editor +” app on your NookPhone to create patterns for your path.
Pro tip: Take your time and make small adjustments as you go to ensure your path looks just right.
Step 4: Add the Finishing Touches
Once you’ve created your path, it’s time to add the finishing touches to make it stand out. Consider adding flowers, bushes, or other decorative elements along the sides of your path to give it more texture and visual interest. You can also add street lamps or signs to make your path feel more like a real walking path.
Pro tip: Experiment with different decorations and placements to find the perfect finishing touches for your path.
Creating paths in Animal Crossing is a fun and creative way to customize your virtual island. With some planning, materials, and a little bit of time, you can create paths that reflect your personal style and make your island a truly unique and inviting place.
In Animal Crossing, paths refer to custom designs that players can create and place on the ground to create decorative walkways and trails throughout their village or island. These paths can be used to add a personalized touch to your outdoor spaces, enhance the aesthetic appeal of your island, and create a cohesive theme or design.
Paths can be made using a wide variety of designs, patterns, and materials. Some popular options include brick paths, stone paths, wooden paths, grassy paths, and even patterned paths that resemble flowers or other objects. The possibilities are virtually endless, allowing players to unleash their creativity and design unique paths that suit their vision and style.
To create paths in Animal Crossing, players need to unlock the option to design their own custom patterns at the Able Sisters shop. Once unlocked, players can use the in-game designer to create their own path designs pixel by pixel. It’s important to note that designing paths can be time-consuming, as players need to carefully plan each tile of the path to achieve the desired effect.
Once a path design is created, players can place it on the ground by going into the island editor mode. They can then choose the path design from their custom designs inventory and lay it down on the ground in their desired location. Paths can be curved, straight, or winding, allowing players to create intricate and visually appealing walkways throughout their virtual world.
Paths can be used in various areas of the game, such as around houses, in gardens, along the beach, or even in public spaces like the town square. They can help organize and structure the layout of an island or village, guide players and villagers to certain areas, and add an extra layer of detail and charm to the game world.
Overall, paths in Animal Crossing are a fun and creative way for players to personalize their outdoor spaces and bring their own unique designs to life. Whether you want to create a cozy cottage feel, a bustling city vibe, or a nature-inspired oasis, paths can help you achieve the look and atmosphere you desire.
Creating paths in Animal Crossing can enhance the overall aesthetic appeal of your island and help organize its layout. Paths can provide a sense of structure and purpose to your island, making it feel more like a cohesive and well-planned space. Whether you want to create a quaint village atmosphere, a bustling cityscape, or a natural woodland setting, paths can help tie everything together.
Read Also: How To Join The Crystal League: A Comprehensive Guide for Clash of Clans Players
Here are a few reasons why creating paths can be beneficial:
Overall, creating paths in Animal Crossing can elevate the overall design of your island and make it a more enjoyable and visually appealing place for both you and your visitors to explore.
In Animal Crossing, creating paths is a popular way to enhance the aesthetics of your island and make it more organized. Whether you want a simple dirt path, a paved road, or a custom design, here is a step-by-step guide to help you create paths in Animal Crossing.
Before you start creating paths, make sure you have the materials required. Depending on the type of path you want, you may need items like clumps of weeds, stone, wood, or custom path designs.
Read Also: How to Build a Spice Rack in Valheim: Step-by-Step Guide
Decide where you want your path to go and how it will connect different areas of your island. Consider the terrain and existing structures, and plan your path layout accordingly. You can use the island designer app to visualize and map out your paths.
If there are any trees, rocks, or other obstacles in the path’s designated area, remove them to clear the way. You can either dig up trees using a shovel or eat a fruit and use your shovel to completely remove them.
Now it’s time to start building your path. You can use different methods to create paths in Animal Crossing:
To make your paths more visually appealing, you can decorate them with items like flowers, fencing, or furniture. Add flowers alongside the path or place decorative items like fences or benches to create a charming atmosphere.
Regularly maintain your paths by removing any weeds or unwanted items that might appear over time. This will ensure that your paths remain clean and presentable.
With this step-by-step guide, you now have the knowledge to create beautiful paths in Animal Crossing. Explore different designs, get creative, and transform your island into a masterpiece!
In Animal Crossing, creating paths can add a touch of personalization to your island and make it more visually appealing. The first step in creating paths is deciding where you want them to be placed.
Start by exploring your island and deciding which areas you want to pave. Consider areas such as your town square, the area around your house, or any other areas that you want to draw attention to. Think about the overall design and layout of your island and choose locations that make sense for your vision.
It’s important to keep in mind that once you place paths, they cannot be moved or changed. So be sure to carefully plan out your pathway locations before you begin creating them.
Take note of the terrain and any existing features in the areas where you want to add paths. This will help you determine the size and shape of your paths. For example, if you have a curved river or a specific tree arrangement, you may want to incorporate those elements into your pathway design.
Remember, your paths can be as simple or as elaborate as you want them to be. You can choose from a variety of different path designs, including brick, stone, or dirt paths. The options are endless, so feel free to get creative!
Once you have chosen the locations for your paths, you can move on to the next step, which is gathering the necessary materials and tools to create your paths.
In order to create paths in Animal Crossing, you will need to gather a few key materials. Here is a list of the materials you will need:
You can find paving stones and the Custom Design app in the Nook’s Cranny shop or the Nook’s Homes shop. Make sure to check their inventory regularly as they may stock different designs each day.
Once you have gathered all the necessary materials, you are ready to move on to the next step: designing your paths!
To create paths in Animal Crossing, you will need a custom design path permit, which you can get by purchasing it from the Nook’s Cranny store for 2,300 Nook Miles. Additionally, you will need the Island Designer App on your NookPhone.
To unlock the Island Designer App in Animal Crossing, you must achieve a 3-star island rating. You can increase your island rating by placing furniture and decorations, planting flowers and trees, and completing various tasks and projects on your island. Once you have a 3-star rating, Tom Nook will give you the Island Designer App as a reward.
Yes, you can create different types of paths in Animal Crossing. When you have the Island Designer App, you can choose from different path types, such as stone, brick, wood, and dirt. Each path type has a unique design and color, allowing you to create a variety of customized paths on your island.
Yes, you can customize the design of your paths in Animal Crossing. Using the Custom Design path permit, you can create your own custom path designs or download designs created by other players using the NookLink service on the Nintendo Switch Online app. This allows you to personalize your paths and make them unique to your island.
Elden Ring: Where to find the Hoarfrost Stomp Ash of War Welcome to our guide to finding the Hoarfrost Stomp Ash of War in the highly anticipated …
Read Article
When Does Call Of Duty Vanguard Beta End? The highly anticipated Call of Duty Vanguard Beta has been met with excitement and anticipation from fans …
Read Article
Why Cant I Download Clash Of Clans? Clash of Clans is a popular mobile game developed by Supercell, but sometimes users may encounter issues while …
Read Article
How To Become Lucky Friends In Pokemon Go? Are you a fan of Pokemon Go and want to know how to become Lucky Friends? Well, you’ve come to the right …
Read Article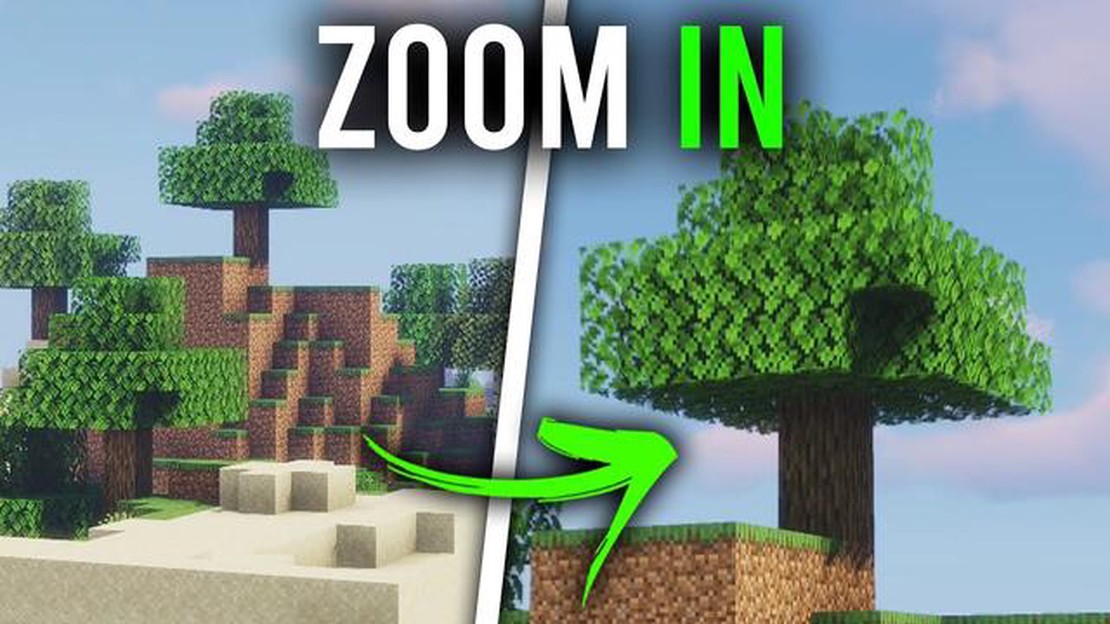
How To Zoom In Minecraft? If you’re an avid Minecraft player, you know how important it is to have a clear view of your surroundings. Whether you’re …
Read Article
How To Get The Robot In Brawl Stars? Are you a fan of Brawl Stars and want to unlock the Robot? Look no further! In this step-by-step guide, we’ll …
Read Article


