

Exploring Cypress Flats: A Guide to Finding This Location in GTA Online
How to find Cypress Flats in GTA Online If you’re a fan of Grand Theft Auto Online, chances are you’ve come across the bustling neighborhood of …
Read Article
If you’re a fan of Roblox and have recently purchased an Oculus Quest 2, you might be excited to know that you can now play Roblox in virtual reality! Playing Roblox on the Oculus Quest 2 adds a whole new level of immersion and excitement to the gaming experience. Whether you’re a seasoned Roblox player or new to the game, this step-by-step guide will walk you through the process of playing Roblox on your Oculus Quest 2.
To get started, you’ll need to make sure you have a few things in order. First, ensure that your Oculus Quest 2 is set up and connected to your Wi-Fi network. You’ll also need to have an active Roblox account. If you don’t have one yet, you can easily create an account on the Roblox website. Once you have these prerequisites covered, you’re ready to dive into the world of virtual reality Roblox!
The next step is to download the Roblox VR app on your Oculus Quest 2. To do this, put on your VR headset and navigate to the Oculus Store. Search for “Roblox VR” and select the app from the search results. Click on the “Download” button and wait for the app to finish installing on your headset. Once the installation is complete, you can launch the Roblox VR app and prepare for an immersive gaming experience like never before!
Now that you have the Roblox VR app installed and launched on your Oculus Quest 2, you’ll need to log in to your Roblox account. Use the provided on-screen keyboard to enter your username and password, then click “Login.” Once you’re logged in, you’ll have access to all your favorite Roblox games and experiences in virtual reality. Simply select a game and click “Play” to enter the virtual world of Roblox!
Playing Roblox on the Oculus Quest 2 allows you to fully immerse yourself in the game, interact with other players, and experience Roblox like never before. Whether you’re exploring a virtual theme park, battling with friends in an epic showdown, or creating your own virtual world, the possibilities are endless. So grab your Oculus Quest 2, follow this step-by-step guide, and start playing Roblox in virtual reality today!
If you have an Oculus Quest 2 virtual reality headset, you can enjoy playing Roblox in a whole new immersive way. Here is a step-by-step guide on how to play Roblox on your Oculus Quest 2:
Playing Roblox on your Oculus Quest 2 adds a new level of immersion and excitement to the gaming experience. Follow this step-by-step guide to start enjoying Roblox in virtual reality today!
Before you can start playing Roblox on your Oculus Quest 2, you’ll need to set up the virtual reality headset and link it to your computer. Here’s a step-by-step guide on how to do it:
Remember to always take breaks and use the Oculus Quest 2 in a comfortable and safe environment. Make sure you have enough space to move around and follow any additional safety guidelines provided by Oculus.
Read Also: Learn How To Get Zeraora in Pokemon Unite - A Comprehensive Guide
Now that you have set up your Oculus Quest 2, you’re ready to start exploring the world of Roblox in virtual reality! Have fun and enjoy the immersive gameplay.
To play Roblox on your Oculus Quest 2, you will need to install the Roblox app. Follow these steps to install the app:
Now that you have successfully installed the Roblox app on your Oculus Quest 2, you are ready to start playing Roblox in virtual reality!
If you don’t have a Roblox account yet, don’t worry! You can easily create one and start playing on Oculus Quest 2. Here’s how:
Read Also: Alleged Grand Theft Auto 6 Hacker Pleads Not Guilty - Latest Updates9. To log in to your newly created account, click on the “Log In” button located at the top-right corner of the page. 10. Enter your username and password in the login form and click on the “Log In” button to access your account.
Once you have created and logged in to your Roblox account, you are ready to start playing Roblox on Oculus Quest 2!
The Oculus Quest 2 offers an immersive virtual reality experience, allowing you to enter and interact with virtual worlds. One popular platform that you can explore on the Oculus Quest 2 is Roblox. Roblox is a user-generated gaming platform where players can create and play games created by other users. Here is a step-by-step guide on how to explore and play Roblox games on your Oculus Quest 2.
Playing Roblox games on the Oculus Quest 2 can provide a whole new level of immersion and enjoyment. With the freedom of virtual reality, you can fully immerse yourself in the worlds created by Roblox users and experience games in a whole new way. So grab your Oculus Quest 2, download the Roblox app, and start exploring the amazing world of Roblox games!
Yes, you can play Roblox on the Oculus Quest 2. Here’s a step-by-step guide on how to do it.
To play Roblox on the Oculus Quest 2, you will need an Oculus Quest 2 headset, a compatible PC, and a stable internet connection.
To download Roblox on your Oculus Quest 2, you need to download the Oculus Link software on your PC, connect your Quest 2 to your PC, and then download Roblox from the Oculus Store on your PC.
No, you cannot play Roblox on your Oculus Quest 2 without a PC. You need to connect your Quest 2 to a compatible PC using the Oculus Link software in order to play Roblox.
How to find Cypress Flats in GTA Online If you’re a fan of Grand Theft Auto Online, chances are you’ve come across the bustling neighborhood of …
Read Article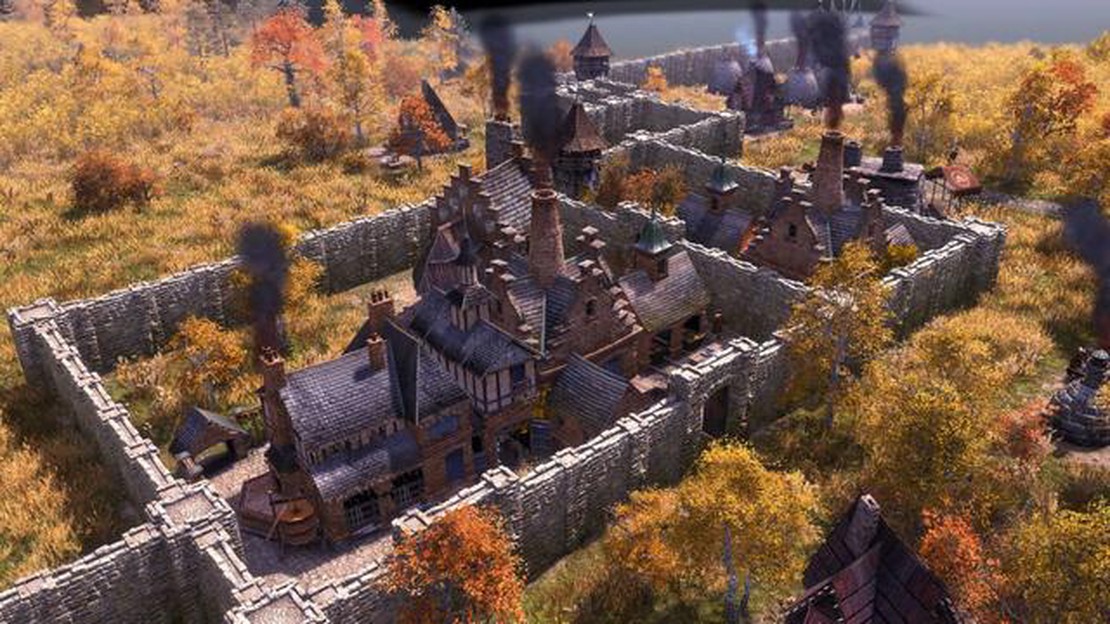
Farthest Frontier: How to get heavy tools in the new survival city builder Welcome to Farthest Frontier, the newest addition to the world of survival …
Read Article
How To Mod Minecraft? If you’re a dedicated Minecraft player looking to take your gameplay to the next level, learning how to mod Minecraft is a must! …
Read Article
How To Give Champ In Mobile Legends? If you’re a fan of mobile gaming, chances are you’ve heard of Mobile Legends. This popular multiplayer online …
Read Article
Where To Find Noctilucous Jades In Genshin Impact? Welcome to our ultimate guide on finding Noctilucous Jades in Genshin Impact! Noctilucous Jades are …
Read Article
Rise of the Tomb Raider review In the highly anticipated sequel to the 2013 reboot, Rise of the Tomb Raider takes players on an exhilarating journey …
Read Article

