


Get Beidou in Genshin Impact: A Comprehensive Guide
Genshin Impact How To Get Beidou? Beidou is a character in the popular action role-playing game Genshin Impact. She is a skilled electro user with a …
Read Article
Clash Royale is an immensely popular mobile game that combines elements of tower defense, collectible card games, and multiplayer online battles. For players who want to share their epic battles, strategies, or simply showcase their skills, recording their gameplay can be a great way to create engaging content for YouTube or social media platforms.
Recording Clash Royale gameplay is not as complicated as it may seem. With the right tools and a few simple steps, you can easily capture your victories and defeats. In this step-by-step guide, we will walk you through the process of recording Clash Royale gameplay on both Android and iOS devices.
To begin, you will need a screen recording app. There are several options available for both Android and iOS devices. Some popular choices include AZ Screen Recorder, Mobizen, and DU Recorder for Android, and the built-in screen recording feature for iOS devices. Choose the app that best fits your needs and download it from the respective app store.
The first step in recording Clash Royale gameplay is to download a screen recording software. There are many screen recording software options available for both Mac and PC, and you can choose the one that suits your needs and budget.
Some popular screen recording software options include:
To download the screen recording software, go to the official website of the software you have chosen and follow the instructions to download and install it on your computer.
Once the software is installed, you can move on to the next step of setting up and configuring the screen recording software for Clash Royale gameplay recording.
Recording your Clash Royale gameplay can be a great way to share your epic battles and strategies with friends and fellow players. To do this, you’ll need a reliable screen recording software that can capture high-quality footage of your gameplay. Here’s a step-by-step guide on how to download the best screen recording software for Clash Royale:
By following these steps, you’ll be able to download and use the best screen recording software for Clash Royale gameplay recording, allowing you to capture and share your most thrilling battles with ease.
Now that you have your device connected to your computer, it’s time to install the screen recording software. There are several options available for screen recording software, so you can choose the one that suits your needs best. Here are a few popular choices:
Once you have chosen the screen recording software you want to use, follow the installation instructions provided by the software developer. Make sure to read any terms and conditions and privacy policies before installing the software.
Read Also: How to Maintain Good Posture While Sitting at a Desk
Note: The exact installation process may vary depending on your device and the screen recording app you choose.
Now that you have installed the screen recording software on your device, you are ready to start recording Clash Royale gameplay.
Recording your Clash Royale gameplay is essential if you want to create content, analyze your past games, or simply share your impressive plays with your friends. In this step, we will explore different methods to record your Clash Royale gameplay.
Read Also: When Will Fortnite Return to Mobile? Updates and Release Date9. Method 2: Using Third-Party Screen Recording Apps If your device doesn’t have a built-in screen recording feature or if you want more advanced recording options, you can use third-party screen recording apps. Here are a few popular options: 10. DU Recorder: This app is available for both iOS and Android devices and offers a variety of recording features, including the ability to record both the screen and internal audio. 11. AZ Screen Recorder: Another popular choice, AZ Screen Recorder is available for Android devices and offers features like screen recording with or without audio, front camera recording, and more. 12. ScreenFlow: If you’re using a Mac, ScreenFlow is a powerful screen recording and video editing software that allows you to capture your Clash Royale gameplay and edit it with professional-level tools. 13. Method 3: Using Game Capture Cards If you’re serious about recording your Clash Royale gameplay and want the highest quality recordings, you can invest in a game capture card. These devices allow you to connect your mobile device to your computer and record your gameplay directly. Some popular game capture cards include Elgato Game Capture HD60 S and AVerMedia Live Gamer Portable 2 Plus.
Choose the method that works best for you and start recording your Clash Royale gameplay today!
Recording Clash Royale gameplay can have several benefits. First, it allows you to review your matches and analyze your gameplay to identify any mistakes or areas for improvement. Second, it can be a great way to showcase your skills and share your gameplay with others. Lastly, recording gameplay can also serve as a personal archive, allowing you to revisit your favorite matches in the future.
To record Clash Royale gameplay, you will need a device to play the game, such as a smartphone or tablet, and a screen recording software. Many smartphones and tablets have built-in screen recording features, but if your device doesn’t have this option, you can download a screen recording app from the app store.
Yes, you can record Clash Royale gameplay on your computer. If you are using an Android device, you can connect your device to your computer using a USB cable and use screen recording software on your computer to record the gameplay. If you are using an iOS device, you can mirror your device to your computer using software like Reflector, and then use screen recording software on your computer.
There are several screen recording software options available for recording Clash Royale gameplay. Some popular choices include OBS Studio, Bandicam, and Camtasia. These software offer a variety of features and settings to customize your recording experience.
Once you have recorded your Clash Royale gameplay, there are several ways to share it with others. You can upload the video to a video sharing platform like YouTube or Twitch, and then share the link with your friends or followers. You can also share the video directly with others by sending them the file through messaging apps or email.
Genshin Impact How To Get Beidou? Beidou is a character in the popular action role-playing game Genshin Impact. She is a skilled electro user with a …
Read Article
How To Get Mobile Legends Account Back? Mobile Legends is a popular mobile game that allows players to battle it out with others from around the …
Read Article
How to clean your computer Is your computer running slow? Are you experiencing frequent crashes and system freezes? It might be time to give your …
Read Article
How To Get Stars In Among Us? Welcome to the world of Among Us, a popular online multiplayer game that is taking the gaming community by storm. In …
Read Article
How To Counter Hog Riders Clash Royale? Hog Riders are one of the most popular and powerful cards in Clash Royale. They are fast, tanky, and deal …
Read Article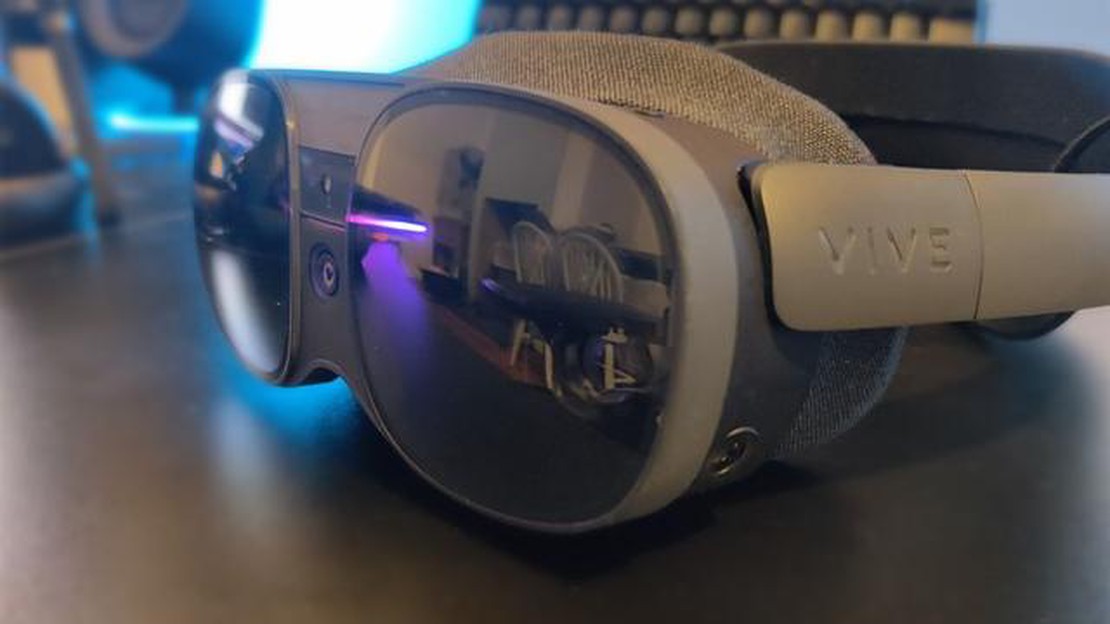
HTC Vive XR Elite Welcome to the ultimate virtual reality experience with the HTC Vive XR Elite. Brace yourself for a mind-blowing journey into a …
Read Article


