

How to Pop a Balloon in Animal Crossing: Tips and Tricks
How To Pop A Balloon In Animal Crossing? Animal Crossing is a beloved video game series that allows players to create their own virtual world filled …
Read Article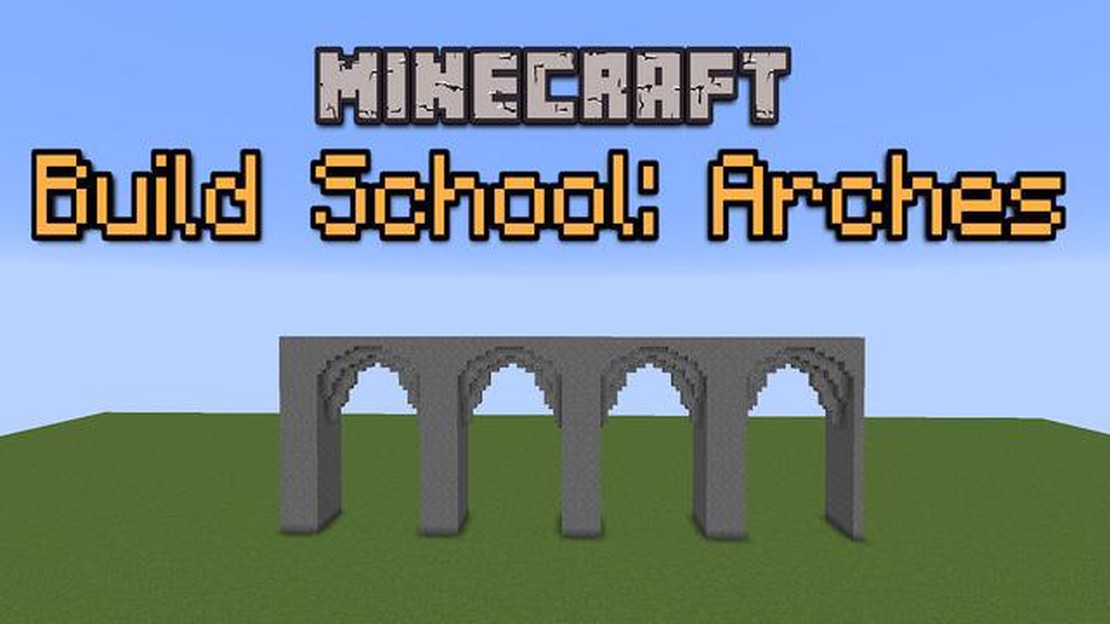
Minecraft is a popular sandbox game that allows players to build and explore a virtual world using various blocks and materials. One of the most iconic structures in Minecraft is the arch, which is often used to create beautiful and intricate buildings.
However, like any other structure, arches in Minecraft can become damaged over time due to various factors such as weather or player interaction. Fortunately, repairing an arch is a relatively simple process that can be completed with just a few steps.
To repair an arch in Minecraft, you will need the following materials: blocks of the same type used to build the arch, any necessary tools (such as a pickaxe), and possibly some additional decorative blocks or materials to match the existing structure.
The first step in repairing an arch is to assess the damage and determine the extent of the repairs needed. This may involve examining the structure from different angles and taking note of any missing or damaged blocks.
Repairing an arch in Minecraft can be a challenging task, but with the right steps and tools, you can easily restore your arch to its former glory. Follow the step-by-step guide below to learn how to repair an arch in Minecraft:
Repairing an arch in Minecraft requires patience and attention to detail, but the end result is a beautifully restored structure that adds character to your world. Follow these steps and enjoy the satisfaction of successfully repairing an arch in Minecraft!
Welcome to the Minecraft Repair Guru guide! Whether you’re a novice player or a long-time Minecrafter, this guide is here to help you with repairing structures in Minecraft. In this comprehensive step-by-step guide, we will walk you through the process of repairing an arch in Minecraft.
Before you can begin repairing the arch, you’ll need to gather all the necessary materials. Here’s a list of what you’ll need:
Take a close look at the arch and identify the areas that need repair. Look for any cracks, missing blocks, or structural weaknesses. This will help you plan your repair strategy.
Using the appropriate tool, carefully remove any damaged or cracked blocks from the arch. Be careful not to cause any further damage to the surrounding structure.
Read Also: When Was Among Us Released? Find Out the Release Date
Once you have removed the damaged blocks, begin replacing them with stone bricks to restore the arch’s structure. Use cracked stone bricks and stone slabs to add variation and texture.
To add visual interest and enhance the architectural design of the arch, use stone stairs and stone brick stairs. Place them strategically to create a pleasing aesthetic.
Take a step back and evaluate the repaired arch. Make any final adjustments or additions to ensure that it looks seamless and blends well with the surrounding environment.
Once you’re satisfied with your repairs, step back and admire your work. Your arch is now restored and ready to be enjoyed by other players in Minecraft.
Read Also: How to Roll Genshin Impact: Tips and Tricks for Getting the Characters You Want
Remember, practice makes perfect! Don’t be discouraged if your first attempt doesn’t turn out exactly as planned. With time and experience, you’ll become a Minecraft repair guru!
Repairing an arch in Minecraft is a relatively simple process that can be completed in a few steps. Whether you want to repair a damaged arch or simply improve its appearance, this step-by-step guide will teach you how to do it.
By following these steps, you can easily repair an arch in Minecraft and improve the overall look of your structure. Remember to take your time and be careful when removing and replacing blocks to ensure the arch remains structurally sound.
An arch in Minecraft is a structure that is created by using a series of blocks in a curved shape. It is often used to create architectural features such as doorways or bridges.
You might need to repair an arch in Minecraft if it has been damaged or if you want to change its appearance. Repairing an arch can help maintain the structural integrity of your buildings and ensure that they continue to look visually appealing.
The materials you need to repair an arch in Minecraft will depend on the type of blocks used to create the arch. Generally, you will need the same type of blocks that were used originally, as well as any necessary tools such as a pickaxe.
Yes, it is possible to repair an arch in Minecraft without destroying it. This can be done by carefully replacing individual blocks that are damaged or by using techniques such as block-swapping to replace larger sections of the arch at a time.
Yes, there are a few tips and techniques that can make repairing an arch in Minecraft easier. One technique is to use scaffolding or temporary blocks to support the arch during the repair process. Additionally, using a pickaxe with the Silk Touch enchantment can help preserve any special blocks or decorations on the arch.
How To Pop A Balloon In Animal Crossing? Animal Crossing is a beloved video game series that allows players to create their own virtual world filled …
Read Article
How To Leave A Clan In Clash Of Clans? Are you looking to leave your current clan in Clash of Clans? Whether you’re looking for a change of scenery or …
Read Article
How To Get Robux In Roblox For Free? Are you a Roblox enthusiast looking for ways to get Robux for free? Robux is the in-game currency of Roblox that …
Read Article
How To Download Among Us On Amazon Tablet? Step-by-Step Guide: Downloading Among Us on Your Amazon Tablet Table Of Contents Step 1: Open the Appstore …
Read Article
What Pokemon Are Good Against Electric? Electric type Pokemon pose a significant threat in battles due to their powerful electric moves and their …
Read Article
The Cycle: Frontier map: What you need to know to survive The Cycle: Frontier is an online multiplayer game set in a distant future where players …
Read Article


