

Bonelab Review: The Ultimate Guide to Bone Health and Wellness
Bonelab review When it comes to maintaining good overall health, our bones often get overlooked. However, bone health is an essential aspect of our …
Read Article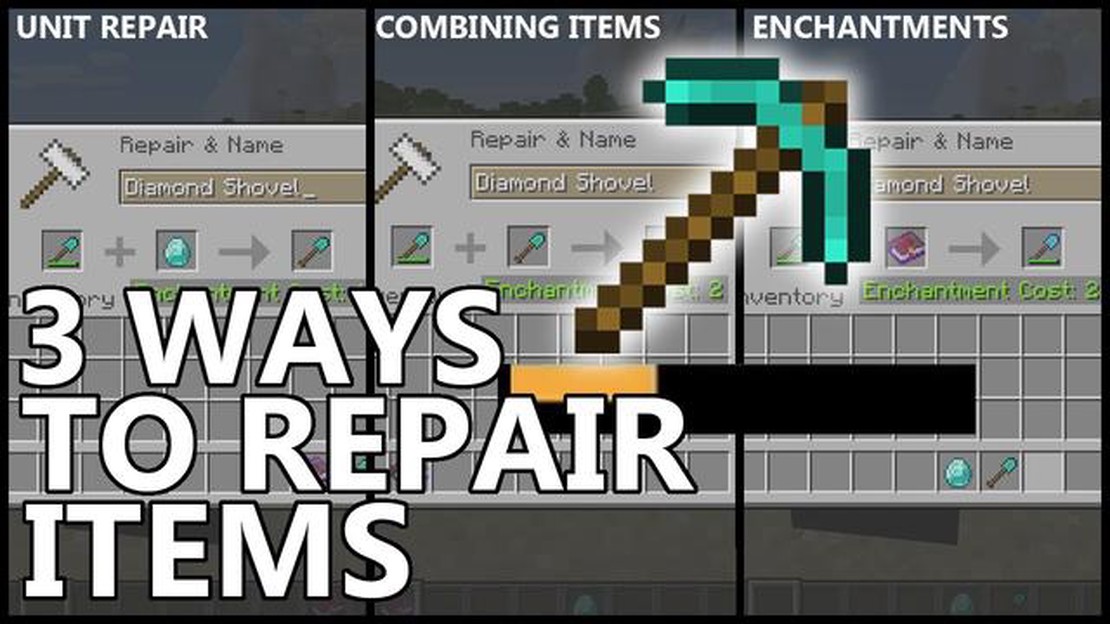
Whether you’re a seasoned player or just starting your adventure in the world of Minecraft, you’ll quickly realize the importance of having durable tools. From mining ores to fighting off dangerous creatures, your tools are essential for survival. But what happens when your tools start to wear out? Repairing them is the key to prolonging their lifespan and efficiency.
In this step-by-step guide, we’ll walk you through the process of repairing your tools in Minecraft. Whether you’re wielding a diamond pickaxe or a trusty iron sword, these expert tips will help you keep your tools in top shape. From gathering the necessary materials to using the anvil, we’ve got you covered.
First, you’ll need to gather the materials required to repair your tools. The most important item you’ll need is another tool of the same type, known as the “sacrifice tool.” This sacrifice tool will be used to combine and repair your worn-out tool. The quality of your sacrifice tool will determine the effectiveness of the repair.
Once you have your sacrifice tool, head over to an anvil. Anvils can be found in villages, abandoned mineshafts, or crafted using iron blocks and iron ingots. These mighty structures are the key to repairing your tools.
Repairing tools in Minecraft is an essential skill that every player should know. With constant use, tools such as pickaxes, swords, and shovels can become worn out and eventually break. However, with the right materials and knowledge, you can repair them and extend their lifespan. Follow this step-by-step guide to learn how to repair tools in Minecraft.
It’s important to note that the repair cost for tools increases with every repair. Eventually, the repair cost may become too high, and it will be more efficient to create a new tool instead. However, repairing tools can be a cost-effective way to prolong their usability, especially for valuable resources like diamond tools.
Now that you know how to repair tools in Minecraft, you can keep your equipment in top shape and continue your adventures with ease. Happy mining!
Before you can begin repairing your tools in Minecraft, you will need to gather the necessary resources and tools. Here are some things you will need:
Once you have gathered all the necessary resources and tools, you are ready to proceed with the tool repair process. Remember, it’s always a good idea to have a few extra tools on hand in case one breaks or needs repair. Happy repairing!
In order to repair tools in Minecraft, you will first need to set up a crafting table. A crafting table is a block that allows you to craft different items using the resources you have gathered.
Read Also: Discover tips and tricks to get a house in Animal Crossing
To set up a crafting table, follow these steps:
Once you have placed the crafting table, you can right-click on it to open a larger crafting grid. This larger grid allows you to craft more complex items that require more resources.
Having a crafting table nearby is essential for repairing tools in Minecraft, as it provides the space and tools necessary to complete the repair process.
Note: If you already have a crafting table, you can skip these steps and move on to repairing your tools.
Read Also: 8 Proven Tips to Level Up Fast in Pokémon Go
Once you have gathered the necessary materials for repairing your tools, you can combine them in the crafting table. Here is a step-by-step guide on how to combine tools in Minecraft:
It’s important to note that repairing tools in Minecraft will use some of the durability of the repair material, so be sure to consider this when choosing which tool or material to use for repairs. Additionally, some tools may require an anvil for repairs instead of the crafting table, so keep this in mind as well.
Repairing tools is an essential skill in Minecraft, as it allows you to extend the lifespan of your valuable equipment. By following these simple steps, you can keep your tools in top shape and continue your adventures without any interruption.
To repair tools in Minecraft, you can use an anvil and the material that the tool is made of. Simply place the damaged tool in the left slot of the anvil and the material in the right slot. The repaired tool will appear in the output slot of the anvil.
You can use the same material that the tool is made of to repair it. For example, if you have a diamond pickaxe that needs repair, you can use another diamond to repair it. If you don’t have the same material, you can also use materials with the same type, such as using iron ingots to repair an iron pickaxe.
Yes, there is another way to repair tools in Minecraft. You can use the crafting table to combine two damaged tools of the same type, which will result in a tool with increased durability. However, this method will not restore the enchantments on the tools.
Yes, you can repair enchanted tools in Minecraft. When you use an anvil to repair an enchanted tool, the repaired tool will retain its enchantments. However, the cost of repairing an enchanted tool is higher compared to a non-enchanted tool.
When a tool is damaged and needs repair, it will have a lower durability and its icon will show cracks. You can also hover over the tool in your inventory to see its current durability.
Bonelab review When it comes to maintaining good overall health, our bones often get overlooked. However, bone health is an essential aspect of our …
Read Article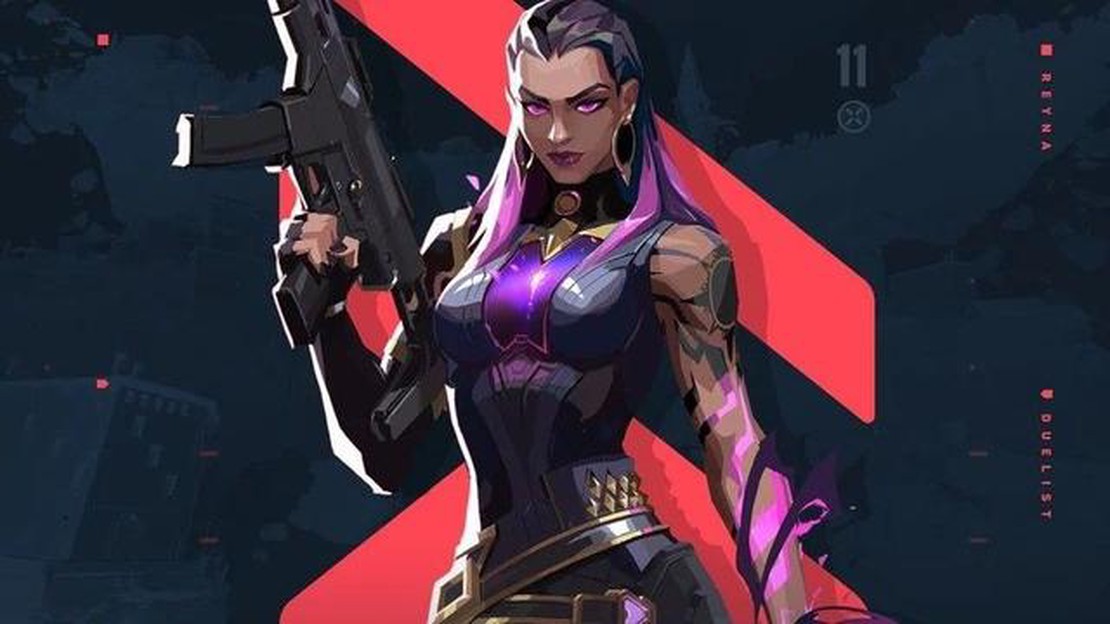
Reyna guide: How to play Valorant’s vampiric soul harvester Valorant, Riot Games’ popular first-person shooter, has introduced an array of unique …
Read Article
How To Get Strength In Pokemon Diamond? In Pokemon Diamond, Strength is a very useful move that allows your Pokemon to move large boulders blocking …
Read Article
How To Contact Coin Master? Are you a fan of the popular mobile game Coin Master? Do you need help or support with the game? There are several easy …
Read Article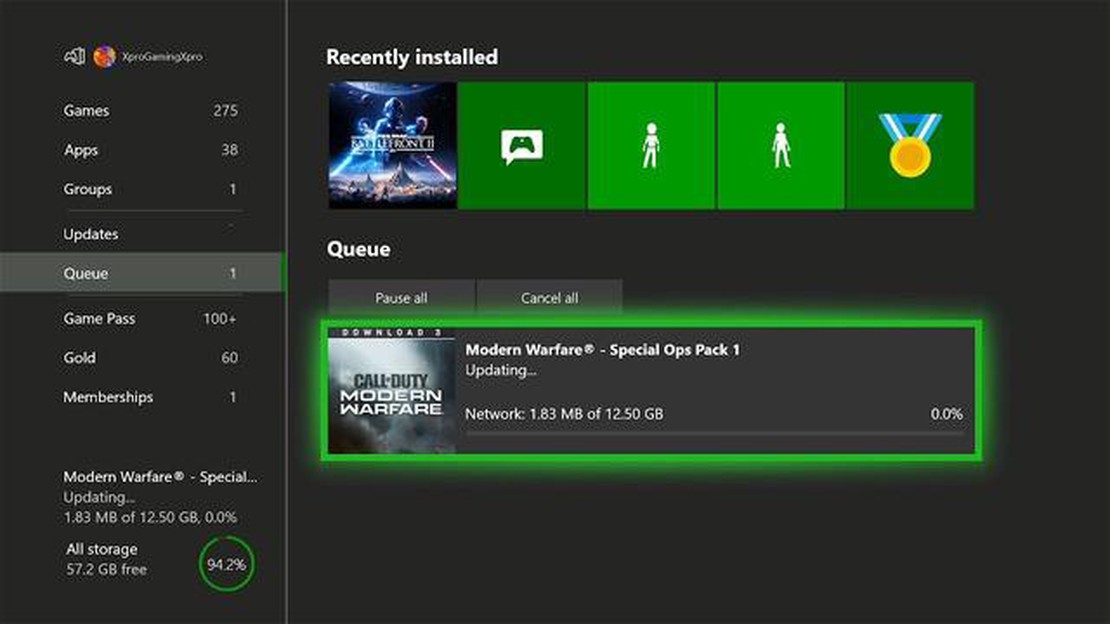
How To Install Call Of Duty: Modern Warfare Xbox One? Call of Duty: Modern Warfare is a popular first-person shooter video game that offers intense …
Read Article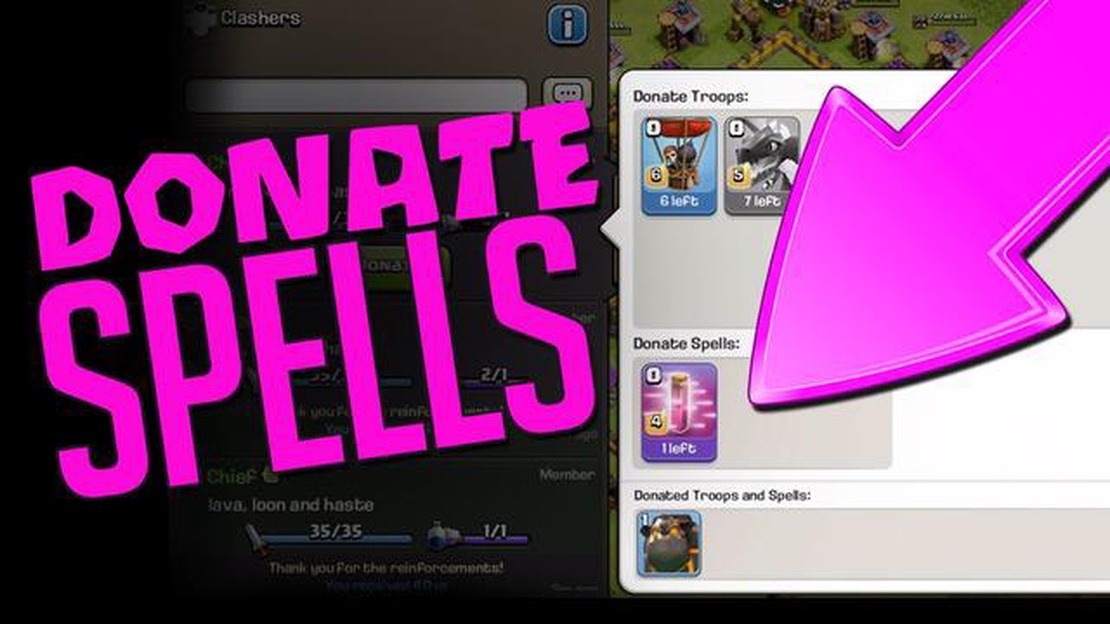
How Do You Donate Spells In Clash Of Clans? Clash of Clans is a popular mobile strategy game that allows players to join clans and work together to …
Read Article


